Resolved: Google Chrome Stuck on “Waiting for Cache” Issue in Windows 10
Google Chrome is one of the most popular web browsers, known for its speed and efficiency. However, like any software, it can occasionally run into issues. One common problem that users encounter is the “waiting for cache” message, which can cause Chrome to slow down or freeze. This issue is often related to problems with the browser’s cache or storage settings. In this guide, we’ll explore the causes of this problem and how to fix it effectively.
Understanding the “Waiting for Cache” Issue
What Does “Waiting for Cache” Mean?

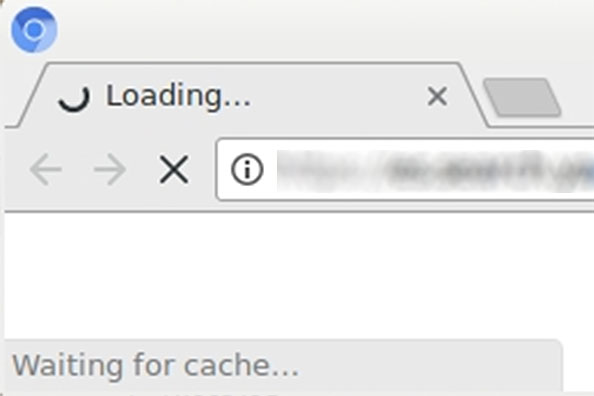
When you see the “waiting for cache” message in Google Chrome, it means that the browser is trying to access or write data to the cache but is being delayed. The cache is a storage area on your hard drive where Chrome saves files to speed up future access to websites. If Chrome can’t access the cache quickly enough, it can lead to delays or freezing.
Causes of the Issue
Several factors can cause Chrome to get stuck on “waiting for cache,” including:
- Insufficient disk space on the drive where the cache is stored.
- Corrupted or outdated cache files.
- Conflicts with browser extensions or settings.
- Issues with Chrome’s storage settings on your computer.
How to Fix the “Waiting for Cache” Issue in Google Chrome
If you’re encountering the “waiting for cache” issue, try the following methods to resolve it.
1. Clear Chrome’s Cache and Browsing Data

The first step to resolving the “waiting for cache” issue is to clear Chrome’s cache and browsing data. This will remove any corrupted files that might be causing the problem.
Steps:
- Open Chrome Settings:
- Click on the three dots in the top-right corner of Chrome to open the menu.
- Select Settings from the dropdown menu.
- Clear Browsing Data:
- Scroll down and click on Privacy and security.
- Select Clear browsing data.
- Choose Data to Clear:
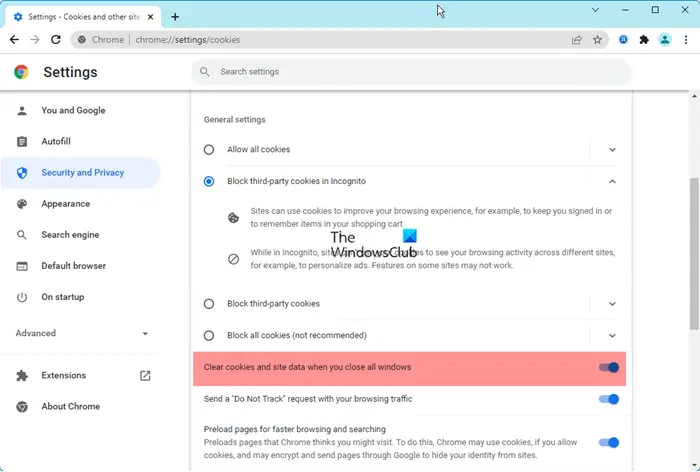
- In the pop-up window, check the boxes for Cached images and files and Cookies and other site data.
- Select All time as the time range to ensure all cache is cleared.
- Clear Data:
- Click Clear data to remove the cache and cookies.
- Restart Chrome:
- After clearing the cache, restart Chrome and see if the issue is resolved.
2. Free Up Disk Space

Insufficient disk space can prevent Chrome from properly storing cache files, leading to the “waiting for cache” issue. Ensure you have enough free space on your hard drive.
Steps:
- Check Disk Space:
- Open File Explorer and right-click on your system drive (usually C:).
- Select Properties to see how much free space is available.
- Free Up Space:
- Delete unnecessary files or move large files to an external drive.
- Use the Disk Cleanup tool to remove temporary files and free up additional space.
- Restart Your Computer:
- After freeing up space, restart your computer and check if the issue persists.
3. Disable or Remove Problematic Extensions

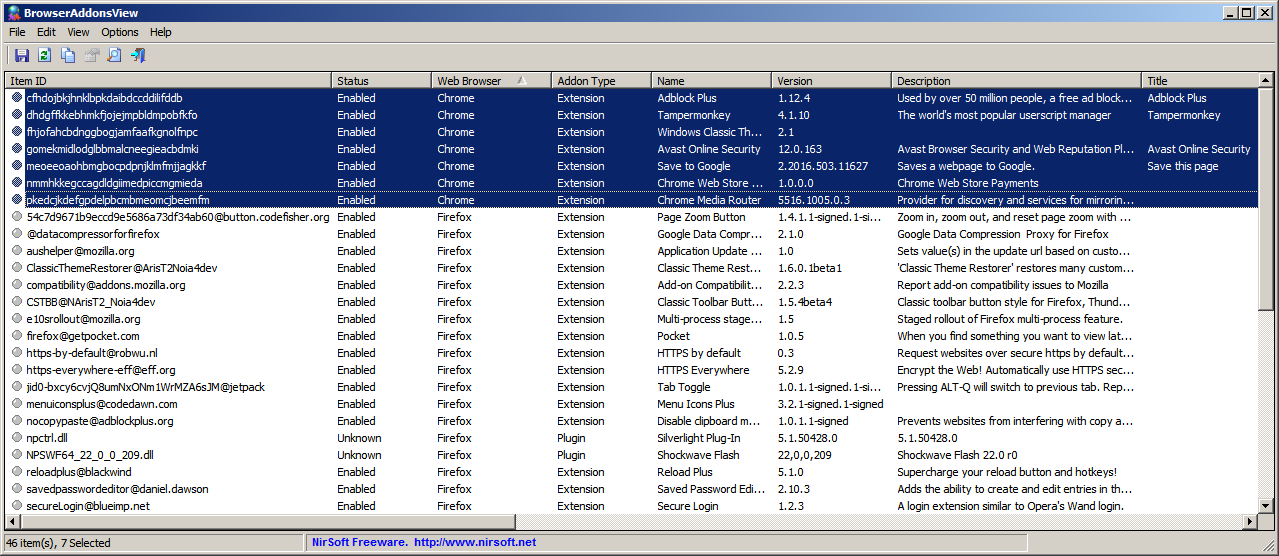
Browser extensions can sometimes interfere with Chrome’s performance, including its ability to manage the cache. Disabling or removing problematic extensions may fix the issue.
Steps:
- Open Extensions Page:
- Click on the three dots in the top-right corner of Chrome and go to More tools > Extensions.
- Disable Extensions:
- Toggle off the switch next to each extension to disable it temporarily.
- Restart Chrome to see if the issue is resolved.
- Remove Extensions:
- If disabling an extension fixes the problem, consider removing it by clicking Remove.
4. Reset Chrome to Default Settings

If the above methods don’t work, resetting Chrome to its default settings can help resolve the issue by undoing any changes that might have caused the problem.
Steps:
- Open Chrome Settings:
- Click on the three dots in the top-right corner of Chrome to open the menu.
- Select Settings from the dropdown menu.
- Reset Settings:
- Scroll down and click on Advanced to expand the options.
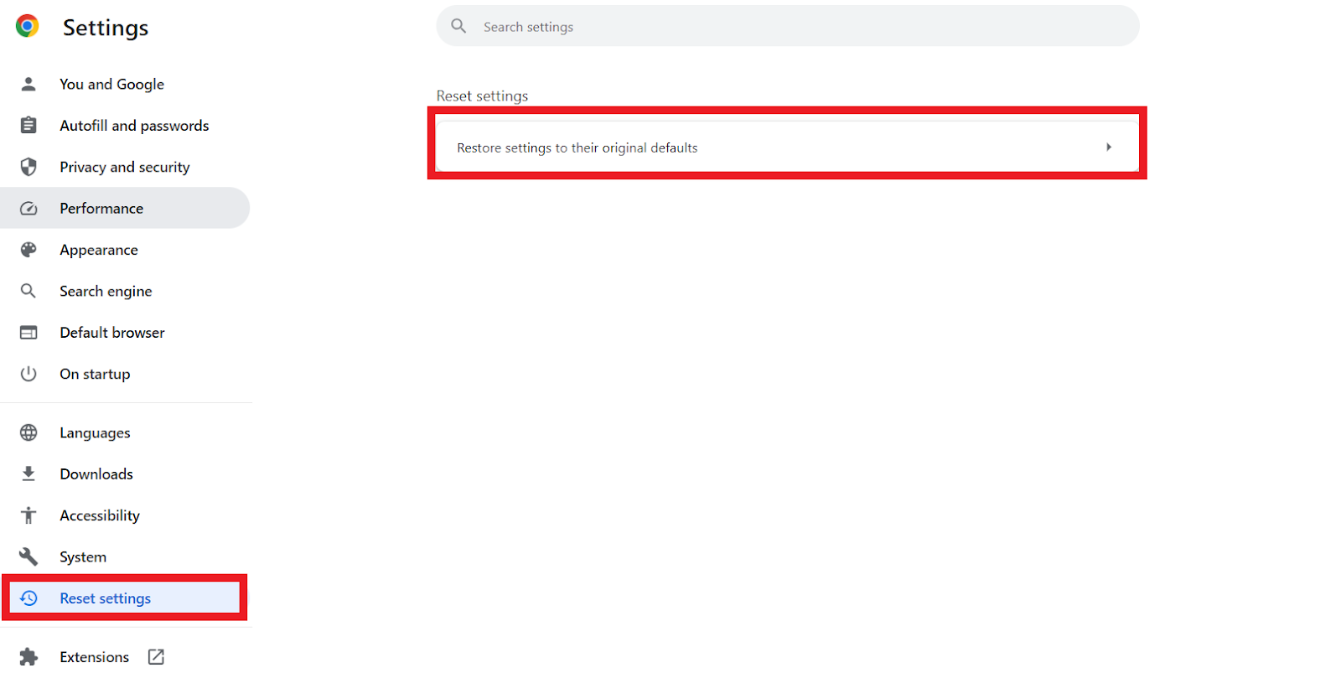
- Under Reset and clean up, click Restore settings to their original defaults.
- Confirm the reset by clicking Reset settings.
- Restart Chrome:
- After resetting, restart Chrome and check if the issue is resolved.
5. Reinstall Google Chrome
As a last resort, reinstalling Chrome can resolve any deep-seated issues with the browser, including those related to the cache.
Steps:
- Uninstall Chrome:
- Press Win + I to open Settings.
- Go to Apps > Apps & features.
- Find Google Chrome in the list, click on it, and select Uninstall.
- Delete Remaining Files:
- After uninstalling, open File Explorer and navigate to:
makefile
C:\Users\[Your Username]\AppData\Local\Google
- Delete the Chrome folder.
- After uninstalling, open File Explorer and navigate to:
- Reinstall Chrome:
- Go to the official Google Chrome website and download the latest version of Chrome.
- Install the browser and sign in to restore your settings.
- Check for the Issue:
- After reinstalling, check if the “waiting for cache” issue is resolved.
Conclusion
The “waiting for cache” issue in Google Chrome can be frustrating, but it’s usually easy to fix by clearing the cache, freeing up disk space, disabling problematic extensions, or resetting Chrome to its default settings. If the problem persists, reinstalling Chrome can provide a fresh start and resolve any lingering issues. By following the steps in this guide, you should be able to get Chrome running smoothly again on your Windows 10 computer.
