Review Programs and Drivers Affected by System Restore

System Restore is a powerful feature in Windows that allows you to roll back your system to a previous state, effectively undoing recent changes that might have caused issues. However, before proceeding with a System Restore, it’s essential to check which programs and drivers will be affected by the restoration process. This guide will walk you through the steps to check for affected programs and drivers, ensuring that you’re fully aware of the changes that will occur.
Understanding System Restore
What is System Restore?
System Restore allows you to revert your Windows computer to a previous point in time, known as a restore point. These restore points are created automatically by Windows before significant system changes, such as software installations, driver updates, or system updates. By restoring your system to a previous point, you can fix issues that may have arisen due to these changes.
Why Check for Affected Programs and Drivers?
Before performing a System Restore, it’s crucial to understand which programs and drivers will be affected. Restoring your system to a previous point may result in the removal of recently installed programs or the reversion of updated drivers, which could impact system functionality. By checking the affected programs and drivers, you can prepare for any changes and reinstall or update them after the restoration if necessary.
How to Check for Affected Programs & Drivers
1. Open System Restore

The first step is to access the System Restore feature on your Windows computer.
Steps:
- Open the Run Dialog:
- Press Win + R to open the Run dialog box.
- Launch System Restore:
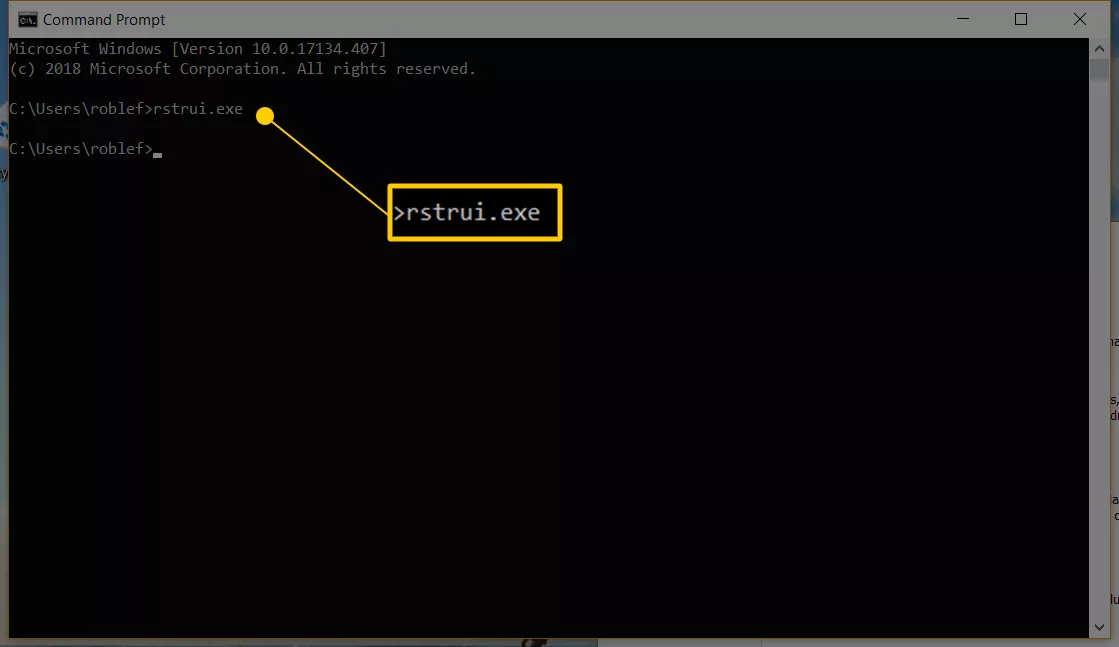
- Type
rstrui.exeand press Enter to open the System Restore window.
- Type
2. Choose a Restore Point

Once you’ve opened System Restore, you’ll need to choose a restore point to see which programs and drivers will be affected.
Steps:
- Select a Restore Point:
- In the System Restore window, click Next to view a list of available restore points.
- Select a Specific Restore Point:
- Choose a restore point from the list. You can select the most recent restore point or an earlier one, depending on your needs.
- Check the Box for More Restore Points:
- If you don’t see the restore point you’re looking for, check the box that says Show more restore points to display additional options.
3. Check for Affected Programs and Drivers

After selecting a restore point, you can check which programs and drivers will be affected by the restoration.
Steps:
- Click on Scan for Affected Programs:
- After selecting a restore point, click the Scan for affected programs button. This will open a new window displaying the programs and drivers that will be affected.
- Review the List:
- The list is divided into two sections:
- Programs and drivers that will be deleted: These are programs and drivers installed after the restore point was created and will be removed during the restoration.
- Programs and drivers that might be restored: These are programs and drivers that were removed after the restore point was created and might be restored.
- The list is divided into two sections:
- Take Note of the Affected Items:
- Make a note of any programs or drivers that will be affected, so you can reinstall or update them after the System Restore if necessary.
4. Decide Whether to Proceed with the System Restore
Based on the information provided in the “Scan for affected programs” window, you can decide whether to proceed with the System Restore.
Steps:
- Evaluate the Impact:
- Consider the impact of restoring your system. If the programs and drivers that will be affected are not critical, you can proceed with the restore.
- Cancel or Proceed:
- If you decide to proceed, click Next and then Finish to start the restoration process.
- If you decide not to proceed, click Cancel to exit the System Restore process.
- After the Restore:
- Once the System Restore is complete, check your system to ensure everything is functioning correctly.
- Reinstall or update any programs or drivers that were affected by the restoration.
Conclusion
System Restore is a useful tool for resolving issues caused by recent system changes. However, before proceeding, it’s essential to check which programs and drivers will be affected by the restoration process. By following the steps outlined in this guide, you can make an informed decision about whether to proceed with the restore and prepare for any changes that might occur. Regularly creating restore points can also help you avoid potential issues and provide a fallback option in case of system problems.
