How to Resolve “Automatic Startup Repair Couldn’t Repair Your PC”

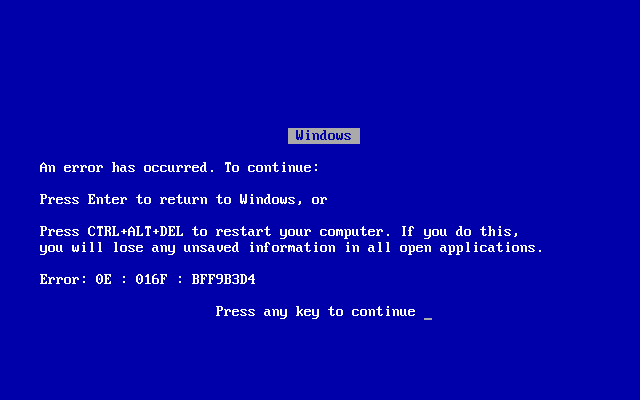
Encountering the “Automatic Startup Repair Couldn’t Repair Your PC” error message can be a frustrating experience, preventing you from booting into your Windows system. This error typically indicates an issue with the system’s startup configuration or critical system files that prevent Windows from starting properly.
If you’re facing this issue, don’t worry! This guide will provide you with step-by-step instructions on how to fix the “Automatic Startup Repair Couldn’t Repair Your PC” error and get your computer back up and running.
Causes of the “Automatic Startup Repair Couldn’t Repair Your PC” Error
Several factors can contribute to this error, including:
-
Corrupted system files: Damaged or missing system files essential for Windows startup can trigger this error.
-
Incorrect boot configuration data (BCD): The BCD contains information about how Windows boots up. If it’s corrupted, Windows may fail to start.
-
Hardware issues: In some cases, underlying hardware problems, such as hard drive failures, can cause boot errors.
Troubleshooting Steps to Fix the Error
Before proceeding, ensure your computer is powered up and you have an administrator account.
Method 1: Run System File Checker (SFC)
The System File Checker (SFC) is a built-in Windows tool that scans and repairs corrupted system files.
- Access Command Prompt:
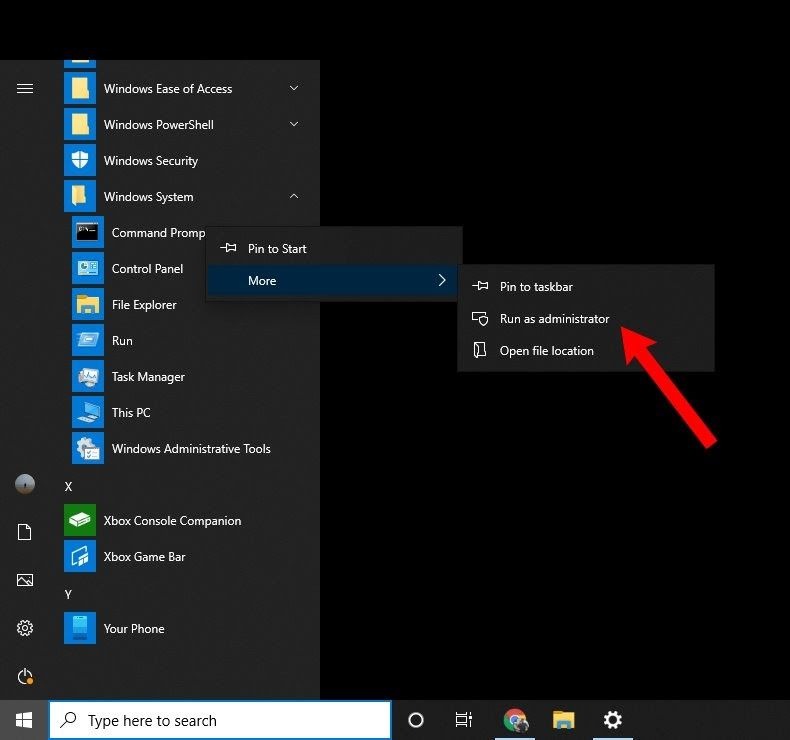
Press the Windows key + R to open the Run dialog box. Type “cmd” and press Enter to launch Command Prompt.
- Execute SFC Scan:
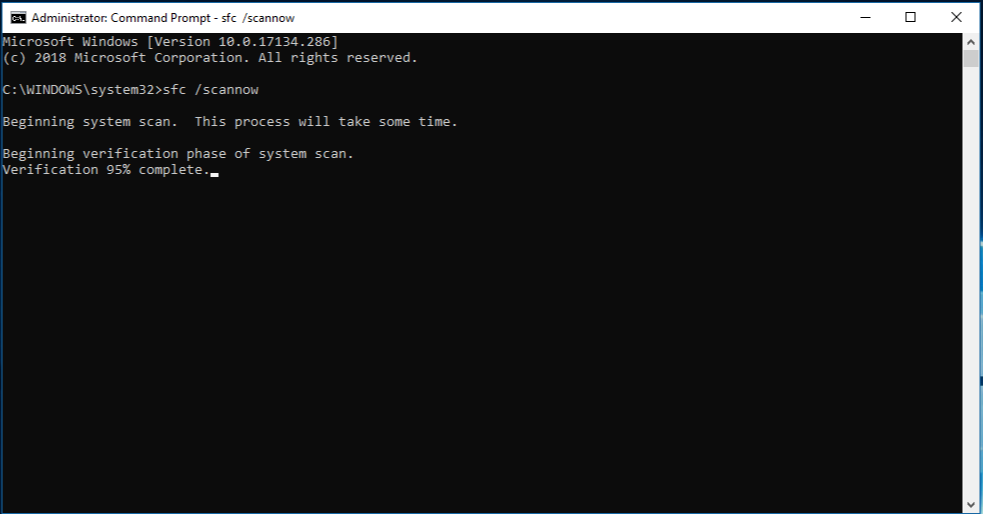
In the Command Prompt window, type the following command and press Enter:
sfc /scannow
- Restart your computer:
Once the SFC scan is complete, restart your computer to apply any changes made to system files.
Method 2: Rebuild Boot Configuration Data (BCD)
If the SFC scan doesn’t resolve the issue, try rebuilding the BCD.
- Access Command Prompt (Admin):

Press the Windows key + R to open the Run dialog box. Type “cmd” and press Ctrl + Shift + Enter to launch Command Prompt as Administrator.
- Rebuild BCD:
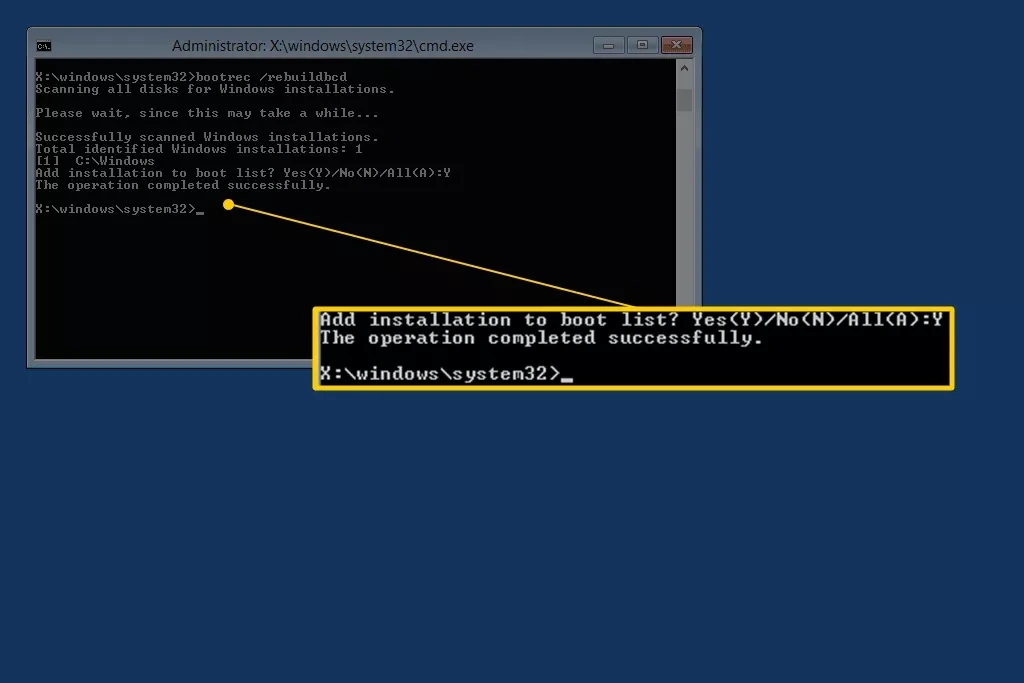
In the Command Prompt window, type and execute the following commands one at a time, pressing Enter after each command:
bootrec /fixboot
bootrec /scanos
bootrec /fixmbr
- Restart your computer:
After executing the commands, restart your computer to see if the error is resolved.
Method 3: Use System Restore
System Restore allows you to revert your system to a previous working state before the error occurred.
- Access System Restore:
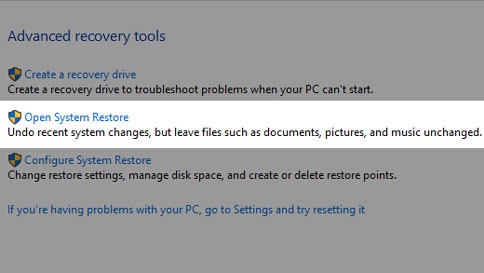
Press the Windows key + R to open the Run dialog box. Type “rstrui” and press Enter to launch System Restore.
- Choose a restore point:
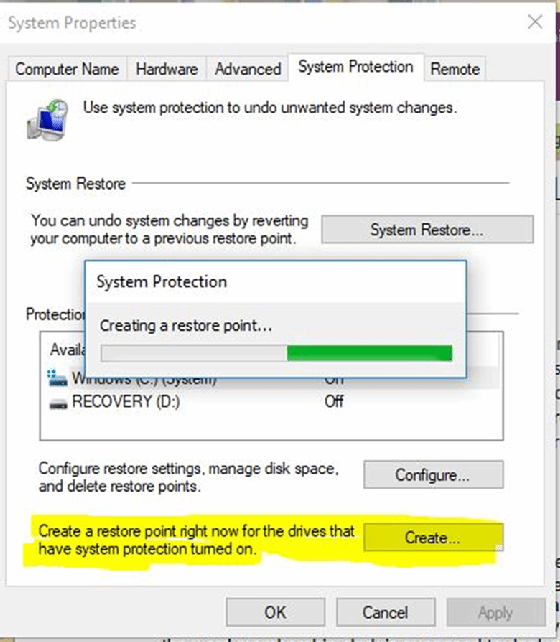
In the System Restore window, click “Next.” Select a restore point from the list that is dated before the error started occurring. Click “Next” again.
- Confirm restore:

Review the restore details and click “Finish” to initiate the system restore process.
Method 4: Reset Your PC
If none of the above methods work, consider resetting your PC. This will reinstall Windows and erase all personal data and installed programs.
- Access PC Reset:
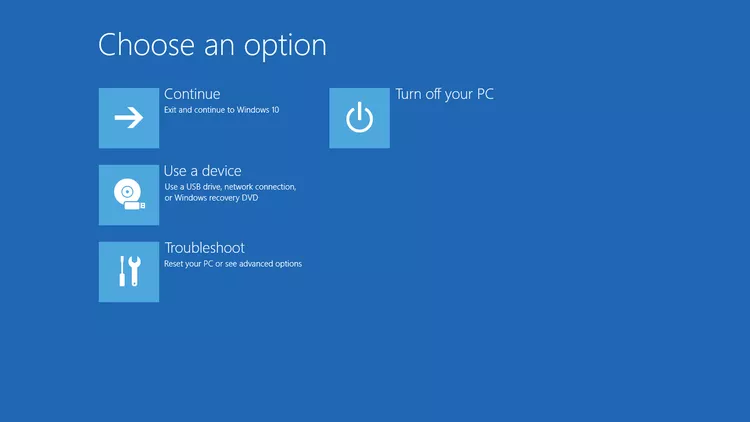
Go to Settings > Update & Security > Recovery. Under “Reset this PC,” click the “Get started” button.
- Choose “Remove everything”:
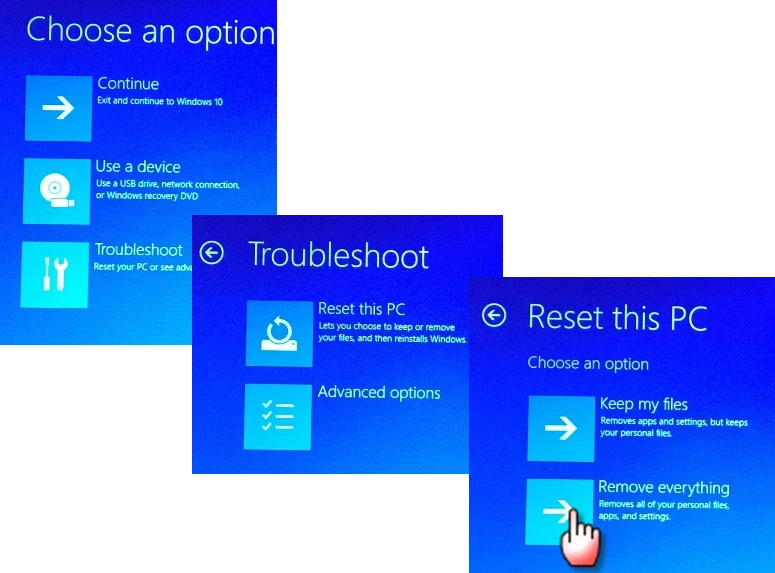
Select the “Remove everything” option to perform a thorough reset.
- Follow on-screen instructions:
Follow the on-screen instructions to complete the PC reset process.
Additional Tips:
-
Check for hardware issues: If you suspect hardware problems, run diagnostics tools provided by your computer manufacturer or seek professional assistance.
-
Run antivirus and anti-malware scans: Rule out malware infections that might be causing system instability.
-
Update device drivers: Ensure your device drivers, especially storage and chipset drivers, are up to date.
By following these troubleshooting steps and tips, you should be able to fix the “Automatic Startup Repair Couldn’t Repair Your PC” error and get your Windows system booting up properly again. Remember to regularly back up your important data to prevent data loss

