Troubleshooting Mobile Hotspot Issues on Windows 10
The Mobile Hotspot feature in Windows 10 allows you to share your internet connection with other devices by turning your computer into a Wi-Fi hotspot. It’s a convenient way to provide internet access to multiple devices when you’re on the go. However, sometimes the Mobile Hotspot feature may stop working, preventing you from connecting other devices to your network. In this guide, we’ll explore the common causes of this issue and provide step-by-step solutions to fix it.
Understanding the Problem
Why Is the Mobile Hotspot Not Working?
There are several reasons why the Mobile Hotspot feature might not work on Windows 10:
- Outdated or corrupted network drivers: Network drivers are essential for the Mobile Hotspot to function properly. If they are outdated or corrupted, the hotspot might not work.
- Incorrect network settings: The Mobile Hotspot settings might be misconfigured, preventing other devices from connecting.
- Power management settings: Windows may disable the Mobile Hotspot to save power, especially on laptops.
- Firewall or antivirus interference: Security software can sometimes block the Mobile Hotspot feature.
How to Fix Windows 10 Mobile Hotspot Not Working
If your Windows 10 Mobile Hotspot is not working, try the following solutions to resolve the issue.
1. Update or Reinstall Network Drivers

Outdated or corrupted network drivers are a common cause of issues with the Mobile Hotspot. Updating or reinstalling these drivers can often fix the problem.
Steps:
- Open Device Manager:
- Press Win + X and select Device Manager.
- Locate Network Adapters:
- Expand the Network adapters section to see all installed network devices.
- Update the Driver:
- Right-click on your Wi-Fi adapter and select Update driver.
- Choose Search automatically for updated driver software and follow the prompts to update the driver.
- Reinstall the Driver (If Necessary):
- If updating doesn’t work, right-click on the Wi-Fi adapter and select Uninstall device.
- Restart your computer, and Windows will automatically reinstall the driver.
- Check Mobile Hotspot:
- After updating or reinstalling the driver, try turning on the Mobile Hotspot again.
2. Reset Network Settings

Resetting the network settings can help resolve issues related to misconfigured settings that might be causing the Mobile Hotspot to malfunction.
Steps:
- Open Settings:
- Press Win + I to open Settings.
- Go to Network & Internet:
- Navigate to Network & Internet > Status.
- Scroll Down to Network Reset:
- Scroll down and click on Network reset.
- Reset Your Network Settings:
- Click Reset now and confirm the action. Your computer will restart.
- Reconfigure the Mobile Hotspot:
- After the reset, reconfigure the Mobile Hotspot and check if it works.
3. Check Power Management Settings

On laptops, Windows might disable the Mobile Hotspot to save power. Disabling this feature can help keep the hotspot active.
Steps:
- Open Device Manager:
- Press Win + X and select Device Manager.
- Locate Your Wi-Fi Adapter:
- Expand the Network adapters section and find your Wi-Fi adapter.
- Adjust Power Management Settings:
- Right-click on the Wi-Fi adapter and select Properties.
- Go to the Power Management tab.
- Uncheck the box that says Allow the computer to turn off this device to save power.
- Click OK to save the changes.
- Check Mobile Hotspot:
- After adjusting the power management settings, try turning on the Mobile Hotspot again.
4. Run the Network Troubleshooter

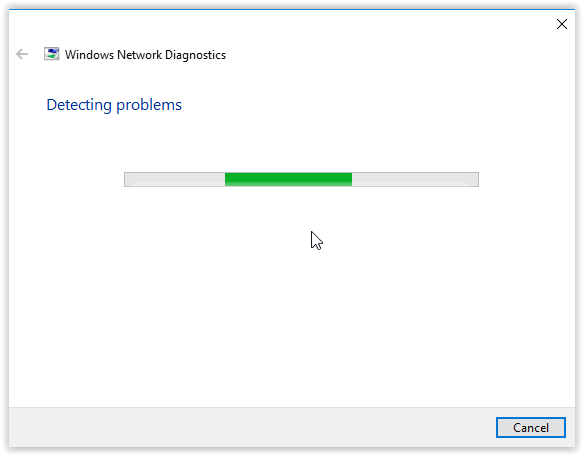
Windows 10 includes a built-in troubleshooter that can detect and fix common issues with network adapters, including problems with the Mobile Hotspot.
Steps:
- Open Settings:
- Press Win + I to open Settings.
- Navigate to Update & Security:
- Go to Update & Security > Troubleshoot.
- Run the Network Adapter Troubleshooter:
- Click on Additional troubleshooters.
- Select Network Adapter and click Run the troubleshooter.
- Follow the On-Screen Instructions:
- The troubleshooter will scan for issues and suggest fixes. Follow the prompts to apply the fixes.
- Check Mobile Hotspot:
- After running the troubleshooter, check if the Mobile Hotspot is working.
5. Disable Firewall or Antivirus Software Temporarily

Sometimes, security software can interfere with the Mobile Hotspot feature. Disabling your firewall or antivirus software temporarily can help identify if they are causing the issue.
Steps:
- Open Your Antivirus or Firewall Software:
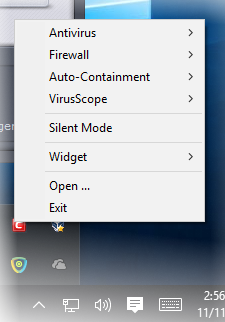
- Locate your antivirus or firewall software in the system tray.
- Disable the Software Temporarily:
- Right-click on the software icon and look for an option to disable the protection temporarily.
- Check Mobile Hotspot:
- After disabling the software, try turning on the Mobile Hotspot again.
- Re-enable the Security Software:
- Don’t forget to re-enable your security software to protect your system after testing.
Conclusion
If your Mobile Hotspot is not working in Windows 10, it can be a frustrating experience, especially when you need to share your internet connection with other devices. However, by updating or reinstalling network drivers, resetting network settings, adjusting power management settings, running the network troubleshooter, and disabling firewall or antivirus software temporarily, you can usually resolve the issue and get your Mobile Hotspot working again. Regular system maintenance and keeping your drivers updated can help prevent similar issues in the future.
