How to Resolve Issues with the Windows 10 Start Menu Not Opening
The Start Menu is an essential feature in Windows 10, providing quick access to apps, settings, and system features. However, it can sometimes fail to open, leaving users frustrated. This guide offers several methods to troubleshoot and fix the Start Menu not opening issue.
1. Restart Your Computer
Often, a simple restart can resolve issues with the Start Menu.

Steps:
- Press Ctrl + Alt + Delete and select Restart from the power options.
2. Restart Windows Explorer
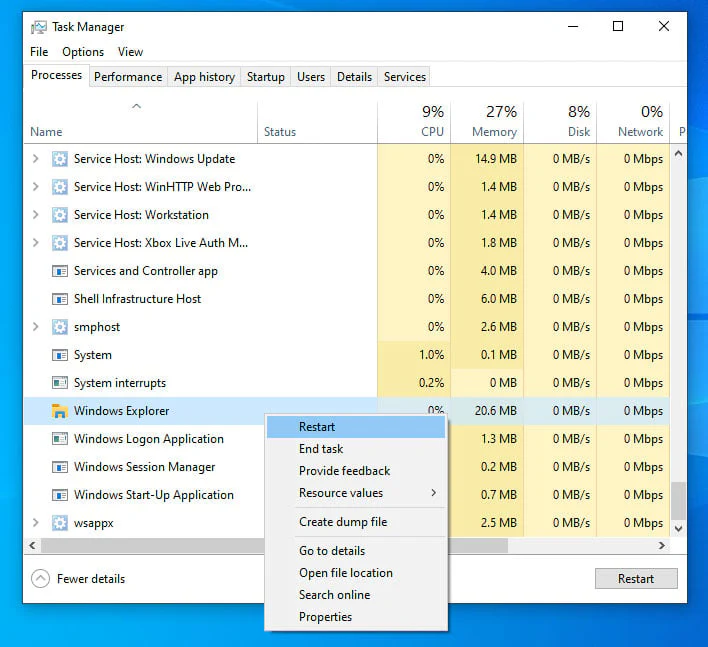
Restarting Windows Explorer can refresh the Start Menu.
Steps:
- Press Ctrl + Shift + Esc to open the Task Manager.
- Scroll down to Windows Explorer, right-click, and select Restart.
3. Run the Start Menu Troubleshooter
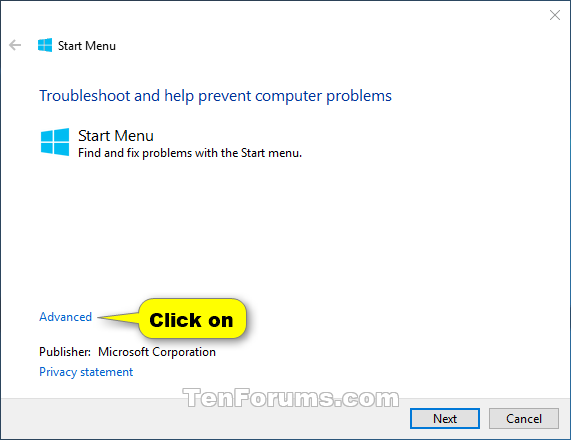
Microsoft offers a dedicated troubleshooter for Start Menu issues.
Steps:
- Download the troubleshooter from the Microsoft website.
- Run the troubleshooter and follow the prompts.
4. Update Windows 10
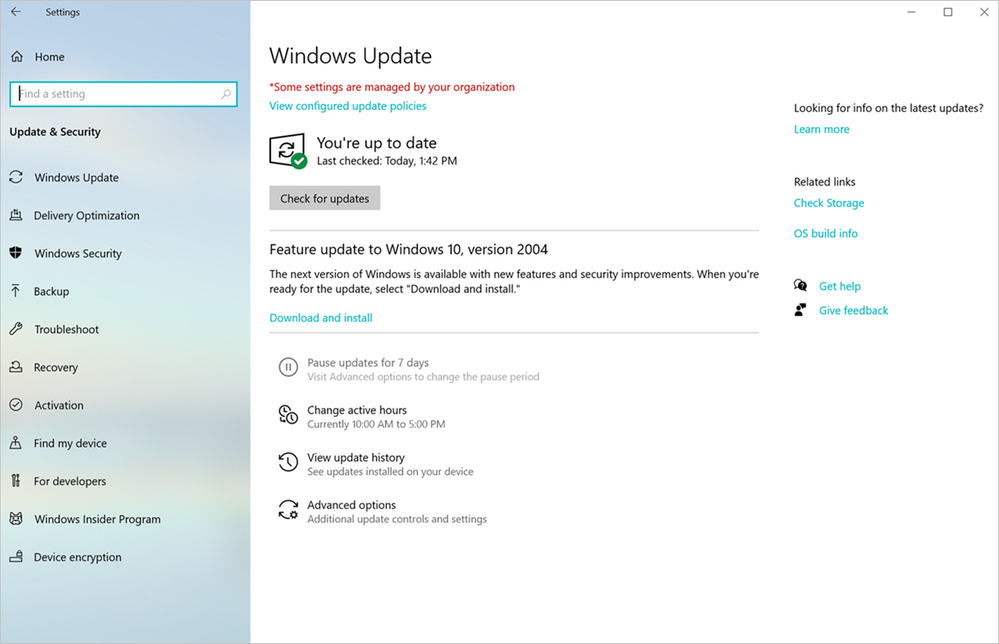
Keeping your system up-to-date can resolve many issues.
Steps:
- Go to Settings > Update & Security > Windows Update.
- Click Check for updates and install any available updates.
5. Create a New User Account
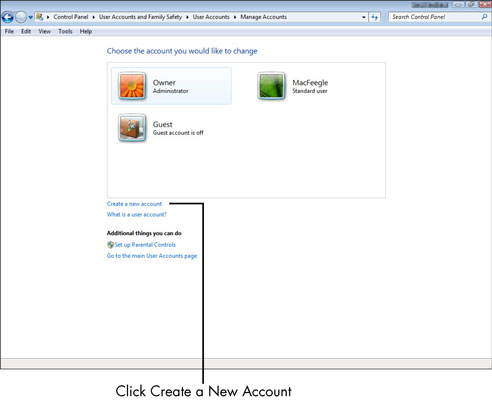
A corrupted user profile can cause Start Menu problems. Creating a new account can help.
Steps:
- Go to Settings > Accounts > Family & other users.
- Click Add someone else to this PC.
- Follow the prompts to create a new user account.
6. Re-register the Start Menu
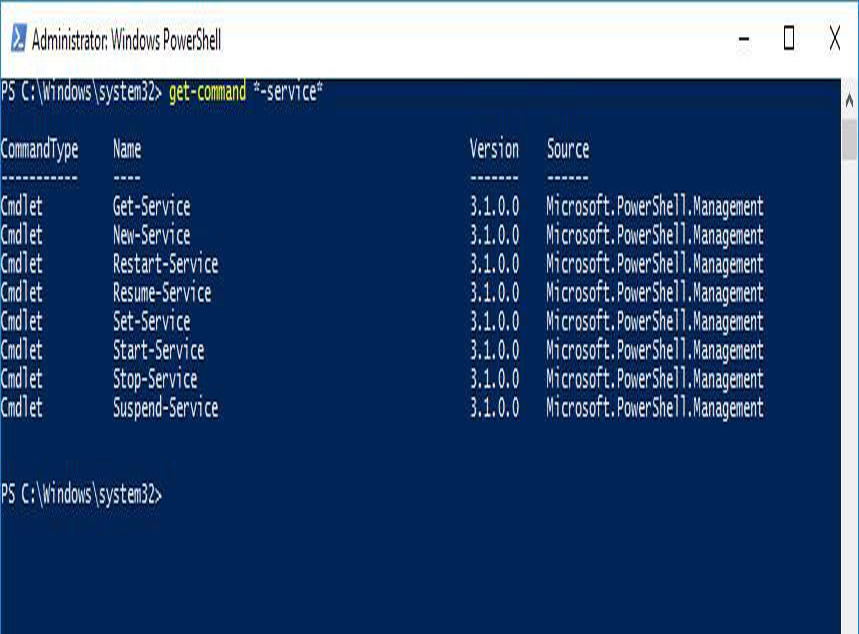
Using PowerShell, you can re-register the Start Menu.
Steps:
- Press Ctrl + Shift + Esc to open Task Manager.
- Click File > Run new task, type powershell, check Create this task with administrative privileges, and press Enter.
- In the PowerShell window, type the following command and press Enter:
sql
Get-AppXPackage -AllUsers | Foreach {Add-AppxPackage -DisableDevelopmentMode -register "$($_.InstallLocation)\AppXManifest.xml"}
7. Check and Repair Windows Files
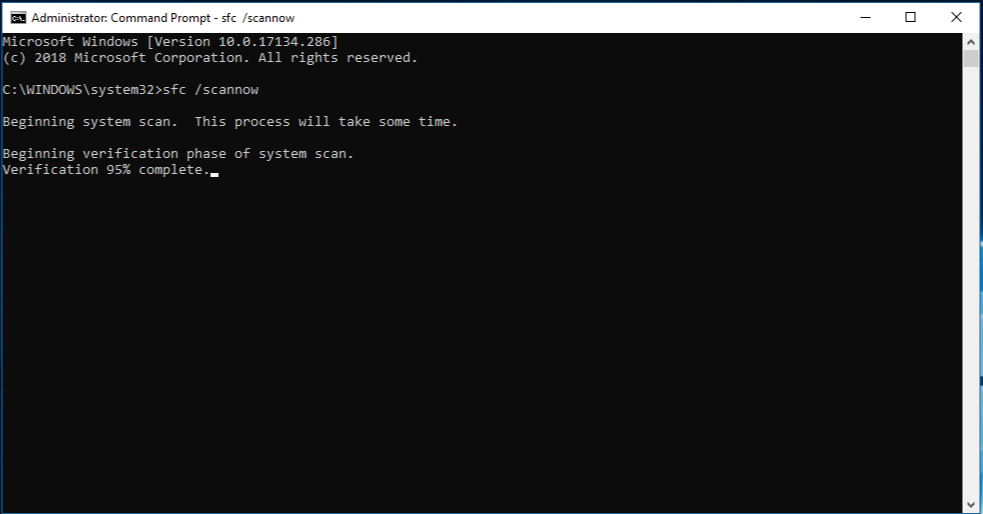
Using the System File Checker (SFC) tool, you can scan and repair corrupted system files.
Steps:
- Open Command Prompt as an administrator: Press Win + X, select Command Prompt (Admin).
- Type
sfc /scannowand press Enter. - Wait for the scan to complete and follow any on-screen instructions.
8. Perform a Clean Boot
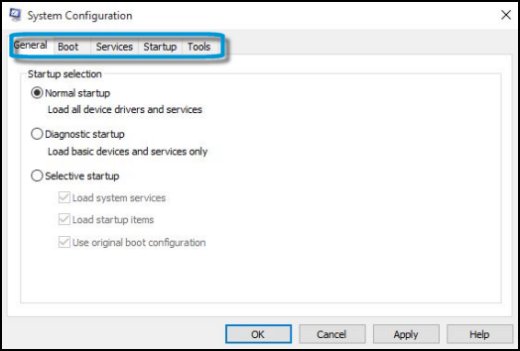
A clean boot can help determine if third-party applications are causing the issue.
Steps:
- Press Win + R, type msconfig, and press Enter.
- Go to the Services tab, check Hide all Microsoft services, and click Disable all.
- Go to the Startup tab and click Open Task Manager.
- Disable all startup items and restart your computer.
9. Use System Restore
System Restore can revert your system to a point when the Start Menu was working correctly.

Steps:
- Type Create a restore point in the search bar and select it.
- Click System Restore and follow the prompts to restore your system to an earlier state.
10. Reset Windows 10
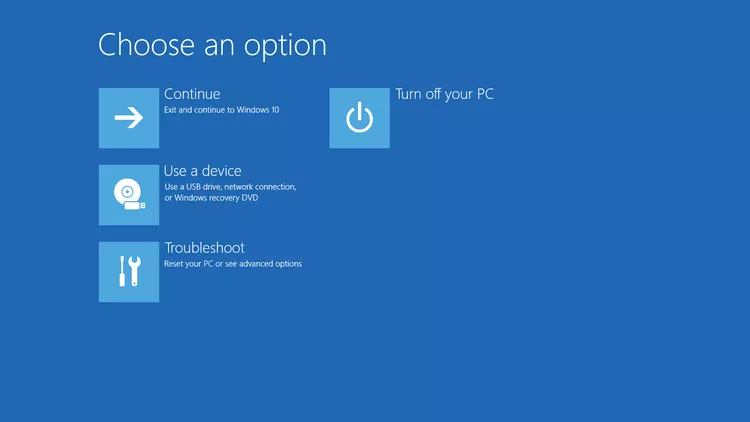
As a last resort, resetting Windows 10 can resolve persistent issues.
Steps:
- Go to Settings > Update & Security > Recovery.
- Under Reset this PC, click Get started.
- Choose whether to keep your files or remove everything and follow the prompts.
By following these steps, you should be able to fix the Start Menu not opening issue in Windows 10. Regular maintenance and keeping your system updated can help prevent such issues in the future.

