How to Resolve High CPU and Disk Usage by Avast Service on Windows 11/10

Avast Antivirus is a popular security software that protects your computer from viruses, malware, and other online threats. However, some users have reported experiencing high CPU and disk usage by the Avast service, which can slow down your computer.
If you’re facing this issue, don’t worry! Here are some effective methods to fix Avast service high CPU and disk usage on Windows 11/10:
Method 1: Update Avast to the Latest Version
Outdated Avast software can sometimes lead to performance issues. Ensure you’re running the latest version of Avast Antivirus by following these steps:
1. Open Avast Antivirus:
Double-click the Avast icon in your taskbar or start menu.
2. Click the “Menu” icon:

It’s located in the top-right corner of the Avast window.
3. Select “Settings”:

In the drop-down menu, choose “Settings.”
4. Go to “Update”:

In the left-hand pane, click on “Update.”
5. Check for updates:

Click the “Check for updates” button.
6. Install available updates:

If any updates are available, follow the on-screen instructions to download and install them.
7. Restart Avast:

Once the updates are installed, restart Avast Antivirus for the changes to take effect.
Method 2: Change Scan Frequency
Avast’s frequent scans can sometimes consume excessive CPU and disk resources. Try adjusting the scan frequency to reduce the load:
1. Open Avast Antivirus:

Double-click the Avast icon in your taskbar or start menu.
2. Click the “Menu” icon:

It’s located in the top-right corner of the Avast window.
3. Select “Settings”:

In the drop-down menu, choose “Settings.”
4. Go to “Protection”:

In the left-hand pane, click on “Protection.”
5. Adjust scan frequency:

Under “Scans,” you can modify the frequency of scheduled scans, such as “Regular scans” and “Boot-time scans.”
6. Consider using manual scans:
Instead of relying on frequent scheduled scans, consider performing manual scans when needed.
Method 3: Repair Avast Installation
If the issue persists, try repairing the Avast installation to fix any corrupted files or configurations:
1. Open Avast Antivirus:

Double-click the Avast icon in your taskbar or start menu.
2. Click the “Menu” icon:

It’s located in the top-right corner of the Avast window.
3. Select “Settings”:

In the drop-down menu, choose “Settings.”
4. Go to “General”:

In the left-hand pane, click on “General.”
5. Click the “Troubleshoot” button:

It’s located at the bottom of the “General” settings page.
6. Choose “Repair Avast”:

In the “Troubleshoot” window, click the “Repair Avast” button.
7. Follow the on-screen instructions:

The repair process will scan and fix any detected issues with your Avast installation.
8. Restart Avast:

Once the repair is complete, restart Avast Antivirus for the changes to take effect.
Method 4: Disable Avast Cleanup Tool
Avast Cleanup Tool, an optional component within Avast, can sometimes cause high CPU usage. Consider disabling it if the issue persists:
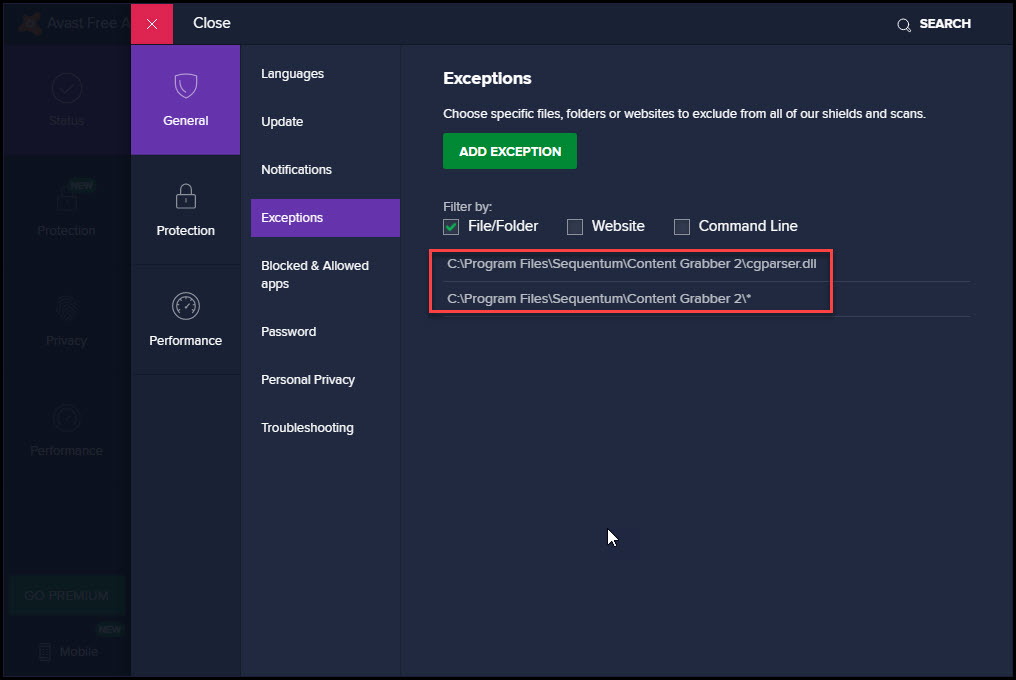
Method 5: Exclude Processes from Scans
If specific processes are consistently causing Avast to spike CPU usage, you can exclude them from scans to reduce the load:
1. Open Avast Antivirus:

Double-click the Avast icon in your taskbar or start menu.
2. Click the “Menu” icon:

It’s located in the top-right corner of the Avast window.
3. Select “Settings”:

In the drop-down menu, choose “Settings.”
4. Go to “Protection”:

In the left-hand pane, click on “Protection.”
5. Click on “Customize scans”:

It’s located under the “Scans” section.
6. Select the “Exclusions” tab:

In the “Customize scans” window, choose the “Exclusions” tab.
7. Add processes to exclude:

Click the “Add” button and select the processes you want to exclude from Avast scans.
8. Click “OK” to save changes:

Once you’ve added the processes, click the “OK” button to save the changes.
Additional Tips:
-
Temporarily disable Avast: If the issue persists, try temporarily disabling Avast Antivirus to see if the high CPU and disk usage stops. This can help determine if Avast is indeed the culprit.
-
Update Windows: Ensure your Windows system is up to date with the latest patches and updates. Sometimes, compatibility issues between Windows and Avast can lead to performance problems.
-
Check for malware: Perform a thorough scan of your system using a reputable malware scanner to rule out any malware infections that might be causing the excessive CPU and disk usage.
-
Contact Avast Support: If none of these methods resolve the issue, contact Avast customer support for further assistance. They may have more advanced troubleshooting steps or identify specific issues related to your Avast configuration.
By following these methods and tips, you should be able to effectively fix Avast service high CPU and disk usage on Windows 11/10 and restore your computer’s performance. Remember to keep your Avast software updated and monitor your system’s resource usage regularly to maintain optimal performance.


