Fix: Ethernet Invalid IP Configuration in Windows 10
The “Ethernet Doesn’t Have a Valid IP Configuration” error in Windows 10 can be frustrating, especially when it prevents you from connecting to the internet. This error occurs when your computer is unable to obtain a valid IP address from the DHCP server, which is essential for establishing a network connection. In this guide, we’ll explore the causes of this error and provide step-by-step solutions to fix it.

Understanding the Error
What Causes the “Ethernet Doesn’t Have a Valid IP Configuration” Error?
This error is generally caused by a misconfiguration in your network settings, issues with your network adapter, or problems with the DHCP server. Some common causes include:
- Faulty network adapter drivers
- Incorrect network settings
- Issues with the router or modem
- DHCP server failure
How to Fix the “Ethernet Doesn’t Have a Valid IP Configuration” Error
If you’re encountering this error, follow these steps to troubleshoot and resolve the issue.
1. Restart Your Router or Modem
Sometimes, the issue can be resolved by simply restarting your router or modem. This refreshes the network and can fix minor connectivity issues.
Steps:
- Power Off Your Router/Modem:
- Unplug the power cable from your router or modem.
- Wait for a Few Seconds:
- Wait for about 30 seconds to 1 minute to allow the device to fully power down.
- Power On the Router/Modem:
- Plug the power cable back in and wait for the router or modem to restart completely.
- Check the Connection:
- Once the device is back online, check if the error is resolved.
2. Release and Renew Your IP Address
Releasing and renewing your IP address can often resolve IP configuration issues by obtaining a new IP address from the DHCP server.
Steps:
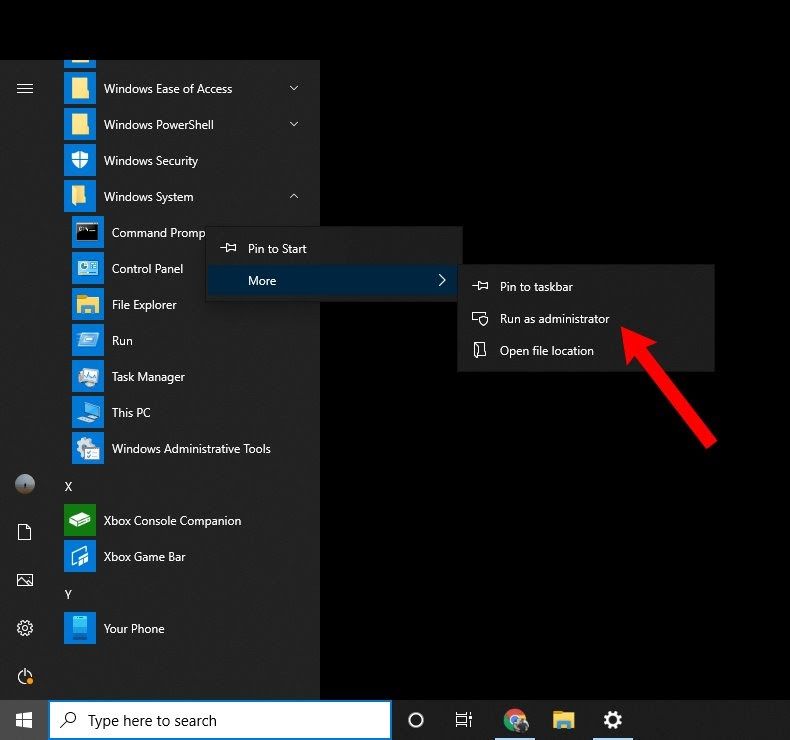
- Open Command Prompt as Administrator:
- Press Win + X and select Command Prompt (Admin).
- Release the Current IP Address:
- Type
ipconfig /releaseand press Enter. - This command will release your current IP address.
- Type
- Renew the IP Address:
- Type
ipconfig /renewand press Enter. - This command will request a new IP address from the DHCP server.
- Type
- Check the Connection:
- After the process completes, check if the error is resolved.
3. Reset TCP/IP Stack

Resetting the TCP/IP stack can help resolve configuration issues by resetting all network settings to their default values.
Steps:
- Open Command Prompt as Administrator:
- Press Win + X and select Command Prompt (Admin).
- Reset TCP/IP Stack:
- Type the following command and press Enter:
perl
netsh int ip reset
- Type the following command and press Enter:
- Restart Your Computer:
- After the command executes successfully, restart your computer.
- Check the Connection:
- Once your computer restarts, check if the network issue is resolved.
4. Update or Reinstall Network Adapter Drivers

Outdated or corrupted network adapter drivers can cause IP configuration issues. Updating or reinstalling the drivers can resolve the error.
Steps:
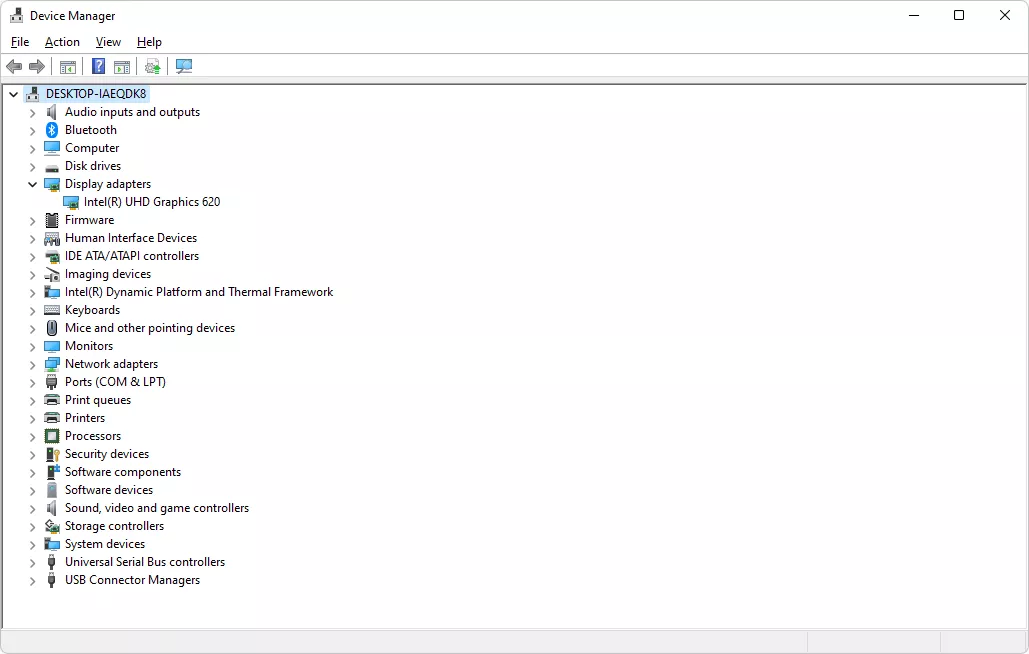
- Open Device Manager:
- Press Win + X and select Device Manager.
- Locate Your Network Adapter:
- Expand the Network adapters section and find your Ethernet adapter.
- Update the Driver:
- Right-click on the adapter and select Update driver.
- Choose Search automatically for updated driver software and follow the prompts.
- Reinstall the Driver (If Necessary):
- If updating doesn’t work, right-click on the adapter and select Uninstall device.
- Restart your computer, and Windows will automatically reinstall the driver.
- Check the Connection:
- After updating or reinstalling the driver, check if the error is resolved.
5. Set a Static IP Address

If the DHCP server is not working correctly, setting a static IP address can bypass the issue.
Steps:
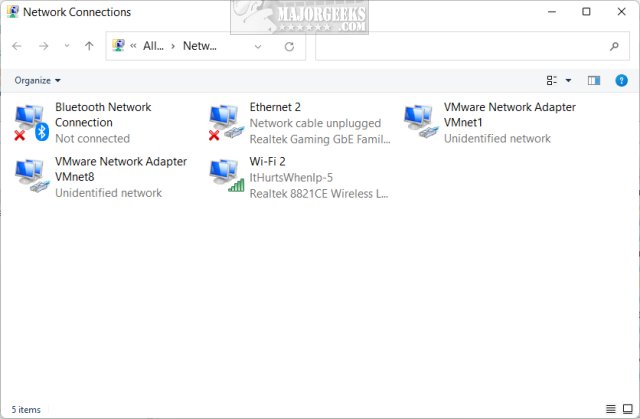
- Open Network Connections:
- Press Win + R, type
ncpa.cpl, and press Enter.
- Press Win + R, type
- Access Ethernet Properties:
- Right-click on your Ethernet connection and select Properties.
- Set a Static IP:
- Double-click on Internet Protocol Version 4 (TCP/IPv4).
- Select Use the following IP address and enter an IP address, subnet mask, and default gateway that matches your network configuration.
- You can find this information by running
ipconfigin Command Prompt on a working device.
- Apply the Settings:
- Click OK to save the changes and check if the connection is restored.
6. Disable Fast Startup

Fast Startup can sometimes interfere with the network configuration process. Disabling it may resolve the IP configuration issue.
Steps:
- Open Control Panel:
- Press Win + S, type Control Panel, and press Enter.
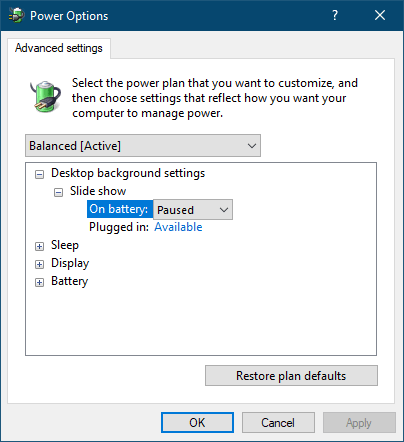
- Navigate to Power Options:
- Go to Hardware and Sound > Power Options > Choose what the power buttons do.
- Disable Fast Startup:
- Click on Change settings that are currently unavailable.
- Uncheck Turn on fast startup (recommended).
- Click Save changes and restart your computer.
- Check the Connection:
- After disabling Fast Startup, check if the error is resolved.
Conclusion
The “Ethernet Doesn’t Have a Valid IP Configuration” error in Windows 10 can be caused by a variety of factors, including network adapter issues, incorrect settings, or problems with the DHCP server. By following the steps outlined in this guide—restarting your router, renewing your IP address, resetting the TCP/IP stack, updating network drivers, setting a static IP, and disabling Fast Startup—you can effectively troubleshoot and resolve this issue. Ensuring your network configuration is correct and keeping your drivers up to date can help prevent similar problems in the future.

