SAAC's Team
July 31, 2024
10 Effective Fixes for the “Windows Can’t Connect to This Network” Error
Encountering the “Windows can’t connect to this network” error can be frustrating, especially when you rely on a stable internet connection. This error can be caused by a variety of factors, ranging from simple connectivity issues to more complex network problems. In this guide, we’ll explore ten effective solutions to help you resolve this common issue.
Understanding the Error
This error typically appears when your Windows device fails to establish a connection to a wireless or wired network. The underlying causes can vary, including:
- Incorrect network settings: Incorrectly configured network settings can prevent your device from connecting.
- Driver issues: Outdated or corrupted network drivers can cause connectivity problems.
- Hardware malfunctions: Faulty network adapters or hardware can interfere with the connection.
- Network interference: Other devices or environmental factors may be interfering with your wireless signal.
- Internet service provider (ISP) issues: Problems with your ISP’s service can prevent you from connecting.
Solutions
1. Restart Your Device and Router
- Power cycle: Turn off your device and router, wait for 30 seconds, and then turn them back on. This can often resolve temporary glitches.
2. Check Physical Connections
- Inspect cables: Ensure that all network cables are securely connected to your device and router.
- Check Wi-Fi adapter: If using Wi-Fi, make sure the physical switch on your device is turned on.

3. Forget and Rejoin the Network
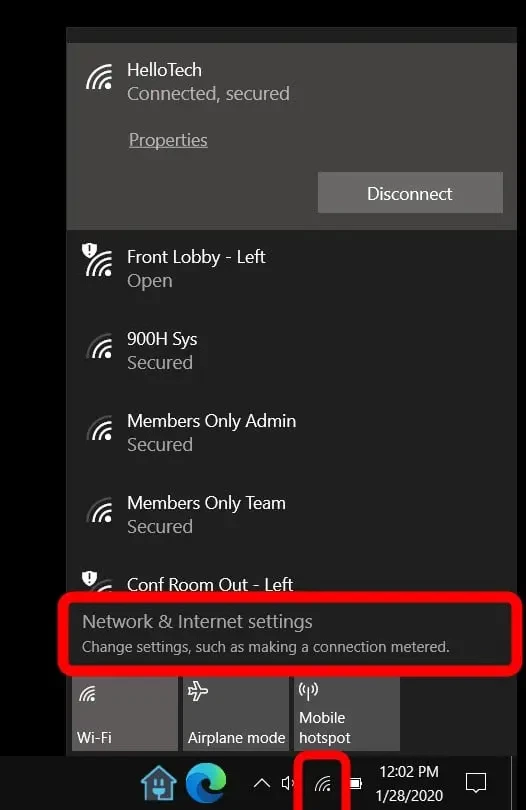
- Forget network: In your network settings, forget the problematic network.
- Rejoin: Scan for available networks and reconnect to your network.

4. Update Network Drivers
- Device Manager: Go to Device Manager, update your network adapter drivers.
- Manufacturer’s website: Download the latest drivers from the manufacturer’s website.

5. Disable Firewall and Antivirus Temporarily
- Check for conflicts: Temporarily disable your firewall and antivirus software to see if they are interfering with the connection.
6. Reset Network Settings
- Network settings: Reset your network settings to their default values.
- Command prompt: Use commands like
netsh winsock resetandnetsh int ip resetto reset Winsock and IP settings.
7. Check for Windows Updates
- Windows Update: Ensure your Windows is up-to-date with the latest updates.
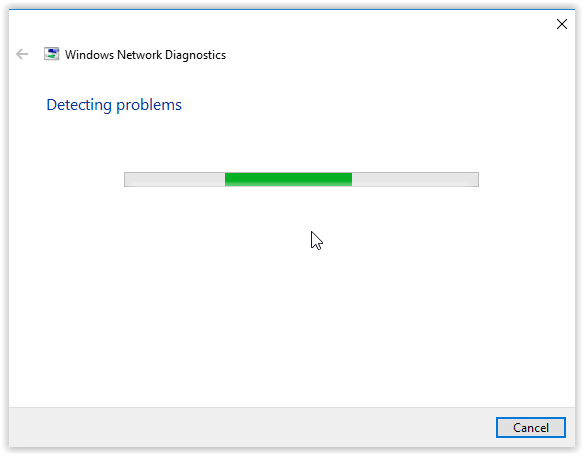
8. Use the Network Troubleshooter
- Built-in tool: Use Windows’ built-in network troubleshooter to automatically detect and fix common issues.

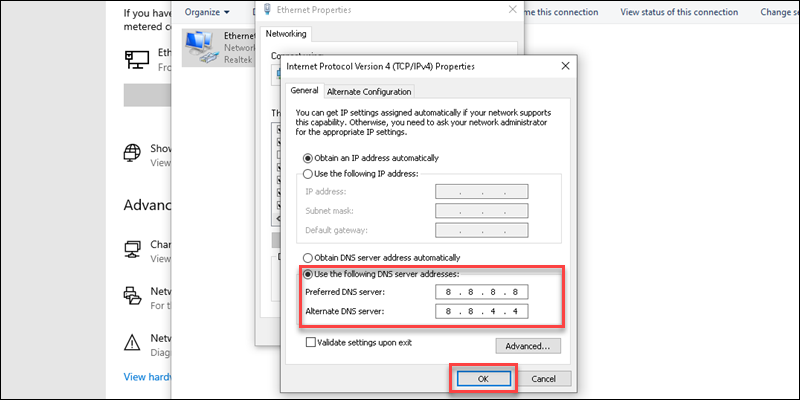
9. Change DNS Servers
- Public DNS: Try using a public DNS server like Google DNS (8.8.8.8, 8.8.4.4) or OpenDNS.

10. Contact Your ISP
- ISP support: If none of the above solutions work, contact your ISP for further assistance. They may be experiencing outages or have configuration issues on their end.
Additional Tips
- Check for malware: Run a full system scan with your antivirus software to rule out malware infections.
- Check for hardware issues: If you suspect a hardware problem, consider testing your network adapter with a different device.
- Try a wired connection: If you’re using Wi-Fi, try connecting your device directly to your router using an Ethernet cable.
Table of Contents :
- Here’s How to Resolve the “/fixboot Access is Denied” Error in Windows 10
- Here’s How to Resolve the DNS_Probe_Finished_No_Internet Error in Google Chrome
- Here’s how to resolve the Err_Connection_Reset error in Google Chrome
- 10 Effective Fixes for the “Windows Can’t Connect to This Network” Error
- Resolved: PAGE_FAULT_IN_NONPAGED_AREA Error on Windows
Subscribe
Login
0 Comments
Oldest

