Resolving Error Code 0xA00F4244: No Cameras Are Attached
If you’re encountering the error code 0xA00F4244 “NoCamerasAreAttached” on your Windows 10 or 11 PC, it means that your computer is unable to detect your webcam. This can be a frustrating issue, especially if you rely on your webcam for video calls, online meetings, or taking pictures.
The good news is that there are several troubleshooting steps you can take to try to fix this error and get your webcam working again. Here’s a step-by-step guide to help you resolve the issue:
1. Check for Physical Connections
Before diving into software solutions, it’s essential to rule out any physical connection issues. Ensure that your webcam is properly connected to your computer. If you’re using an external webcam, make sure it’s firmly plugged into a USB port. Try using a different USB port to see if the issue persists.
2. Enable Camera Access for Apps
Windows 10/11 has privacy settings that control which apps can access your webcam. Sometimes, these settings might be preventing your webcam from working properly. To verify that apps have access to your camera, follow these steps:
-
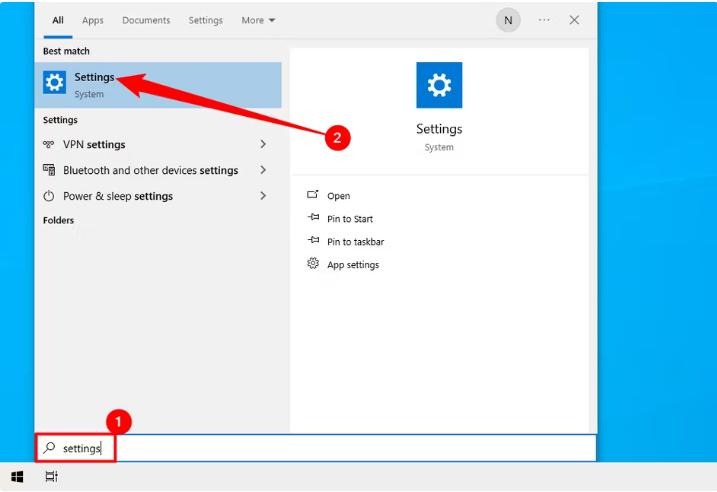
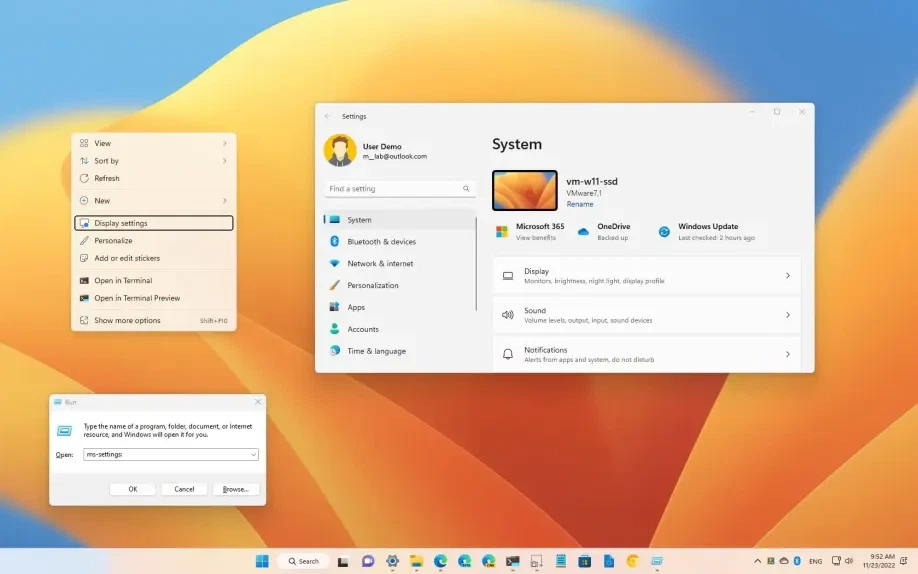
Open the Settings app (Win + I).
-
Go to Privacy > Camera.
-
Under Allow apps to access your camera, make sure the toggle switch is turned On.
-
Scroll down to the Choose which apps can access your camera section. Make sure the app you’re trying to use your webcam with is toggled On.
3. Update Camera Drivers
Outdated or corrupted camera drivers can also cause issues with webcam functionality. Updating your camera drivers can often resolve these problems. To update your camera drivers, follow these steps:
-
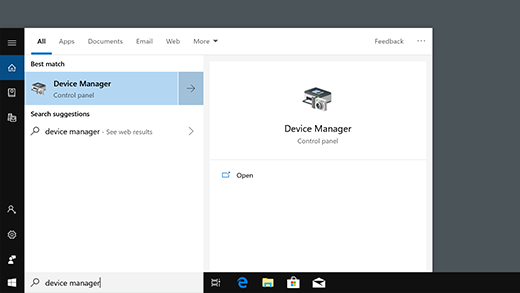
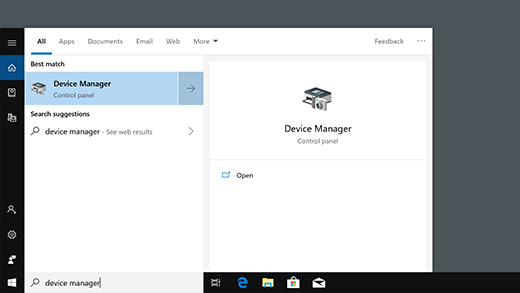
Open the Device Manager. You can do this by right-clicking the Start button and selecting Device Manager.
-
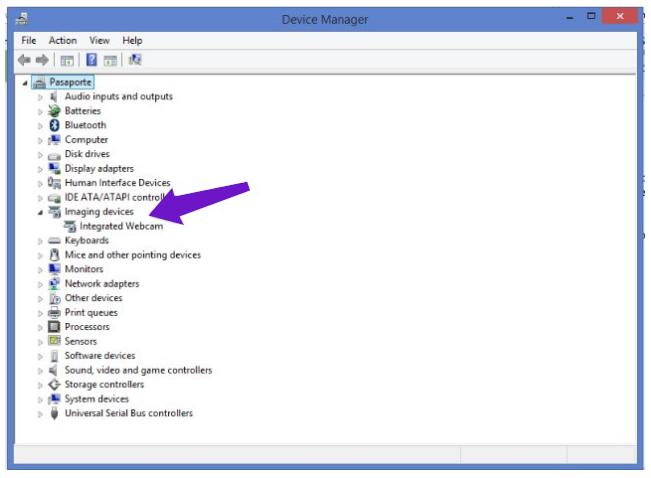
Expand the Imaging devices category.
-
Locate your webcam in the list of devices. It might be listed as Integrated Camera, USB2.0 Camera, or something similar.
-
Right-click on your webcam and select Update driver.
-
Choose Search automatically for updated driver software.
-
Windows will search for and install the latest drivers for your webcam.
4. Reset the Camera App
If the issue persists, try resetting the Camera app. Resetting the app can clear any temporary glitches or corrupted data that might be causing problems. To reset the Camera app, follow these steps:
-
Open the Settings app (Win + I).
-
Go to Apps > Apps & features.
-
Search for Camera in the search bar.
-
Click on Camera and then Advanced options.
-
Scroll down and click on Reset.
-
Click on Reset again to confirm.
5. Check for System Updates
Ensure your Windows system is up to date with the latest patches and updates. These updates often include bug fixes and security enhancements that might resolve compatibility issues with your webcam.
-
Open the Settings app (Win + I).
-
Go to Update & Security > Windows Update.
-
Click on Check for updates.
-
Install any available updates and restart your computer.
6. Run System File Checker (SFC)
System File Checker (SFC) is a built-in Windows tool that scans and repairs corrupted system files. Corrupted system files can sometimes cause issues with hardware devices, including webcams. To run SFC, follow these steps:
-
Open Command Prompt as administrator. You can do this by right-clicking the Start button and selecting Command Prompt (Admin).
-
In the Command Prompt window, type the following command and press Enter:
sfc /scannow
-
The SFC tool will scan your system for corrupted files and attempt to repair them.
-
Once the scan is complete, restart your computer and try using your webcam
7. Reinstall Camera Drivers
If updating the drivers didn’t resolve the issue, you may need to reinstall them. This can help remove any corrupted or incompatible drivers and install fresh ones.
-
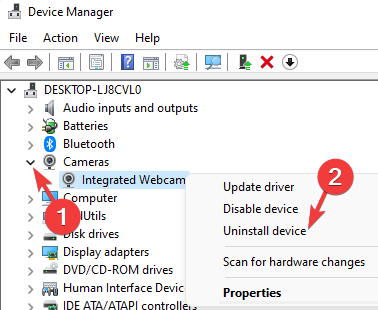
Open the Device Manager.
-
Expand the Imaging devices category.
-
Right-click on your webcam and select Uninstall device.
-
Check the box next to Delete the driver software for this device if it’s not already checked.
-
Click Uninstall.
-
Restart your computer. Windows will automatically reinstall the drivers for your webcam.
8. Disable Antivirus Temporarily
In some cases, antivirus software can interfere with webcam functionality. Try disabling your antivirus software temporarily to see if the issue persists. If your webcam works after disabling antivirus, you may need to update your antivirus software or configure it to exclude your webcam.
9. Create a New User Profile
If the issue persists, creating a new user profile can help determine if the problem is related to your current user profile. To create a new user profile, follow these steps:
-
Open the Settings app (Win + I).
-
Go to Accounts > Family & other users.
-
Click on Add a family member.
-
Select I don’t have this person’s sign-in information.
-
Follow the on-screen instructions to create a new local user account.
-
Log out of your current account and log in to the newly created account.
-
Try using your webcam from the new user profile.
10. Perform a System Restore
If the issue started recently, performing a System Restore can revert your system to a previous working state. This can help if the problem was caused by a recent software installation or system change.
-
Open Start Menu and search for System Restore.
-
Open System Restore and click Next.
-
Select a restore point that is dated before the issue started.
-
Click Next and then Finish to restore your system.
-
Once the restore is complete, restart your computer and try using your webcam again.
Additional Tips:
-
If you’re using an external webcam, try using it on a different computer to see if it’s working properly.
-
Check for any pending updates for your graphics card drivers and other essential drivers.
-
If you’re comfortable with using the Registry Editor, you can try modifying the following registry key:
HKEY_LOCAL_MACHINE\SOFTWARE\Microsoft\Windows Media Foundation\Platform\CurrentDevice
Set the value of the EnableCamera DWORD to 1.
Important Note:
Before making any changes to the registry, it’s highly recommended to create a backup of your registry in case something goes wrong.
If the issue persists after trying all these troubleshooting steps, it might be a more serious problem requiring professional assistance. Consider contacting Microsoft support or a qualified computer technician for further assistance.


