How to Use Split Screen on Windows 10/11

Splitting your screen in Windows 10 or 11 is a fantastic way to boost productivity and multitask efficiently. Whether you’re comparing documents, referencing information, or working on multiple projects simultaneously, splitting your screen can streamline your workflow. This guide will walk you through the various methods and features available for splitting your screen on Windows.
Why Split Your Screen?
- Enhanced Productivity: View multiple windows side-by-side, eliminating the need to constantly switch between them.
- Improved Multitasking: Work on different tasks simultaneously without losing focus.
- Efficient Comparison: Easily compare documents, spreadsheets, or web pages.
- Streamlined Workflow: Organize your workspace and access information more efficiently.
Method 1: Snap Assist

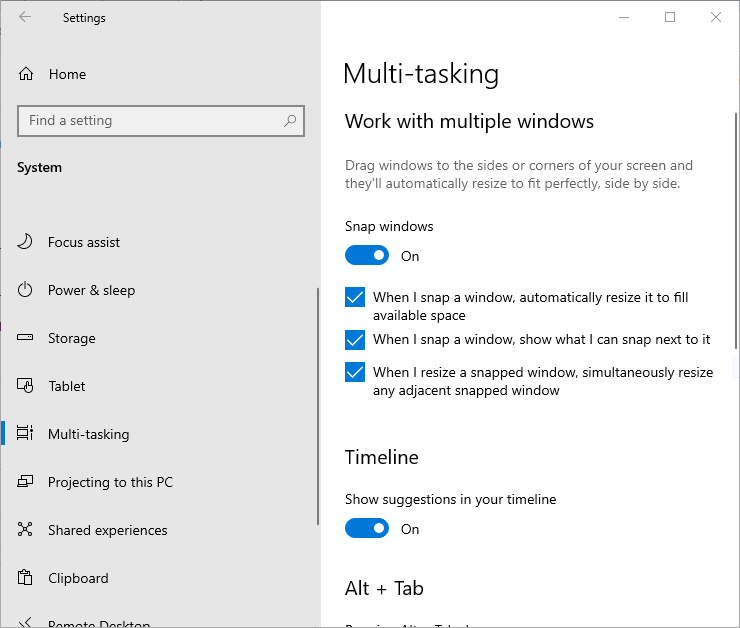
Snap Assist is a built-in feature in Windows that makes splitting your screen incredibly easy.
- Drag and Snap: Click and hold the title bar of a window, then drag it to the left or right edge of your screen. Release the mouse button to snap the window to that half of the screen.
- Snap Assist Suggestions: Windows will automatically display other open windows as thumbnails on the other half of the screen. Click on a thumbnail to snap it into place.
Method 2: Keyboard Shortcuts

Keyboard shortcuts offer a quick and convenient way to split your screen:
- Windows key + Left Arrow: Snap the active window to the left half of the screen.
- Windows key + Right Arrow: Snap the active window to the right half of the screen.
- Windows key + Up Arrow: Maximize the active window.
- Windows key + Down Arrow: Minimize the active window.
Method 3: FancyZones (PowerToys)

FancyZones is a powerful tool included in Microsoft’s PowerToys suite that allows you to create custom layouts for your windows.
- Install PowerToys: Download and install PowerToys from the Microsoft Store or GitHub.
- Launch FancyZones Editor: Open PowerToys settings and navigate to the FancyZones section.
- Create Custom Layouts: Choose from pre-defined layouts or create your own to perfectly match your workflow.
Additional Tips
- Adjust Split Sizes: You can adjust the size of each snapped window by dragging the divider between them.
- Snap Multiple Windows: You can snap up to four windows simultaneously using Snap Assist or keyboard shortcuts.
- Use Virtual Desktops: Combine split-screen with virtual desktops to create separate workspaces for different tasks.
Conclusion
Splitting your screen in Windows 10 or 11 is a simple yet effective way to boost your productivity and multitasking capabilities. Whether you prefer the convenience of Snap Assist, the speed of keyboard shortcuts, or the customization of FancyZones, there’s a method that suits your needs. Start splitting your screen today and experience a more efficient workflow!
Editor’s Recommended Articles
» How to Use Snip & Sketch to Capture and Edit Screenshots in Windows 10
» How to screenshot on Windows PCs: Methods To Take Screenshots on Windows 10 and 11
» How To Hide Taskbar in Fullscreen in Windows 10/11
» How to Fix Screen Resolution Problems in Windows 10
» How To Use Split Screen On Windows 10
» How to Capture Scrolling Screenshot Windows 10/11
» How to Screenshot on Mac and How to Edit Screenshots on Mac

