How to Take a Scrolling Screenshot on Windows 10/11
Capturing a scrolling screenshot, also known as a full-page screenshot, is incredibly useful when you want to save a webpage, document, or any content that extends beyond your screen’s visible area. This guide will walk you through various methods to achieve this in Windows 10 and 11.
Why Capture Scrolling Screenshots?
- Save Webpages: Capture entire articles, recipes, or online resources for offline viewing.
- Document Long Content: Save lengthy documents or chat conversations as a single image.
- Share Information: Easily share visual representations of long content with others.
- Record Tutorials: Create step-by-step guides or tutorials by capturing scrolling screenshots.
Method 1: Using Microsoft Edge’s Web Capture Tool

Microsoft Edge, the default browser in Windows, comes with a built-in scrolling screenshot tool called “Web Capture.”
- Open Microsoft Edge: Launch Edge and navigate to the webpage you want to capture.
- Activate Web Capture: Click the three-dot menu icon (…) in the upper right corner and select “Web Capture.”
- Choose “Capture full page”: This will automatically scroll down the page and capture the entire content.
- Save or Copy: Click the “Save” or “Copy” button to save the screenshot to your computer or clipboard.
Method 2: Third-Party Tools
Several third-party tools offer more advanced features for capturing scrolling screenshots:
- PicPick: A versatile screenshot tool with scrolling capture and editing capabilities.
- Snagit: A powerful screen capture and recording software with various annotation and editing features.
- ShareX: A free and open-source tool with extensive customization options and a wide range of capture modes.
These tools typically offer additional features like image editing, annotation, and direct sharing to social media or cloud storage.
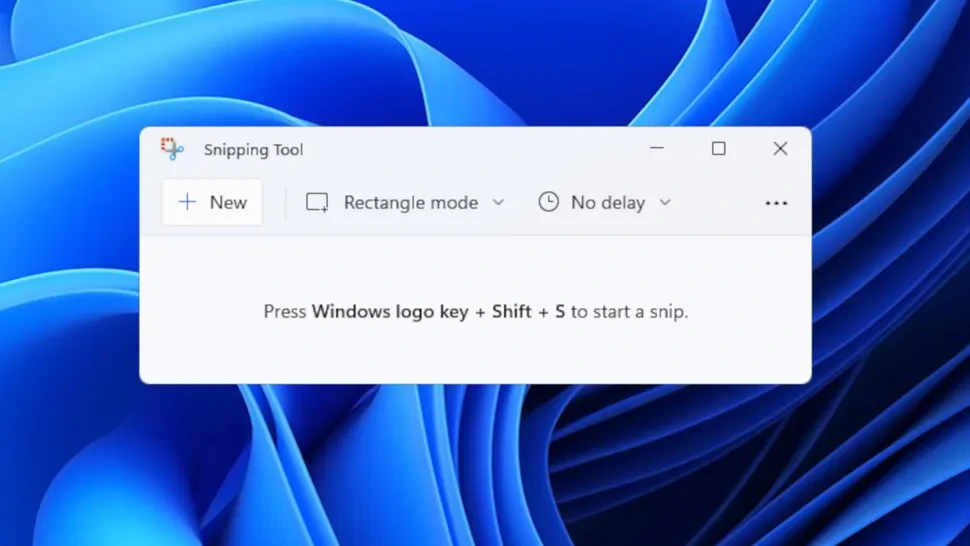
Method 3: Snipping Tool (Windows 11)

The Snipping Tool in Windows 11 has been enhanced to include a scrolling capture mode:
- Open Snipping Tool: Press Windows key + Shift + S.
- Select “Window Snip”: Choose the window you want to capture.
- Scroll: Scroll down the content you want to capture.
- Save or Copy: The Snipping Tool will automatically capture the entire scrollable area. Save or copy the screenshot as desired.
Additional Tips
- Disable Sticky Scroll: If you experience issues with scrolling capture, try disabling “Sticky Scroll” in your browser settings.
- Check for Updates: Ensure your browser and operating system are up-to-date for optimal performance.
- Experiment with Different Tools: Try different tools to find the one that best suits your needs and preferences.
Conclusion
Capturing scrolling screenshots is a valuable skill for anyone who works with digital content. Whether you use Microsoft Edge’s built-in tool, a third-party application, or the Snipping Tool in Windows 11, you can easily save and share full-page captures of webpages, documents, and more.
You can also read related articles
> How to screen shot on Windows PCs: 5 Methods To Take Screenshots on Windows 10
> How To Find Your Windows 10 Product Key
> How to Optimize Your Outlook Inbox in 5 Easy Steps
> How to Record Audio on Mac
> How to Use Snip & Sketch to Capture and Edit Screenshots in Windows 10
