How to Remove or Change the Name of the Software Distribution Folder in Windows 10/11

The Software Distribution folder in Windows is a crucial component of the Windows Update process. It stores temporary files and update packages downloaded by Windows Update. However, this folder can sometimes become bloated or corrupted, leading to update errors or sluggish performance. Deleting or renaming this folder can help resolve these issues. This guide will walk you through the process safely and effectively.
Why Delete or Rename the Software Distribution Folder?
Before we dive into the steps, let’s understand why you might want to delete or rename this folder:
- Resolve Update Errors: If you’re encountering errors during Windows Update, clearing the Software Distribution folder can often fix the problem.
- Free Up Disk Space: This folder can accumulate a significant amount of data over time. Deleting or renaming it can free up valuable disk space.
- Fix Corrupted Files: If the folder’s contents become corrupted, it can hinder the update process.
Important Note: Deleting or renaming the Software Distribution folder will not permanently remove Windows Update files. Windows will automatically recreate the folder and download necessary files when you run Windows Update again.
How to Delete or Rename the Software Distribution Folder
Follow these steps to safely delete or rename the Software Distribution folder:
1. Stop Windows Update Services

- Open Run: Press Win + R to open the Run dialog box.
- Type “services.msc”: Type
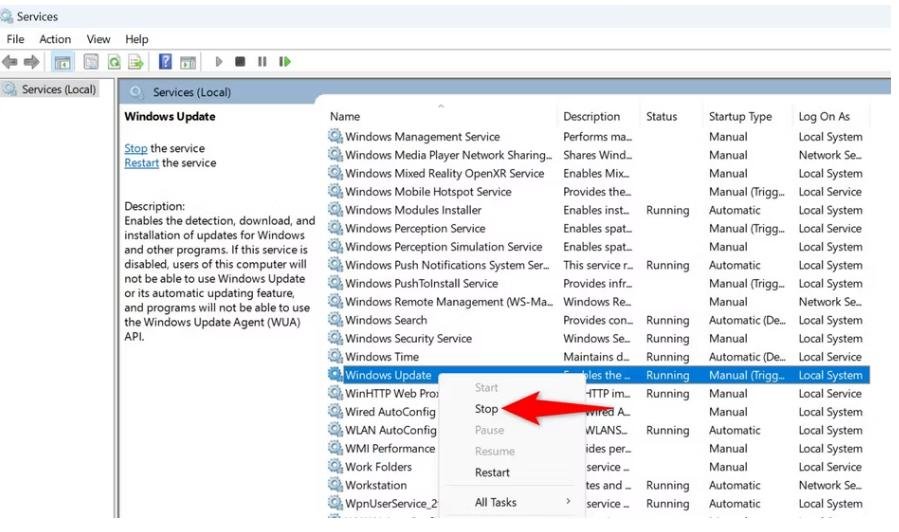
services.mscand press Enter. - Locate Windows Update: In the Services window, find the “Windows Update” service.
- Stop the Service: Right-click “Windows Update” and select “Stop.”
- Repeat for Other Services: Repeat the process for the “Background Intelligent Transfer Service” (BITS).
2. Delete or Rename the Folder

- Open File Explorer: Press Win + E to open File Explorer.
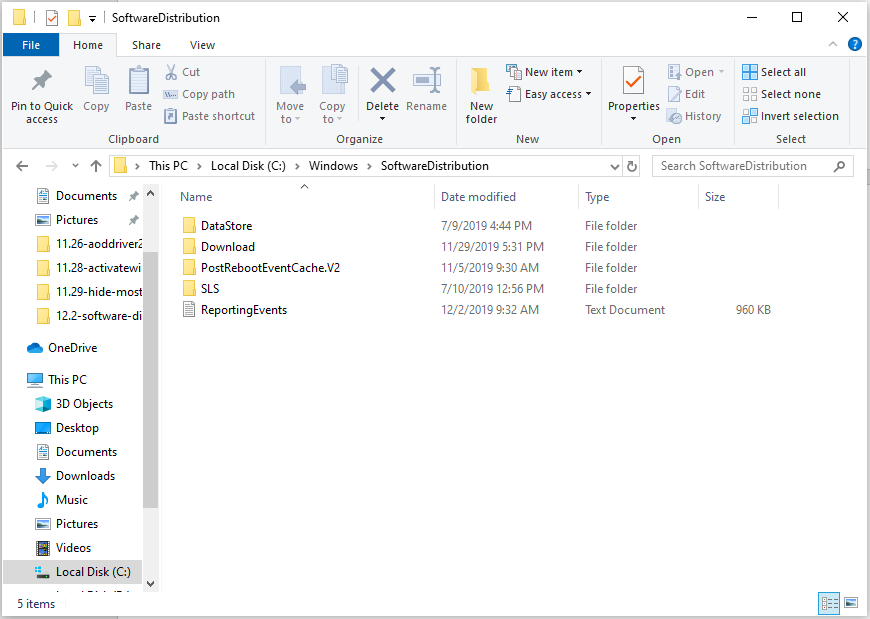
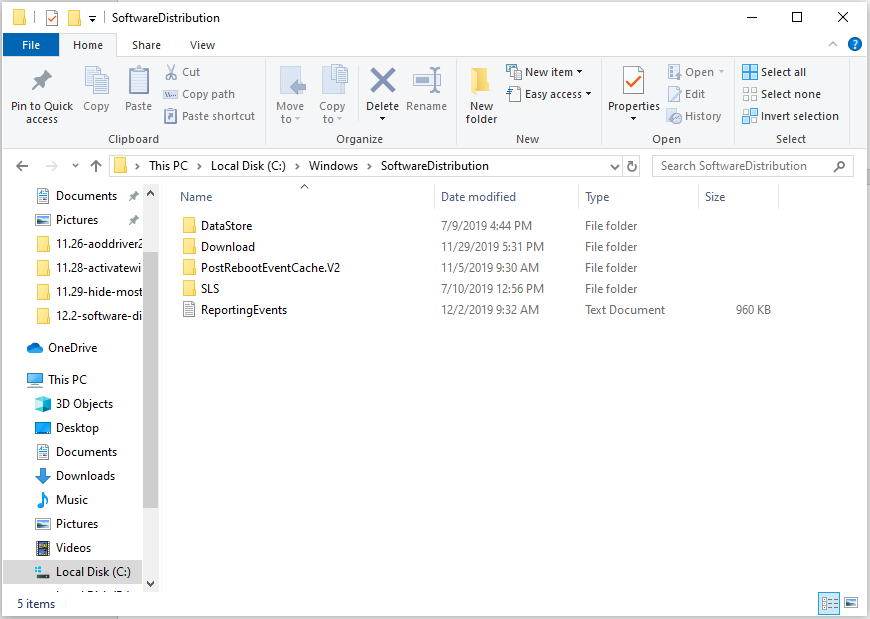
- Navigate to the Folder: Go to
C:\Windows\SoftwareDistribution. - Delete or Rename:
- Delete: Select all files and folders inside the Software Distribution folder (Ctrl + A) and press Delete.
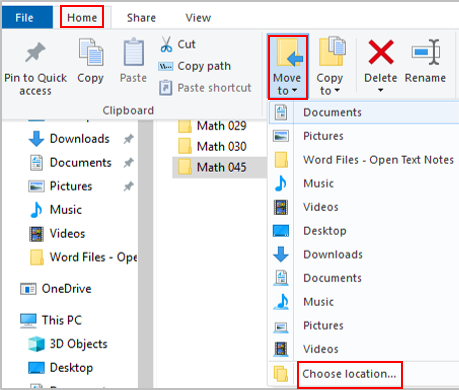
- Rename: Right-click the folder, select “Rename,” and add “.old” to the end of the name (e.g., SoftwareDistribution.old).
3. Restart Windows Update Services
- Open Services: Return to the Services window.
- Start the Services: Right-click “Windows Update” and “Background Intelligent Transfer Service” and select “Start” for each.
4. Run Windows Update
- Open Settings: Press Win + I to open Windows Settings.
- Update & Security: Click on “Update & Security.”
- Windows Update: Select “Windows Update” and click “Check for updates.”
Additional Tips
- Safe Mode: If you’re having trouble deleting or renaming the folder, try booting into Safe Mode and repeating the steps.
- Command Prompt: You can also use Command Prompt to stop and start the services:
- Stop:
net stop wuauservandnet stop bits - Start:
net start wuauservandnet start bits
- Stop:
By following these instructions, you can safely delete or rename the Software Distribution folder in Windows 10/11, potentially resolving update issues and freeing up disk space. Remember to always back up your data before making significant changes to your system.
Keep Learning
» Why Does Windows 11 Need TPM 2.0? What is TPM?
» How to Fix ‘Hardware Problems Were Detected’ Error on Windows Memory Diagnostic
» Fixed: Windows Could Not Automatically Detect This Network’s Proxy Settings

