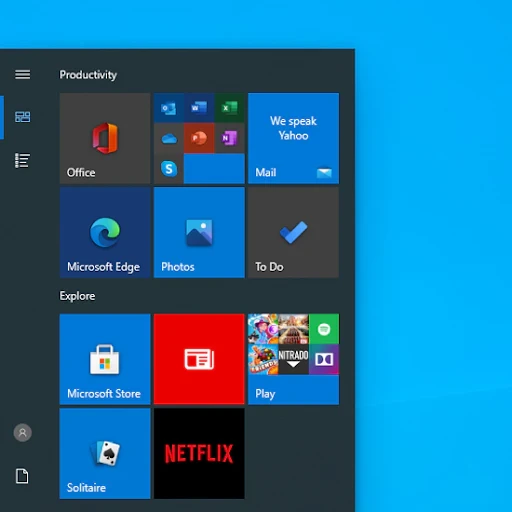
How to Display Only Tiles on the Windows 10 Start Menu

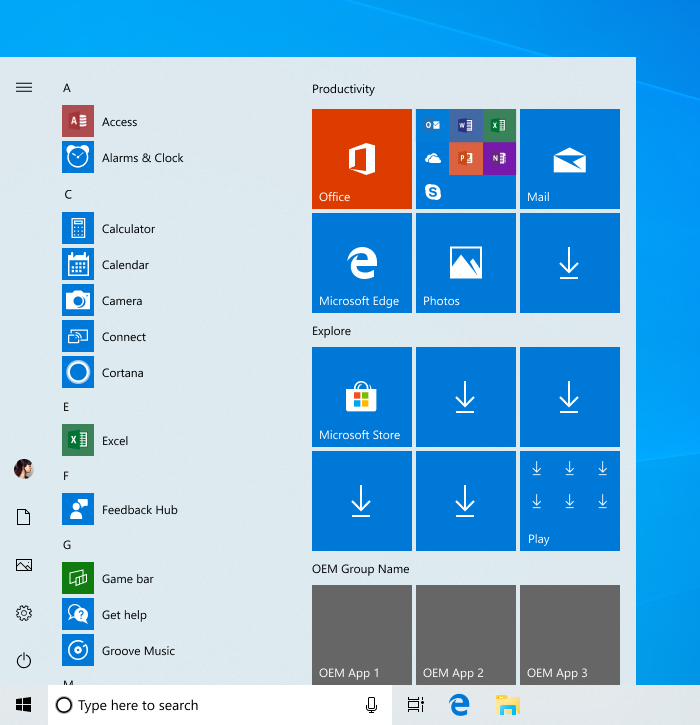
Windows 10’s Start Menu offers a unique blend of the classic list-style menu and modern live tiles. While some users appreciate the dynamic nature of live tiles, others might prefer a cleaner look with only static tiles. This guide will walk you through the steps to customize your Start Menu to display only tiles.
Why Choose Tiles-Only Start Menu?
- Clean and Organized: A tiles-only Start Menu provides a visually uncluttered interface, making it easier to find your apps and programs.
- Customization: You can resize, rearrange, and group tiles to personalize your Start Menu layout.
- Quick Access: Tiles offer a visual representation of your apps, allowing you to launch them with a single click.
Steps to Show Only Tiles
-
Open the Start Menu: Click the Windows icon in the bottom-left corner of your screen or press the Windows key on your keyboard.
-
Unpin All Items from the Left Pane:
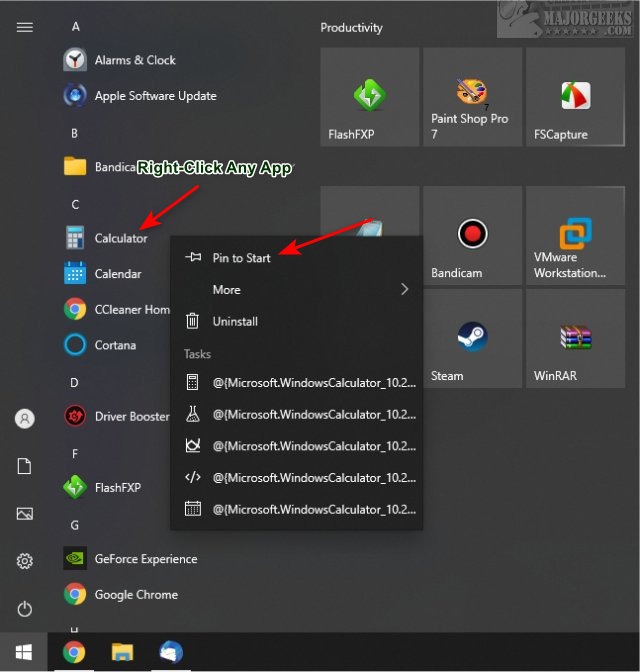
- Right-click on each item (app, folder, or document) listed in the left pane of the Start Menu.
- Select “Unpin from Start” from the context menu.

-
Resize the Start Menu:
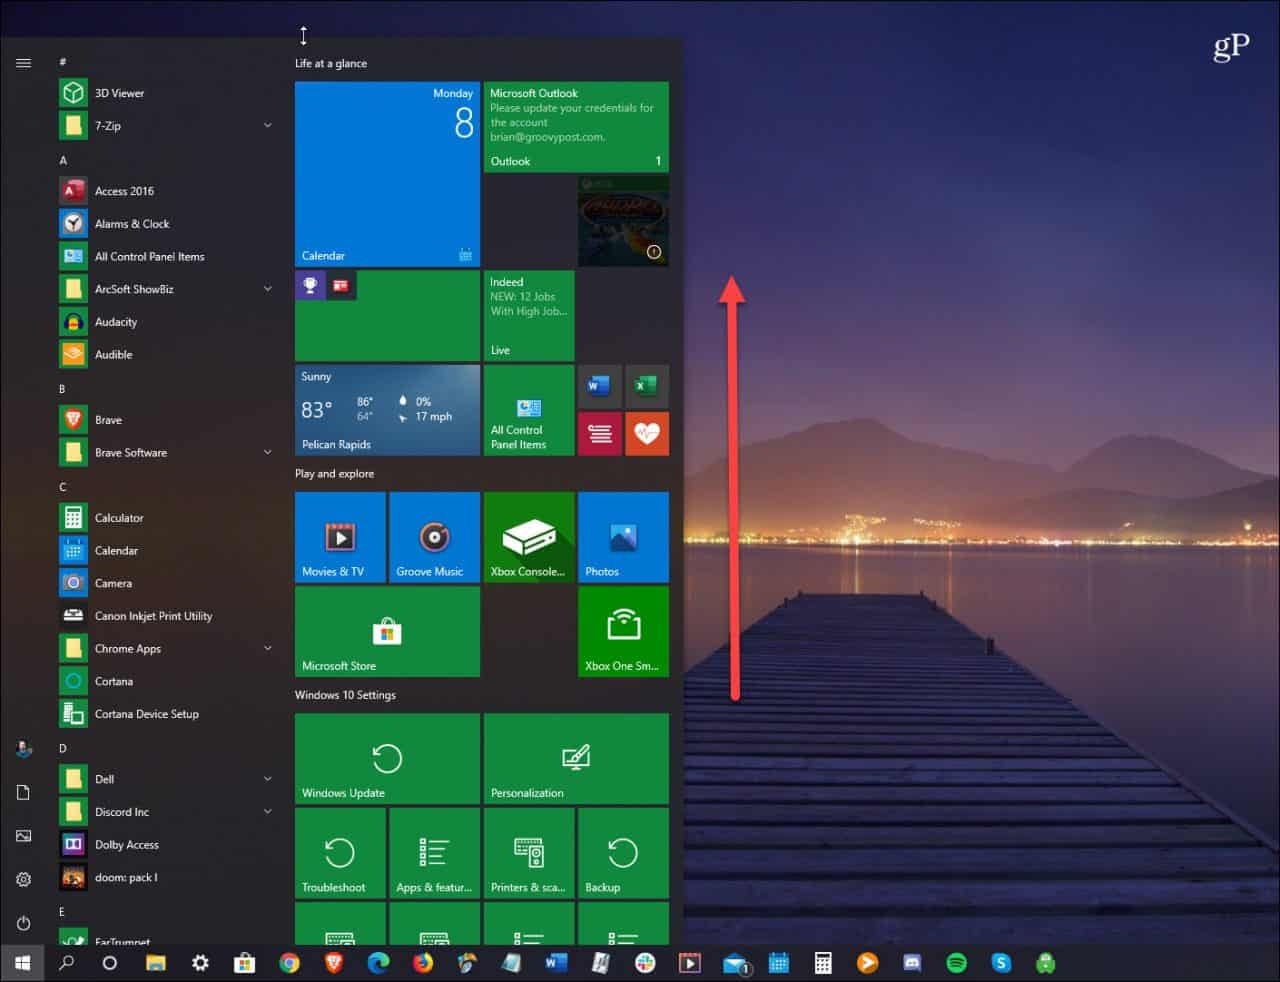
- Hover your mouse over the right edge of the Start Menu until the cursor changes to a double-sided arrow.
- Click and drag the edge to the right to expand the Start Menu and fill the entire screen.

-
Optional: Customize Tile Groups:
- Click and drag tiles to rearrange them or group them together.
- Right-click on a tile and choose “Resize” to change its size (Small, Medium, Wide, or Large).
- Right-click on an empty area and select “Name group” to create a new tile group.

Additional Tips
- Turn Off Live Tile Updates: If you prefer static tiles, right-click on a tile and select “More” > “Turn live tile off.”
- Pin Frequently Used Apps: Pin your most-used apps to the taskbar for even quicker access.
- Use Search: The search bar at the top of the Start Menu is a powerful tool for finding apps, files, and settings.
Reverting Back to the Default Start Menu
If you want to revert to the default Start Menu layout, simply:
- Right-click on an empty area in the Start Menu.
- Select “Personalize.”
- Go to the “Start” tab in the Settings window.
- Toggle on the “Show more tiles on Start” option.
Conclusion
By following these simple steps, you can easily customize your Windows 10 Start Menu to display only tiles. This can create a cleaner, more organized, and personalized experience that caters to your preferences. Whether you’re a minimalist or simply prefer the visual appeal of tiles, this customization option allows you to tailor your Start Menu to your liking.
You may also like
> How to Disable Windows 10’s Tabs From Showing in Alt+Tab View
> How to Turn Off Notifications on Windows 10
> Open .Pages Format File in Windows and Microsoft Word

