SAAC's Team
July 6, 2024
Windows Server 2022: A Step-by-Step Installation Guide
Windows Server 2022 is the latest server operating system from Microsoft, offering enhanced security, performance, and cloud integration. This comprehensive guide will walk you through the step-by-step process of installing Windows Server 2022, ensuring a smooth and successful setup.
Prerequisites
- Hardware Requirements:
- Processor: 1.4 GHz 64-bit processor
- RAM: 512 MB (2 GB for Desktop Experience)
- Disk Space: 32 GB minimum
- Network adapter: Gigabit Ethernet adapter
- Installation Media:
- Windows Server 2022 ISO file
- Bootable USB drive or DVD
Step 1: Boot from the Installation Media
- Insert the bootable USB drive or DVD into your server.
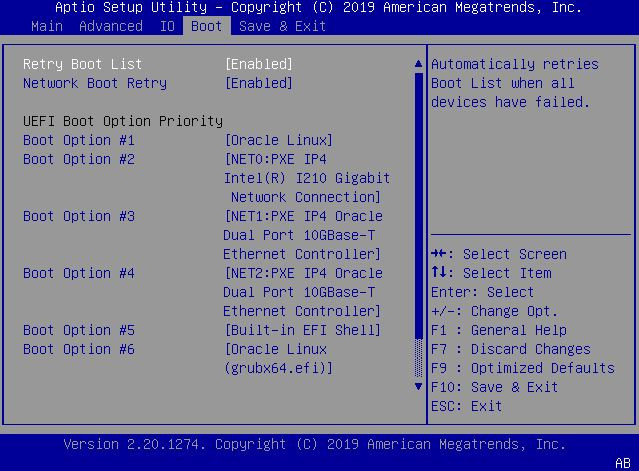
- Restart your server and enter the BIOS/UEFI settings.
- Change the boot order to prioritize the installation media.
- Save the changes and exit BIOS/UEFI.
Step 2: Start the Installation
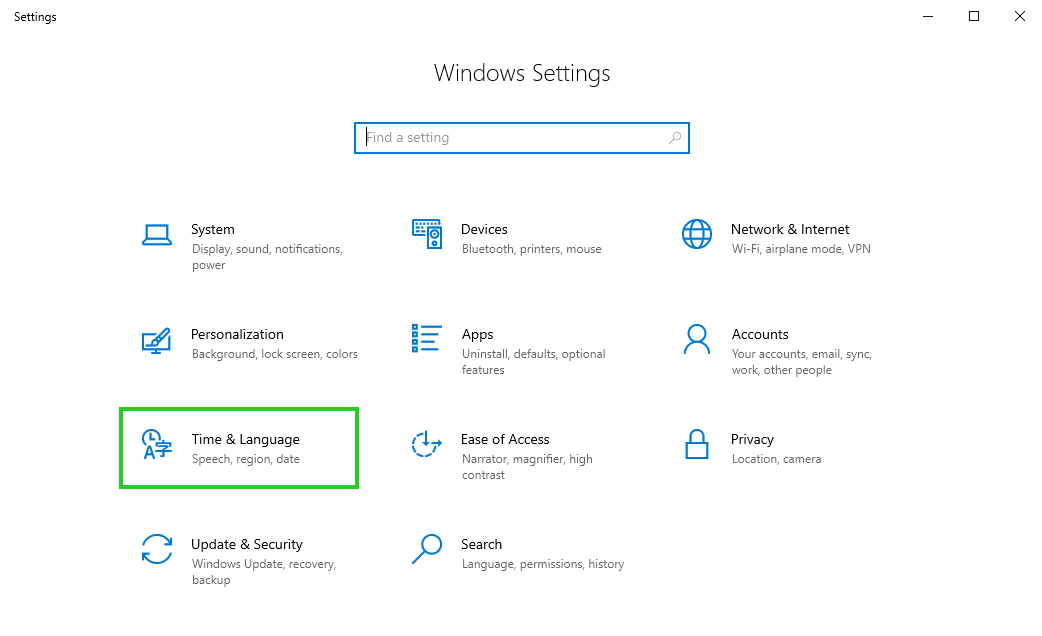
- Your server will boot from the installation media.
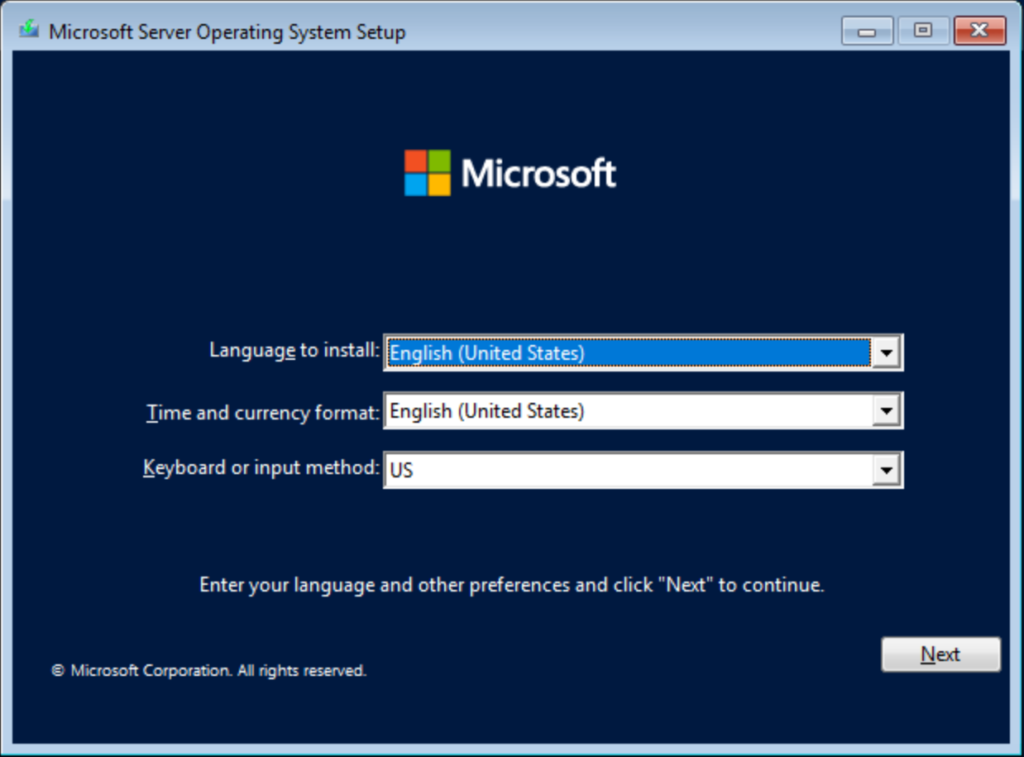
- Select your language, time and currency format, and keyboard or input method.
- Click “Next.”
Step 3: Install Now
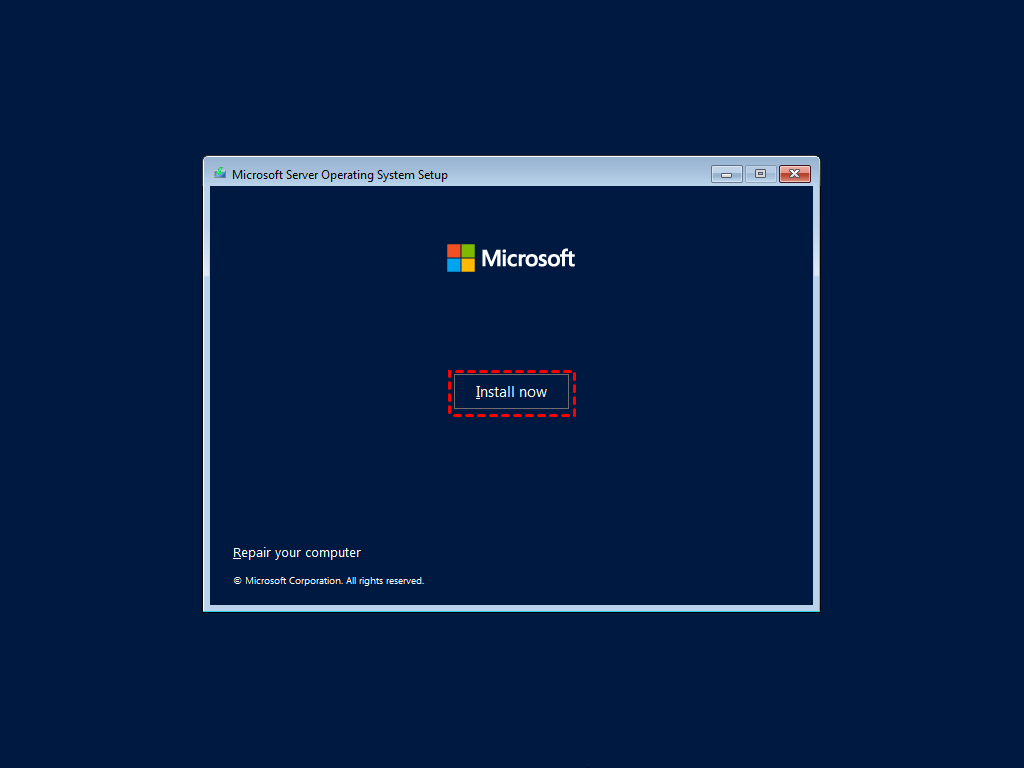
- Click the “Install now” button to begin the installation process.
Step 4: Select the Operating System Edition
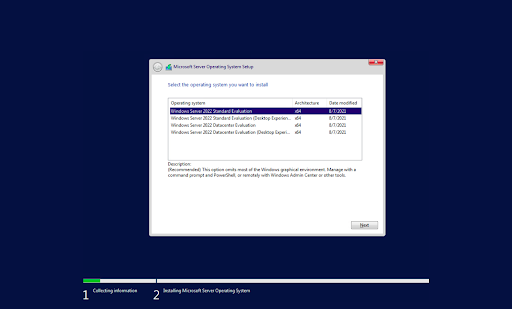
- Choose the edition of Windows Server 2022 that you want to install (Standard or Datacenter).
- Click “Next.”
Step 5: Accept the License Terms
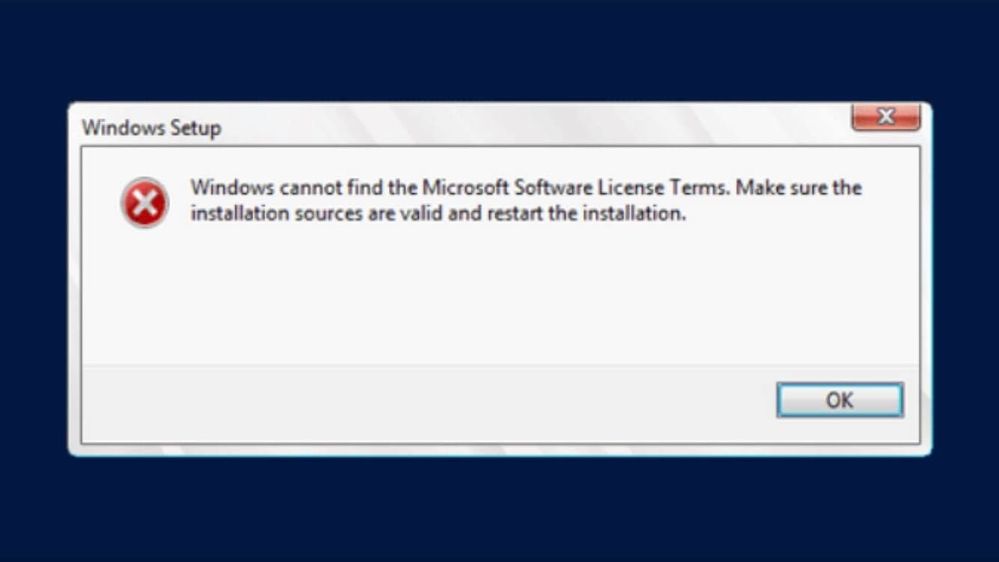
- Read and accept the license terms.
- Click “Next.”
Step 6: Choose the Installation Type
- Select “Custom: Install Windows only (advanced)” for a clean installation.
Step 7: Select the Installation Location
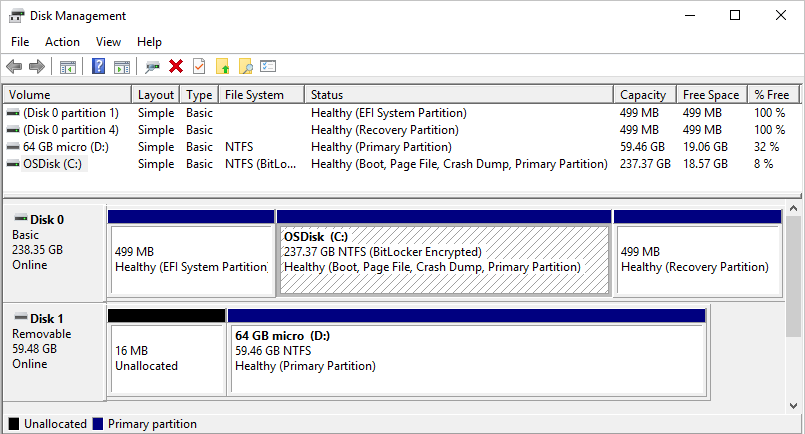
- Choose the drive where you want to install Windows Server 2022.
- You can create new partitions or use existing ones.
- Click “Next.”
Step 8: Installation Progress
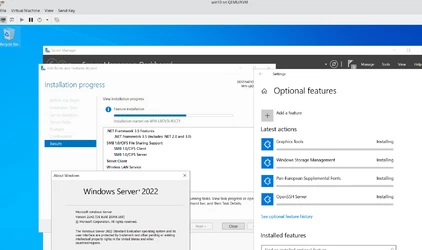
- The installation process will begin, copying files and installing features.
- This may take some time, so be patient.
Step 9: Customize Settings
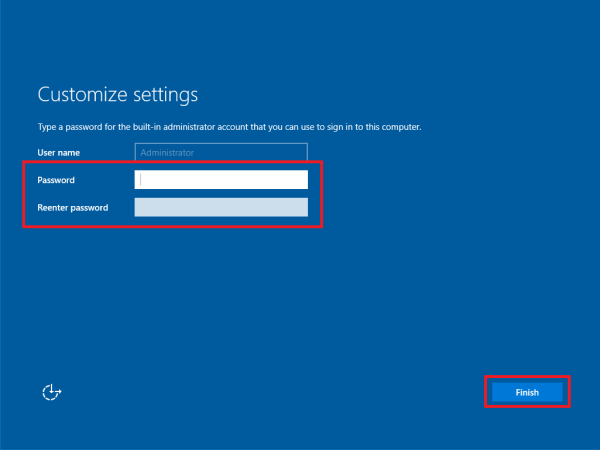
- After the installation is complete, you’ll be prompted to customize settings like:
- Computer name
- Administrator password
- Network settings
- Time zone
Step 10: Complete Installation
- Once you’ve configured the settings, the installation will finalize.
- Your server will restart, and you’ll be greeted with the Windows Server 2022 login screen.
Post-Installation Tasks
- Activate Windows Server 2022 using your product key.
- Install the latest updates from Windows Update.
- Install any necessary drivers for your hardware.
- Configure your server roles and features.
Congratulations! You have successfully installed Windows Server 2022. You can now start using it to manage your network infrastructure, host applications, and provide services to your users.
Additional Tips:
- Create a Bootable USB: Use tools like Rufus or the Windows Media Creation Tool to create a bootable USB drive from the ISO file.
- RAID Configuration: If you have multiple disks, consider configuring them in a RAID array for increased performance and redundancy.
- Server Roles: Install the necessary server roles (e.g., Active Directory Domain Services, DNS Server, DHCP Server) based on your requirements.
By following this step-by-step guide, you can confidently install Windows Server 2022 and unlock its full potential for your organization.
Subscribe
Login
0 Comments
Oldest

