Guide to Installing Windows Server 2012

Introduction
Windows Server 2012 is a versatile server operating system designed for small businesses and organizations. It offers a robust set of features to manage networks, resources, and applications. If you’re looking to install Windows Server 2012, this comprehensive guide will walk you through the process step-by-step, accompanied by helpful images for better understanding.
Prerequisites
Before embarking on your Windows Server 2012 installation journey, ensure you have the following:
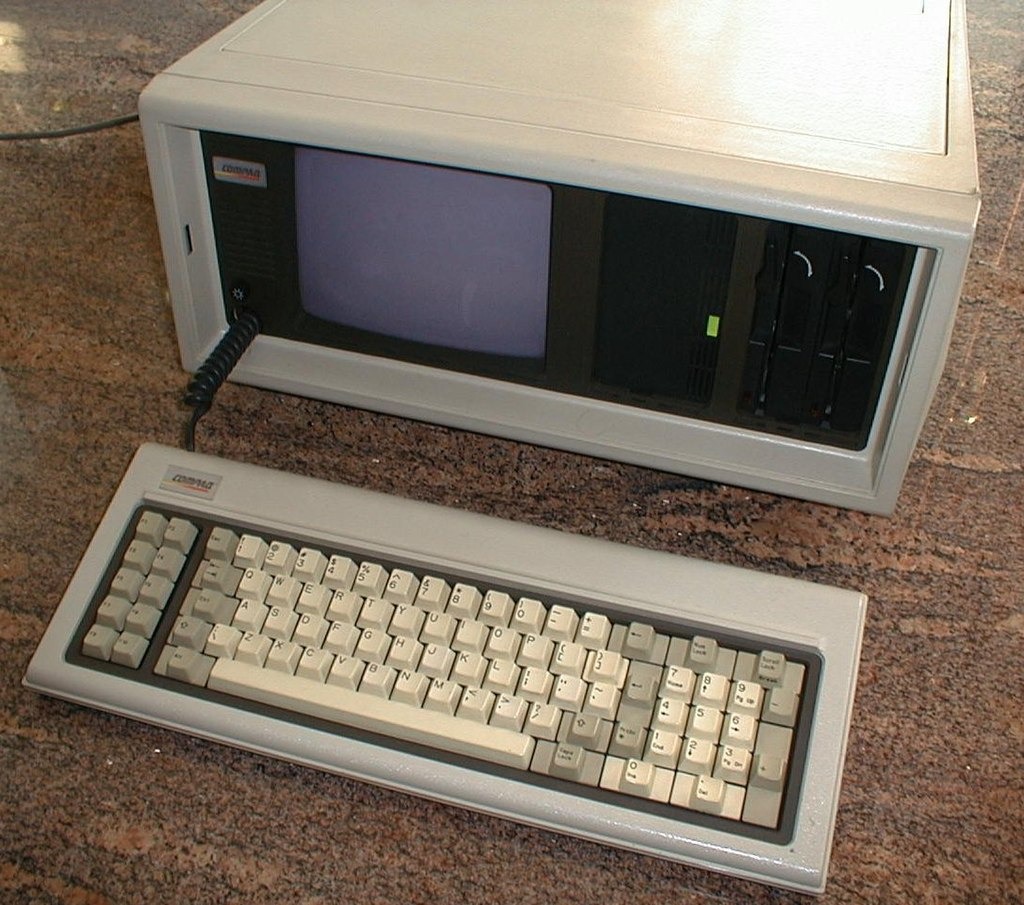
1. A compatible computer: Your system should meet the minimum hardware requirements, including a 1.6 GHz processor, 4 GB RAM, and 60 GB of free disk space.
2. A Windows Server 2012 installation DVD: Obtain the installation media from Microsoft or an authorized distributor.

3. A product key: This unique code is required to activate your Windows Server 2012 installation.
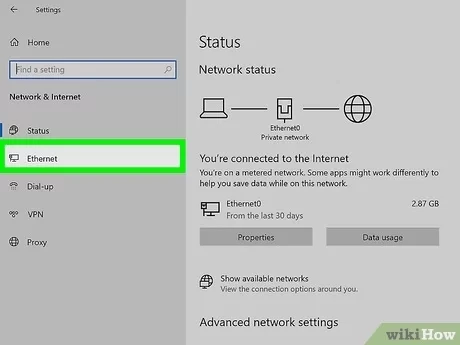
4. An active internet connection: Internet access is crucial for downloading updates and accessing online resources during the installation process.
Installation Steps
-
Insert the Windows Server 2012 installation DVD into the computer’s DVD drive.
-
Restart the computer.
-
Press any key when prompted to boot from the DVD.

- Select the language, keyboard layout, and time zone preferences.

- Click “Install Now” to begin the installation process.
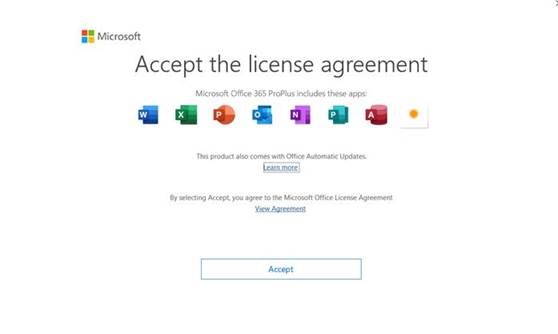
- Accept the license terms and conditions.
- Choose the type of installation: Select “Custom” for advanced options or “Express” for a quick installation.

- Select the desired installation location: Choose the partition where you want to install Windows Server 2012.

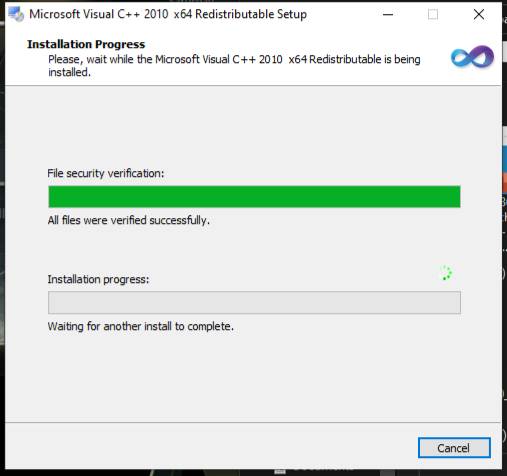
- Wait for the installation process to complete: This may take some time depending on your system configuration.
-
Once the installation is finished, the system will restart automatically.
-
Set up your administrator account: Enter a username and password for your administrative account.

- Review the server settings and make any necessary changes.
Additional Tips:
- Back up your important data before starting the installation process.
- Disconnect unnecessary peripherals to avoid conflicts during installation.
- If you encounter any issues, refer to the Windows Server 2012 installation documentation or seek assistance from Microsoft support.
Congratulations! You have successfully installed Windows Server 2012.
Remember, this guide provides a general overview of the installation process. For detailed instructions and troubleshooting assistance, consult the official Microsoft documentation.
