SAAC's Team
July 17, 2024
The Fail-Safe Method for Downloading and Installing Software
In today’s digital age, software plays an essential role in our daily lives. From operating systems and productivity suites to creative tools and entertainment apps, we rely on software to accomplish a wide range of tasks. However, for those who are not tech-savvy, downloading and installing software can be a daunting experience. Fear not, for this comprehensive guide will walk you through the fool-proof way to download and install software, making you a software installation pro in no time!
Step 1: Gather the Essentials
Before embarking on your software installation journey, ensure you have the following:
- A Computer: This is the device where you’ll be installing the software. Ensure it meets the system requirements of the software you intend to install.

- An Internet Connection: An active internet connection is crucial for downloading the software installation files.

- Software Installation File: This is the file that contains the software program and its installation instructions. You can typically obtain it from the software developer’s website or an authorized distributor.

- Administrative Privileges: If you’re installing the software on a Windows PC, you may need administrative privileges to access certain system settings during the installation process.

Step 2: Download the Software
- Locate the Download Link: Navigate to the software developer’s website or the authorized distributor’s platform and find the download link for the software you want to install.

- Choose the Correct Version: Ensure you download the correct version of the software compatible with your operating system and architecture (32-bit or 64-bit).
- Initiate the Download: Click on the download link and select the appropriate save location on your computer. Once prompted, save the installation file.

Step 3: Install the Software
- Locate the Installation File: Once the download is complete, identify the installation file (usually with an .exe or .pkg extension) in your chosen save location.

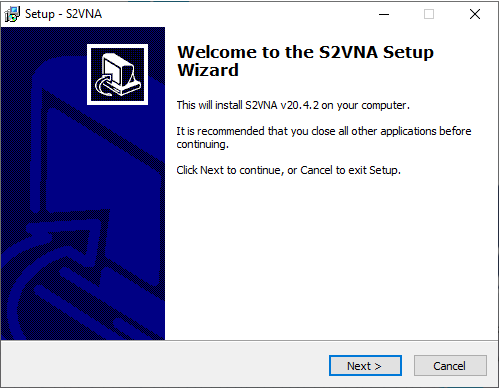
- Double-click the Installation File: Launch the installation file by double-clicking on it. This will initiate the installation wizard.

- Follow the Installation Wizard: Carefully read the on-screen instructions and prompts presented by the installation wizard. Agree to any licensing terms and conditions.

- Choose Installation Options: Select the desired installation type (e.g., typical, custom) and customize installation options if available.
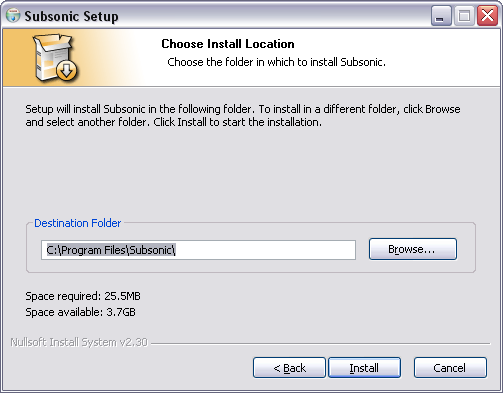
- Install Location: Choose the location where you want to install the software on your computer. The default location is usually Program Files.

- Initiate Installation: Once you’ve reviewed the options, click the “Install” or “Continue” button to begin the installation process.
- Wait for Completion: The installation process may take a few minutes, depending on the software and your computer’s speed. Monitor the progress bar and wait for the installation to finish.

- Complete the Installation: Once the installation is complete, you may be prompted to restart your computer or perform additional configuration steps.
Step 4: Verify the Installation
- Launch the Software: Once your computer has restarted (if prompted), locate the software icon on your desktop or in the Start menu.

- Run the Software: Click on the software icon to launch the program.

- Verify Functionality: Check if the software is functioning correctly and that you can access all its features.

Congratulations! You have successfully downloaded and installed the software.
Additional Tips:
- Always download software from trusted sources to avoid malware or viruses.
- Read user reviews and check system requirements before installing software.
- Create a backup of your important files before making any significant changes to your computer.
- If you encounter any issues during installation, consult the software’s documentation or contact the developer’s support team.
Subscribe
Login
0 Comments
Oldest

