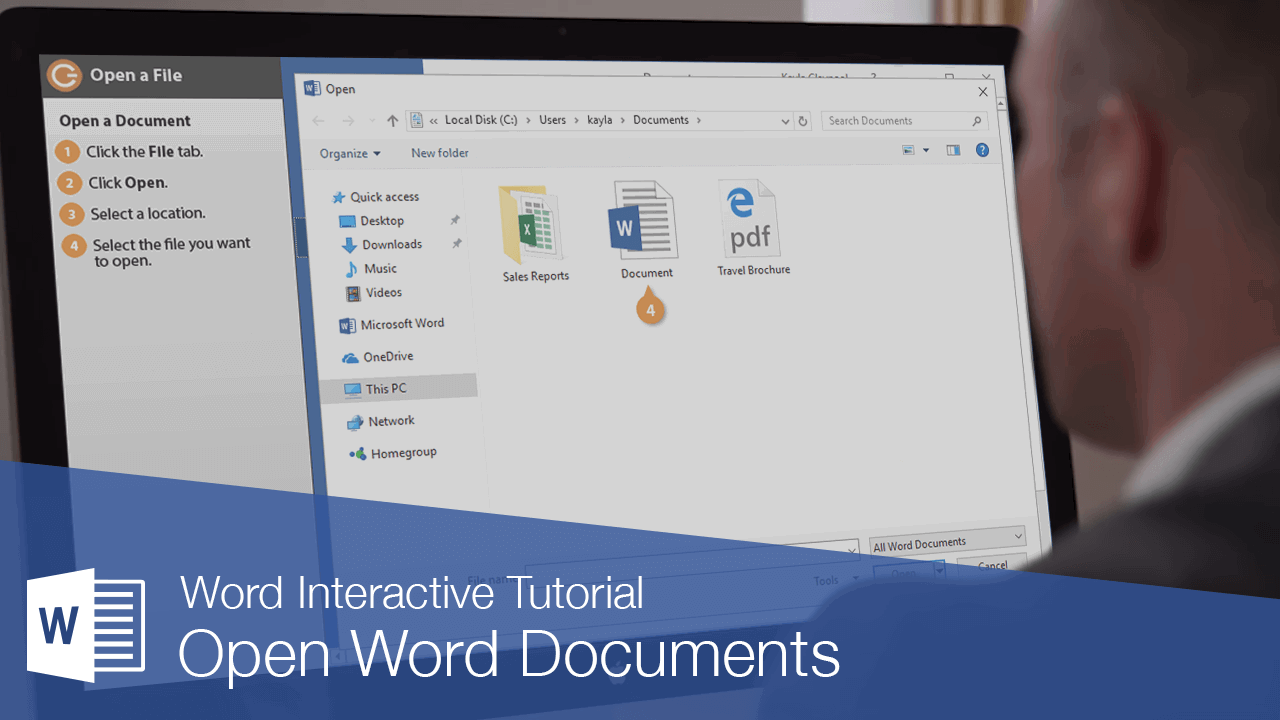
Steps to Restore a Word Document

Losing a Word document can be a frustrating experience, especially if you’ve spent hours working on it. Whether it’s due to an unexpected shutdown, accidental deletion, or a system crash, Microsoft Word provides several ways to recover unsaved or lost documents. This guide will walk you through the steps to recover a Word document, ensuring your hard work is not lost.
1. Understanding Common Causes of Lost Word Documents
Before diving into recovery methods, it’s important to understand the common causes of lost Word documents. This helps you choose the best recovery strategy:
- Accidental Deletion: The document is deleted by mistake.
- Unexpected Shutdown: Power failures or system crashes can close Word unexpectedly.
- Corrupted Files: Documents can become corrupted due to various reasons, such as virus attacks or software glitches.
- Unsaved Work: Forgetting to save your work before closing Word or shutting down your computer.
Knowing these causes can help you prevent data loss in the future and understand which recovery method to use.
2. Recover Unsaved Word Documents Using AutoRecover

Microsoft Word has a built-in AutoRecover feature that automatically saves copies of your documents at set intervals. If Word crashes or you close it without saving, you can use this feature to recover unsaved documents.
Step-by-Step Guide:
- Open Microsoft Word: Launch Word on your computer.
- Go to the ‘File’ Tab: Click on “File” in the upper left corner of the window.
- Click ‘Info’: In the sidebar menu, click on “Info.”
- Select ‘Manage Document’ > ‘Recover Unsaved Documents’: Choose “Manage Document,” then select “Recover Unsaved Documents” from the dropdown menu.
- Select the Unsaved File: A window will open showing a list of unsaved documents. Select the file you want to recover and click “Open.”
- Save the Recovered Document: Once the document opens, save it by clicking “File” > “Save As” and choose a location to save the file.
3. Recover Deleted Word Documents from the Recycle Bin

If you accidentally deleted a Word document, it might still be in the Recycle Bin. Here’s how to recover it:
Step-by-Step Guide:
- Open the Recycle Bin: Double-click the Recycle Bin icon on your desktop.
- Locate the Deleted Word Document: Look for the deleted Word file in the Recycle Bin.
- Right-Click and Select ‘Restore’: Right-click on the document and select “Restore.” The file will be restored to its original location.
- Check the Original Location: Go to the original location of the file to confirm that it has been restored.
4. Use Previous Versions to Recover Word Documents
Windows has a feature called “Previous Versions” that allows you to recover lost or overwritten documents.
Step-by-Step Guide:
- Navigate to the File’s Original Location: Go to the folder where the Word document was originally saved.
- Right-Click and Select ‘Restore Previous Versions’: Right-click on the folder and choose “Restore previous versions.”
- Select a Version to Restore: A list of available versions will appear. Select the version you want to restore and click “Restore.”
- Confirm the Restoration: The selected version of the document will be restored to its original location.
5. Recover Word Documents Using Document Recovery Feature
When Word crashes unexpectedly, the Document Recovery pane often appears the next time you open Word.
Step-by-Step Guide:
- Reopen Microsoft Word: Launch Word after a crash or unexpected shutdown.
- Check for the Document Recovery Pane: If the Document Recovery pane appears on the left, it will list all recovered files.
- Click on the Document to Open: Select the file from the Document Recovery pane and click to open it.
- Save the Recovered Document: Once the document opens, save it immediately by clicking “File” > “Save As.”
6. Using Third-Party Recovery Software
If the above methods don’t work, third-party recovery software can be a viable option. Programs like Recuva, EaseUS Data Recovery Wizard, and Disk Drill can help recover lost or deleted Word documents.
Step-by-Step Guide:
- Download and Install a Reliable Recovery Tool: Install software like Recuva or EaseUS Data Recovery Wizard.
- Launch the Recovery Tool: Open the software and select the drive where the lost Word document was located.
- Scan for Lost Files: Click “Scan” to search for lost or deleted files.
- Select the Word Document to Recover: Once the scan is complete, browse through the list of recoverable files, select the Word document, and click “Recover.”
- Save the Recovered Document: Choose a safe location to save the recovered document.
Note: Always save recovered files to a different drive to prevent overwriting existing data.
7. Best Practices to Prevent Losing Word Documents
To avoid losing Word documents in the future, follow these best practices:
- Enable AutoSave and AutoRecover: Go to “File” > “Options” > “Save” and ensure AutoSave and AutoRecover are enabled.
- Save Regularly: Make it a habit to save your work frequently.
- Backup Your Files: Use cloud storage or external drives to back up important documents.
- Avoid Forced Shutdowns: Close Word and other applications properly to prevent data loss.
Conclusion
Recovering a lost or unsaved Word document doesn’t have to be a stressful experience. By understanding the built-in features like AutoRecover and Document Recovery, as well as knowing how to use Windows features and third-party tools, you can recover lost documents quickly and efficiently.
Following the steps outlined in this guide will help you recover your documents and safeguard your work in the future. Regularly saving your files and enabling backup options can prevent future data loss, ensuring that your hard work is always protected. If you need further assistance, consider consulting Microsoft Support or exploring more advanced recovery options.
