SAAC's Team
November 27, 2024
How to Resolve the “VCRUNTIME140.dll Missing” Error on Windows 10
The “VCRUNTIME140.dll is missing” error can occur when you try to open a program or application on Windows 10. This error typically means that a critical system file, part of the Microsoft Visual C++ Redistributable, is either missing or corrupted. Below is a comprehensive guide to help you resolve this issue.
Common Causes of the Error
Understanding why this error occurs can help address it effectively:
- Missing or corrupted Microsoft Visual C++ Redistributable files.
- Incomplete installation of an application.
- Malware or virus attacks that affect system files.
- Accidental deletion of the VCRUNTIME140.dll file.
Solution 1: Reinstall Microsoft Visual C++ Redistributable
Step 1: Uninstall Existing Redistributables
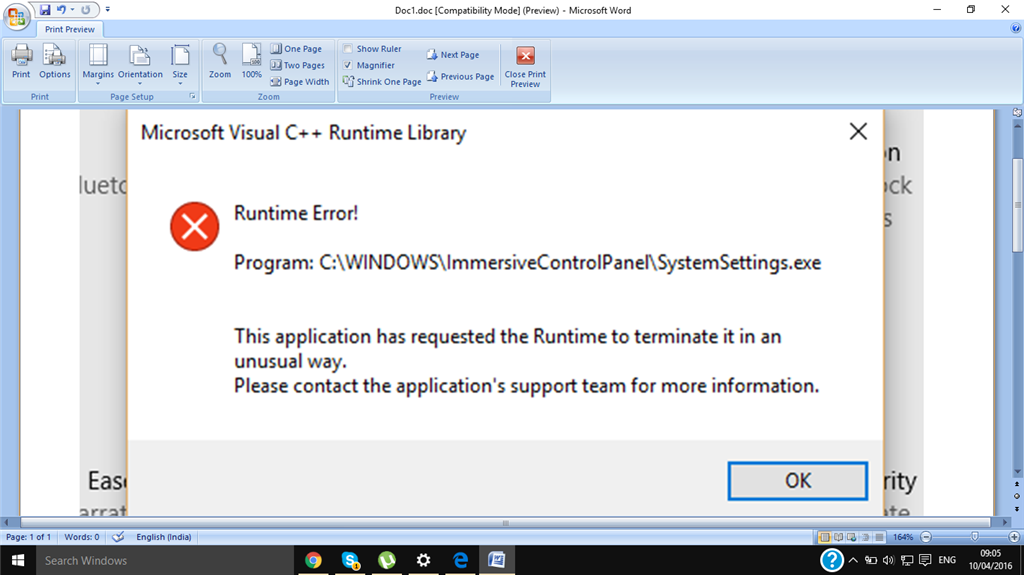
- Press Windows + R, type appwiz.cpl, and press Enter.
- Look for Microsoft Visual C++ Redistributable packages in the list.
- Select each package and click Uninstall.
Step 2: Download and Reinstall
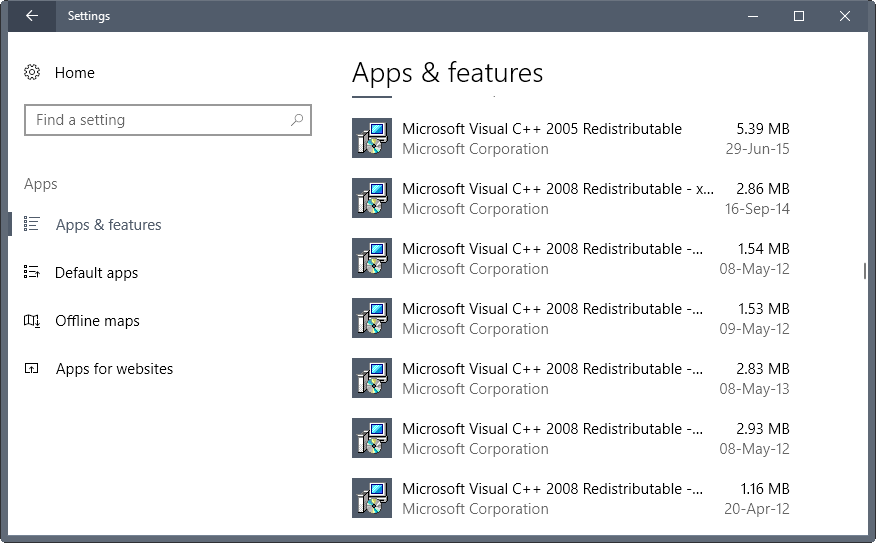
- Visit the official Microsoft Visual C++ Redistributable download page.
- Download both the x86 (32-bit) and x64 (64-bit) versions.
- Install the downloaded files and restart your computer.
Solution 2: Restore the VCRUNTIME140.dll File
Step 1: Download the DLL File
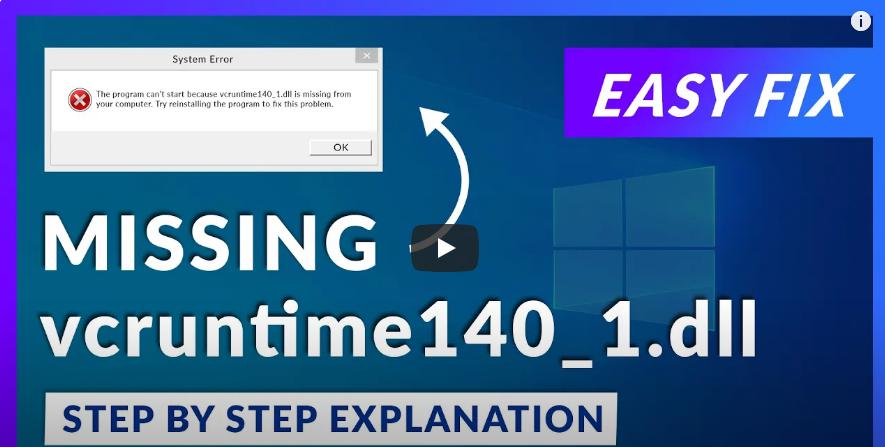
- Go to a trusted source such as dll-files.com to download the VCRUNTIME140.dll file.
- Ensure you select the correct version based on your Windows architecture (32-bit or 64-bit).
Step 2: Place the File in the Correct Directory
- Copy the downloaded file.
- Paste it into the following directory:
- For 64-bit systems: C:\Windows\System32
- For 32-bit systems: C:\Windows\SysWOW64
Step 3: register the DLL File
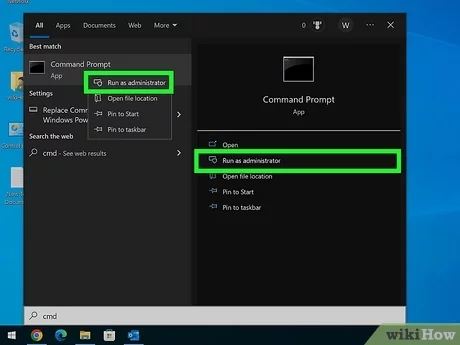
- Press Windows + R, type cmd, and press Ctrl + Shift + Enter to open Command Prompt as administrator.
- Type the following command and press Enter:
regsvr32 VCRUNTIME140.dll
Solution 3: Repair the Application Causing the Error
Step 1: Open Apps & Features
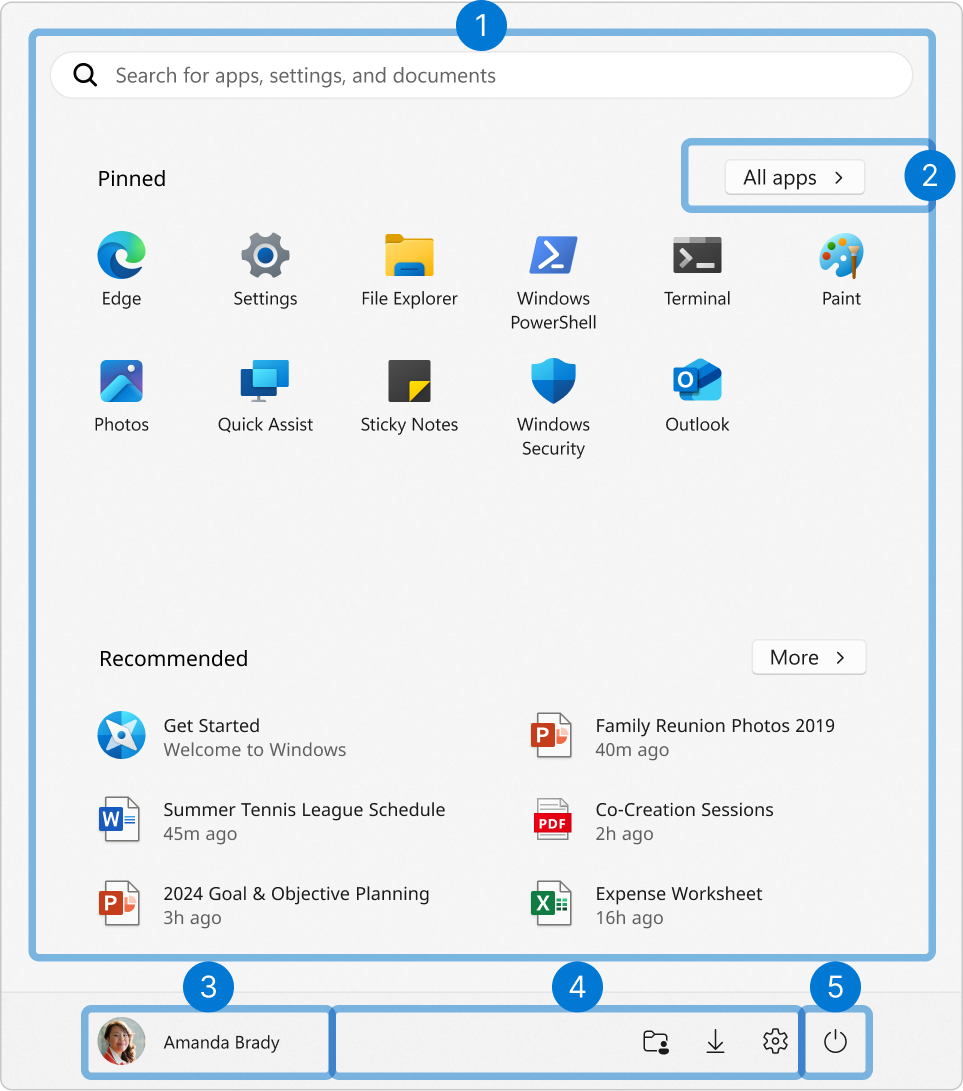
- Press Windows + I to open Settings.
- Navigate to Apps > Apps & features.
- Select the application showing the error and click Modify (if available).
Step 2: Run Repair
- Follow the on-screen instructions to repair the application.
- Restart your computer and check if the issue is resolved.
Solution 4: Run System File Checker (SFC)
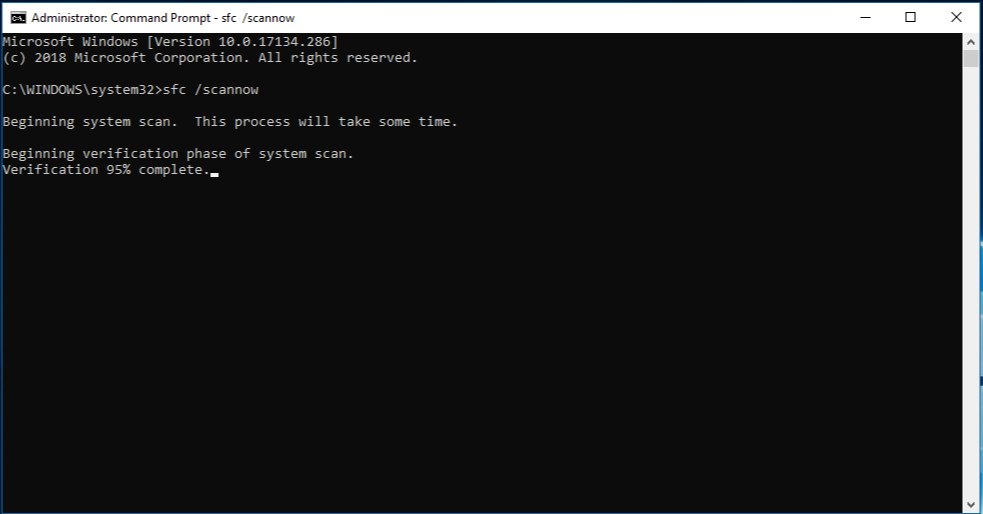
Step 1: Open Command Prompt as Administrator
- Press Windows + R, type cmd, and press Ctrl + Shift + Enter.
Step 2: Run the SFC Command
- Type the following command and press Enter:
sfc /scannow - Wait for the scan to complete. This will repair any corrupted system files.
Solution 5: Update Windows
Step 1: Check for Updates
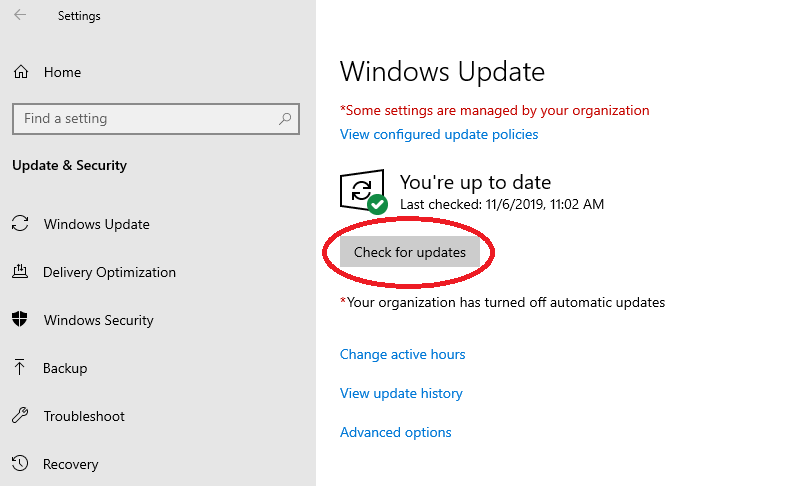
- Press Windows + I to open Settings.
- Go to Update & Security > Windows Update.
- Click Check for updates and install any available updates.
Additional Tips
- Avoid Downloading DLL Files from Untrusted Sources: Always use official websites to avoid malware risks.
- Use Antivirus Software: Scan your system to ensure that no malware is affecting system files.
- Reinstall the Application: If the issue persists, uninstall and reinstall the affected application.
Subscribe
Login
0 Comments
Oldest
