How to Uninstall Built-in Apps on Windows 10/11
When you purchase a new PC or install a fresh copy of Windows 10 or Windows 11, you may notice a variety of pre-installed apps, commonly referred to as bloatware. These apps may include games, trial software, or other applications that you might never use. While some pre-installed apps can be useful, others can take up storage and system resources unnecessarily. Fortunately, removing these apps can free up space and streamline your computer.
In this guide, we’ll cover different methods to remove pre-installed apps from your Windows device.
Why Remove Pre-Installed Apps?
There are several benefits to removing pre-installed apps from your Windows device:
- Free up disk space: Pre-installed apps can take up significant storage, especially on devices with limited space.
- Improve system performance: Removing unnecessary apps can reduce background processes and boost your system’s speed.
- Reduce clutter: A cleaner app list makes it easier to find the software you actually use.
Method 1: Uninstall Pre-Installed Apps via the Start Menu
The simplest way to uninstall pre-installed apps is through the Start menu.
Steps to Remove Apps via the Start Menu:
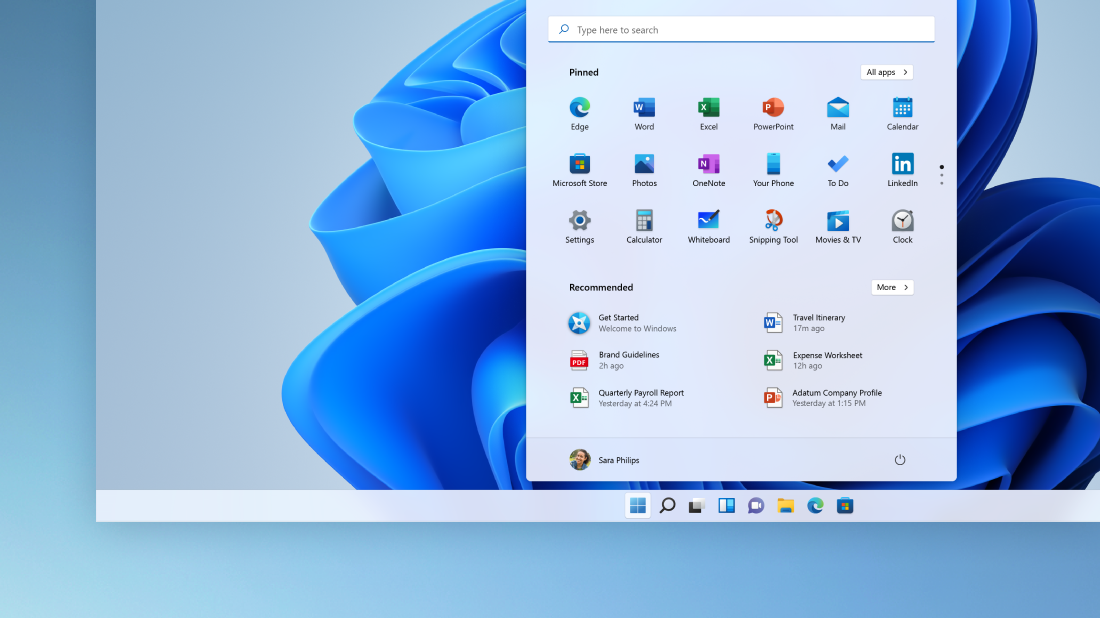
- Open the Start Menu:
- Press the Windows key or click the Start button on your taskbar.
- Locate the App:
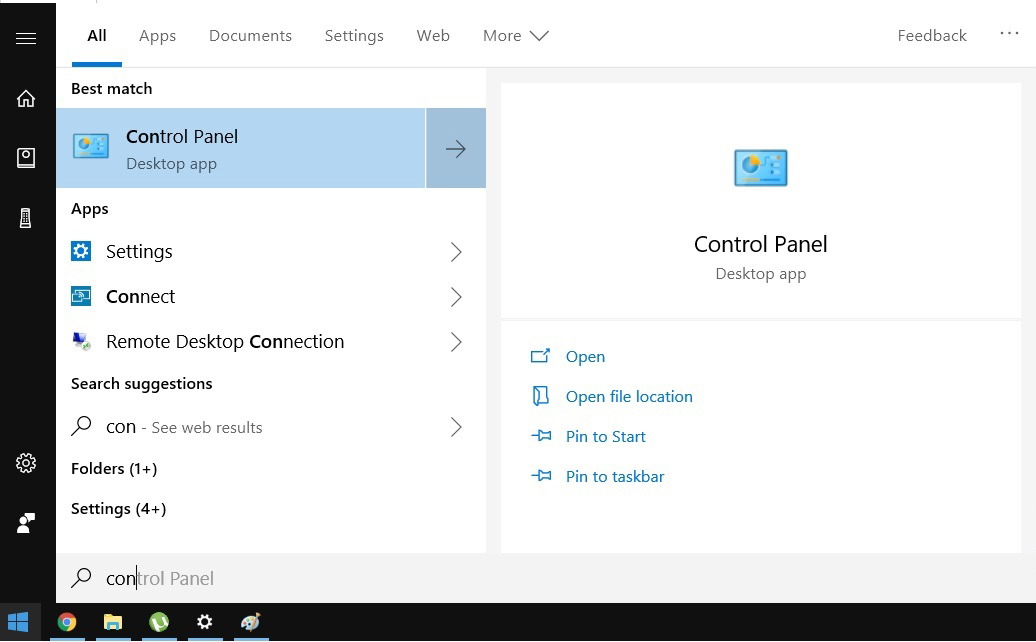
- Scroll through the list of apps or type the app’s name in the search bar to find the one you want to remove.
- Right-Click on the App:
- Right-click on the app you want to remove, and from the context menu, select Uninstall.
- Confirm Uninstallation:
- A confirmation prompt may appear. Click Uninstall to confirm the action.
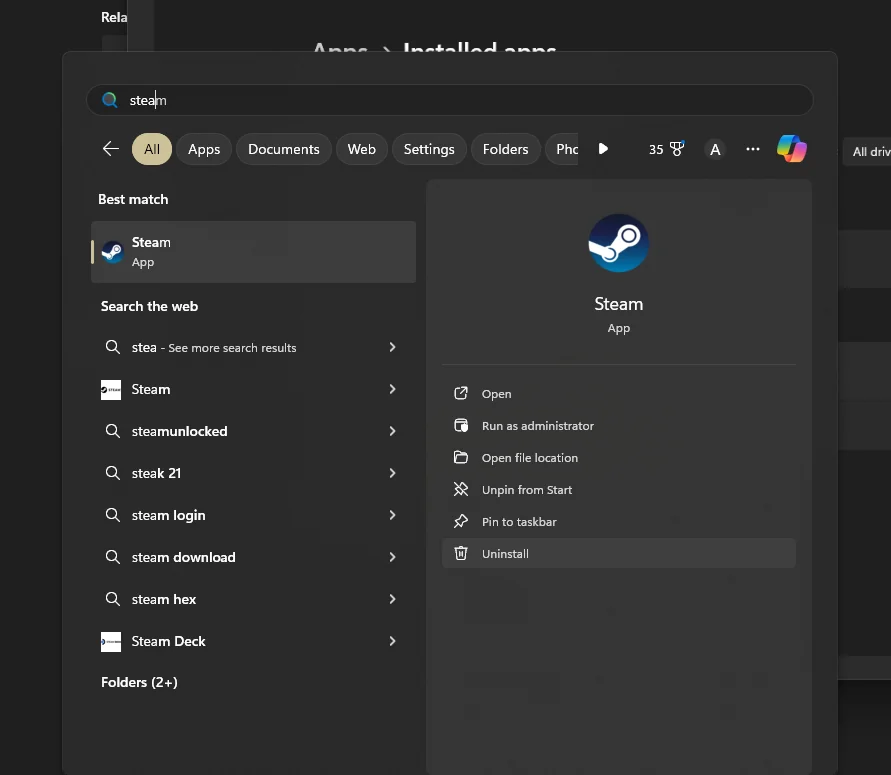
This method works for most user-installed and third-party apps but may not work for some built-in Windows apps.
Method 2: Uninstall Pre-Installed Apps via Settings
Another way to remove unwanted apps is through the Settings app.
Steps to Remove Apps via Settings:
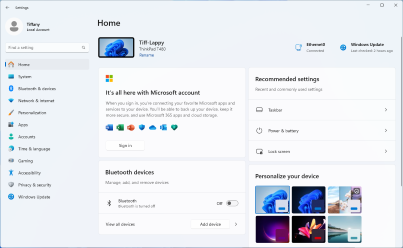
- Open Settings:
- Press
Windows + Ito open the Settings app.
- Press
- Go to Apps:
- Navigate to Apps > Apps & features.

- Find the App to Uninstall:
- Scroll through the list of installed apps or use the search bar to locate the app you want to remove.
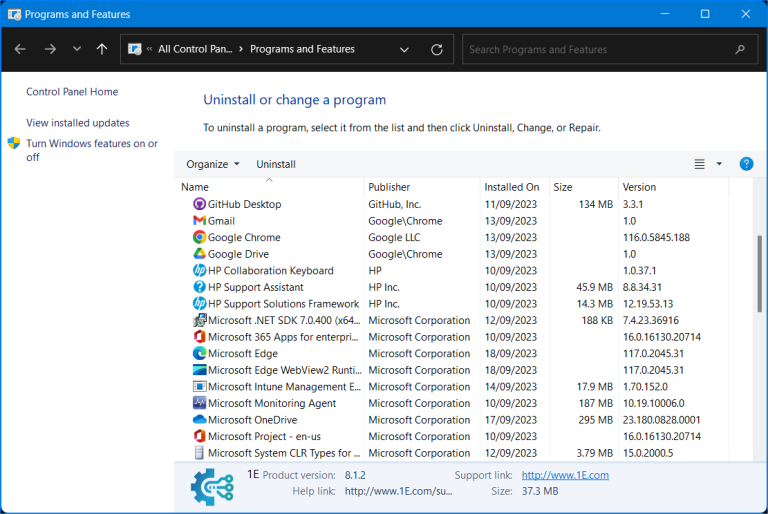
- Uninstall the App:
- Click on the app, and you’ll see an Uninstall button. Click Uninstall, and follow the on-screen instructions to remove the app.
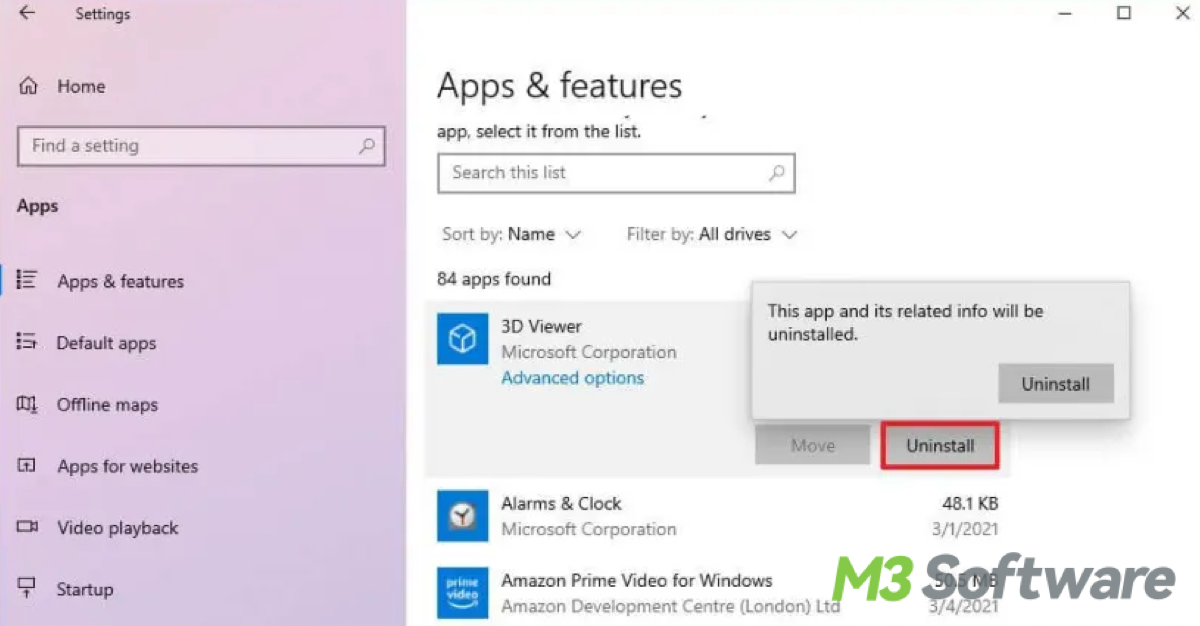
This method works for most apps, including some pre-installed apps like Candy Crush or Xbox Game Bar.
Method 3: Remove Pre-Installed Apps Using PowerShell
For built-in Windows apps that cannot be removed via the Start menu or Settings, Windows PowerShell offers a more powerful solution. PowerShell allows you to uninstall system apps that are normally protected.
Steps to Remove Apps Using PowerShell:
- Open PowerShell as Administrator:
- Press
Windows + Xand select Windows PowerShell (Admin) from the menu.
- Press
- Enter the Command to Remove an App:
- To remove a specific app, use the following command in PowerShell. Replace
AppNamewith the actual app name from the list below:powershellGet-AppxPackage *AppName* | Remove-AppxPackage
- Example commands to remove specific apps:
- 3D Viewer:
powershell
Get-AppxPackage *3d* | Remove-AppxPackage
- Microsoft Solitare Collection:
powershell
Get-AppxPackage *solitaire* | Remove-AppxPackage
- Xbox:
powershell
Get-AppxPackage *xbox* | Remove-AppxPackage
- 3D Viewer:
- To remove a specific app, use the following command in PowerShell. Replace
- Remove All Pre-Installed Apps (Optional):
- If you want to remove all pre-installed apps, you can use the following command:
powershell
Get-AppxPackage | Remove-AppxPackage
- If you want to remove all pre-installed apps, you can use the following command:
- Restart Your Computer:
- After running the commands, restart your computer to apply the changes.
Method 4: Reinstall Removed Apps (If Needed)
If you accidentally remove an app you need, you can reinstall it from the Microsoft Store or restore all built-in apps using PowerShell.
Steps to Reinstall All Built-in Apps via PowerShell:
- Open PowerShell as Administrator (as described above).
- Run the Reinstall Command:
- To reinstall all the default apps, enter the following command in PowerShell:
powershell
Get-AppxPackage -AllUsers | Foreach {Add-AppxPackage -DisableDevelopmentMode -register "$($_.InstallLocation)\AppXManifest.xml"}
- To reinstall all the default apps, enter the following command in PowerShell:
- Restart Your Computer:
- After the command finishes executing, restart your computer to restore the apps.
Method 5: Use Third-Party Tools to Remove Pre-Installed Apps
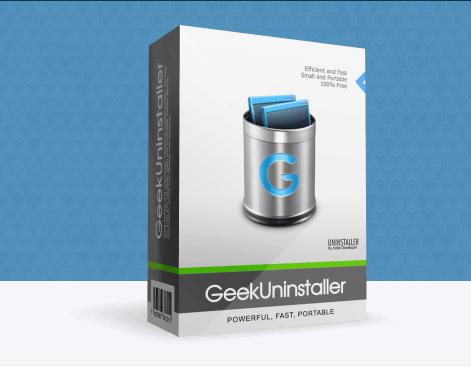
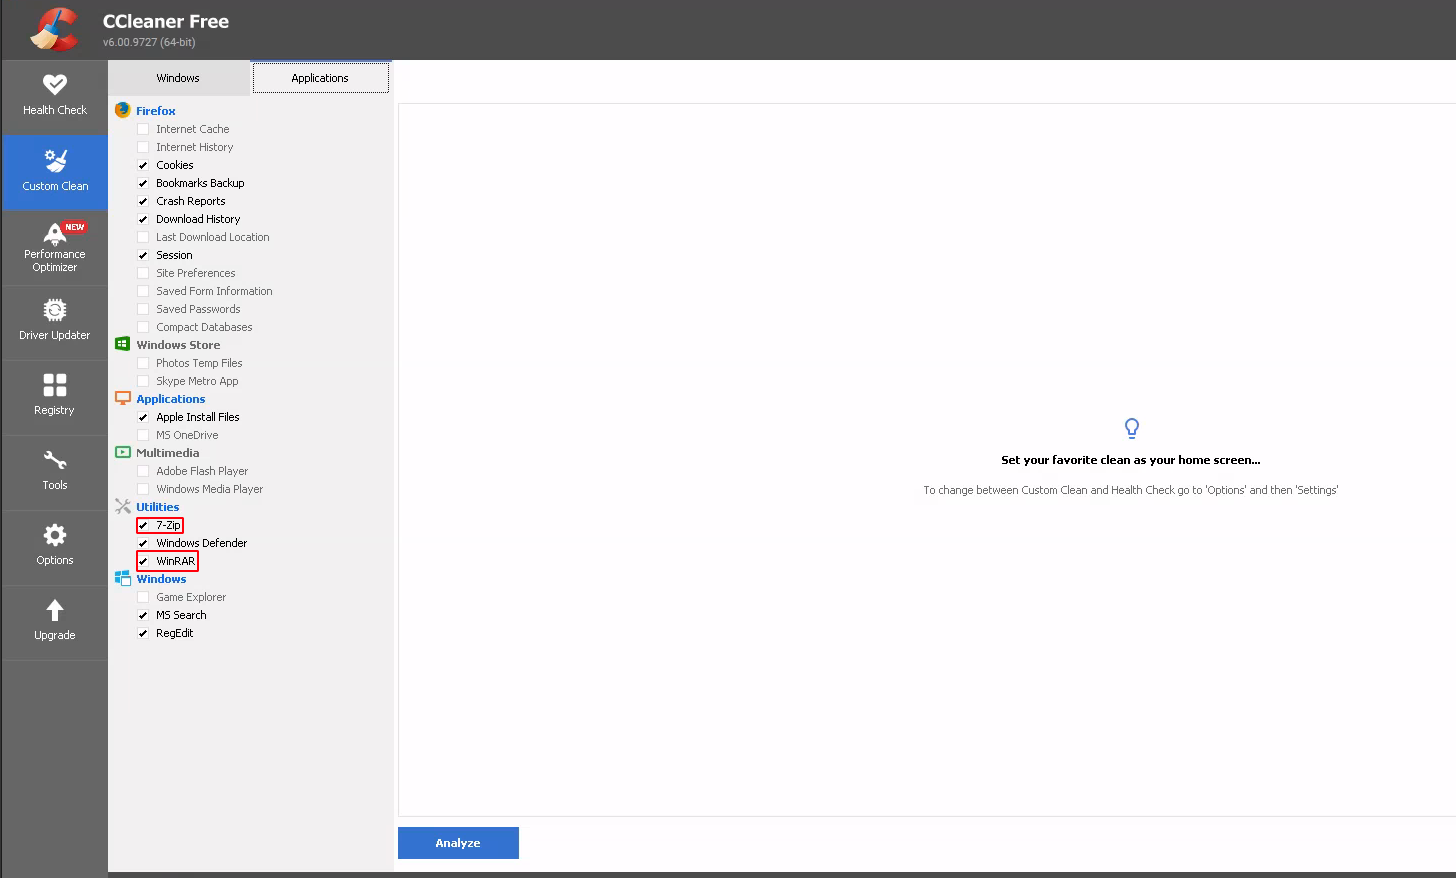
If you’re not comfortable using PowerShell, there are third-party apps like CCleaner or Geek Uninstaller that make it easier to remove pre-installed apps. These tools allow you to uninstall apps in bulk or remove apps that are typically protected by the system.
Steps to Remove Apps Using a Third-Party Tool:
- Download and Install the Tool:
- Visit the official website for CCleaner or Geek Uninstaller and download the app.
- Run the Tool:
- Open the tool and it will display a list of installed apps.
- Select Apps to Remove:
- Select the apps you want to remove and click Uninstall.
Conclusion
Removing pre-installed apps from Windows 10 or 11 is a great way to free up disk space, improve performance, and keep your system uncluttered. Whether you use the Start menu, Settings, PowerShell, or a third-party tool, the process is straightforward and allows you to customize your PC according to your needs.
By following the methods outlined in this guide, you’ll be able to get rid of unwanted apps and streamline your Windows experience.
