How to Eliminate Residual Software Files on Windows 10/11?
When you uninstall software from Windows 10 or 11, not all associated files and data are always removed. These software leftovers, including registry entries, temporary files, and folders, can clutter your system and potentially cause performance issues. This guide will show you several methods to completely remove software leftovers, helping you maintain a clean and efficient system.
1. Uninstall the Software Properly

Before dealing with leftover files, ensure you have correctly uninstalled the software using Windows’ native tools.
Step 1: Use the Control Panel
- Press Windows + S and type Control Panel.
- Open Control Panel and select Programs > Programs and Features.
- Scroll through the list, find the software you want to uninstall, click on it, and select Uninstall.
Step 2: Use Settings (Windows 10/11)
- Open Settings by pressing Windows + I.
- Go to Apps > Apps & features.
- Find the software, click on it, and select Uninstall.
This process ensures that most components of the program are removed, but leftover files and registry entries often remain.
2. Remove Leftover Files from Program Files and AppData

Once you’ve uninstalled the software, some files may still reside in system folders.
Step 1: Delete Files from Program Files
- Open File Explorer by pressing Windows + E.
- Navigate to C:\Program Files and C:\Program Files (x86).
- Look for the folder related to the uninstalled software and delete it.
Step 2: Clear AppData Folders
- In File Explorer, type
%appdata%into the address bar and press Enter. - Look for any folders associated with the uninstalled software and delete them.
- Also, check
%localappdata%for similar leftover files.
Removing these files helps ensure no traces of the uninstalled software remain on your system.
3. Clean the Windows Registry

The Windows Registry contains information and settings for all installed programs. When a program is uninstalled, some registry entries may still linger.
Step 1: Open the Registry Editor
- Press Windows + R, type
regedit, and press Enter. - In the Registry Editor, press Ctrl + F to open the search box.
Step 2: Search for Software Keys
- In the search box, type the name of the uninstalled software and press Enter.
- When a relevant registry entry appears, right-click on it and select Delete.
- Press F3 to continue searching for more entries and delete all related entries.
Caution: Be careful when deleting registry entries, as incorrect changes can affect system stability.
4. Use a Third-Party Uninstaller

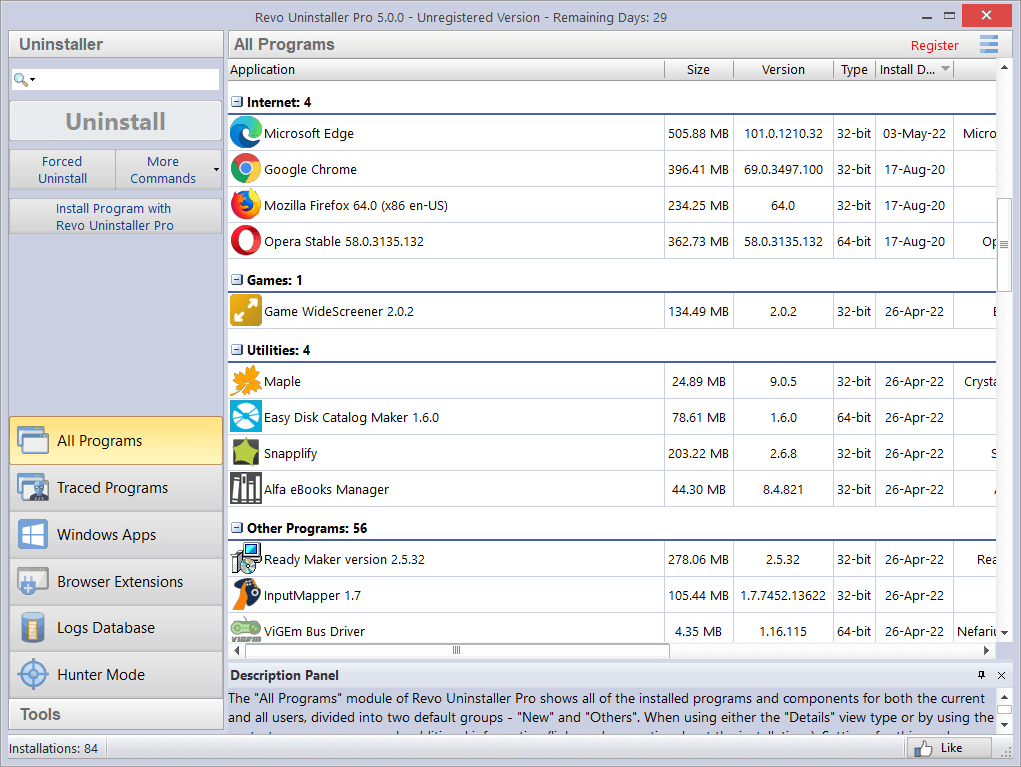
Using a third-party uninstaller like Revo Uninstaller or IObit Uninstaller ensures complete removal of programs and their leftovers.
Step 1: Download and Install Revo Uninstaller
- Go to the official Revo Uninstaller website and download the free version.
- Install the program by following the on-screen instructions.
Step 2: Use Revo Uninstaller to Remove Software
- Launch Revo Uninstaller, find the software you want to remove, and click Uninstall.
- Choose the Advanced option for a deep scan that will detect all leftover files, folders, and registry entries.
- Delete the leftovers found by Revo.
Third-party uninstallers often outperform Windows’ built-in tools, ensuring no residual files or registry entries are left behind.
5. Clear Temporary Files

Temporary files related to uninstalled programs may still linger on your system. These can be removed using the Disk Cleanup tool or Storage Sense in Windows 10/11.
Step 1: Use Disk Cleanup
- Press Windows + S, type Disk Cleanup, and open it.
- Select the drive where your system is installed (usually C:) and press OK.
- Check the boxes for Temporary files and any other file types you want to delete, then click OK.
Step 2: Use Storage Sense
- Open Settings by pressing Windows + I.
- Go to System > Storage.
- Under Storage Sense, click on Configure Storage Sense or run it now, then click Clean now.
This will help free up additional space by clearing out temporary files.
6. Manual Check and Final Cleanup
Finally, it’s worth manually checking the system for any other leftover files or folders.
Step 1: Search the System
- Use File Explorer to search your computer for any remaining files or folders related to the uninstalled software.
- Type the program’s name in the search bar and delete any residual files you find.
Conclusion
Removing software leftovers from Windows 10/11 ensures that your system remains clutter-free and performs optimally. By following these steps—uninstalling the software properly, removing leftover files, cleaning the registry, and using third-party tools—you can maintain a clean and efficient computer. Regular system maintenance will prevent performance issues and help your system run smoothly.
