Comprehensive Guide to Setting Up Microsoft 365 Business Email
Setting up Microsoft 365 Business Email is a great way to manage professional communication through a secure, cloud-based service. Whether you’re setting up a new domain or using an existing one, this guide will walk you through the process of setting up Microsoft 365 Business email for your organization.
Why Choose Microsoft 365 Business Email?
Microsoft 365 (formerly Office 365) provides a reliable, scalable, and feature-rich solution for business email, offering:
- Professional Email Addresses with custom domains (e.g., [email protected]).
- Secure and Fast Communication: With built-in security features like encryption and multi-factor authentication.
- Access Anywhere: Your email, contacts, and calendars sync across all your devices.
- Integrations: Seamless integrations with Microsoft tools like Word, Excel, Teams, and SharePoint.
Step 1: Sign Up for Microsoft 365 Business
Before setting up your email, you need to sign up for Microsoft 365 Business. Follow these steps to get started:
- Visit Microsoft 365 Website:
- Go to the official Microsoft 365 page at Microsoft 365 Business.
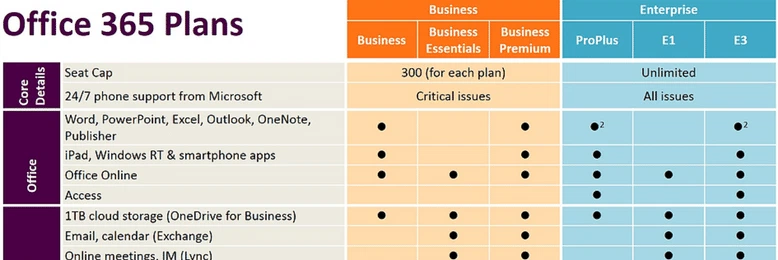
- Choose a Plan:
- Select a business plan that fits your needs, such as Microsoft 365 Business Basic, Business Standard, or Business Premium.
- Purchase the Plan:
- Follow the purchase steps to buy the plan and complete your subscription.
Step 2: Add Your Domain to Microsoft 365
Once you’ve signed up for Microsoft 365, the next step is to add a custom domain for your business email.
Steps to Add a Custom Domain:
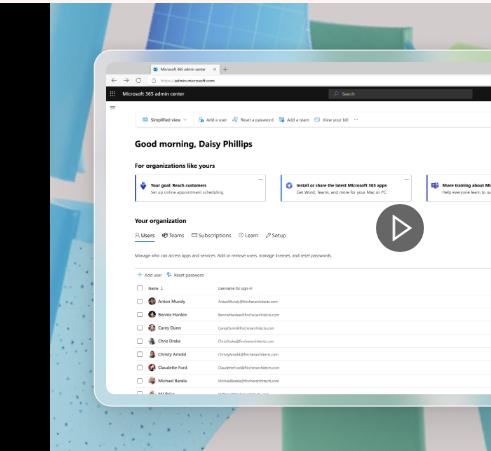
- Log into Microsoft 365 Admin Center:
- Open a browser and go to admin.microsoft.com. Sign in with your Microsoft 365 account.
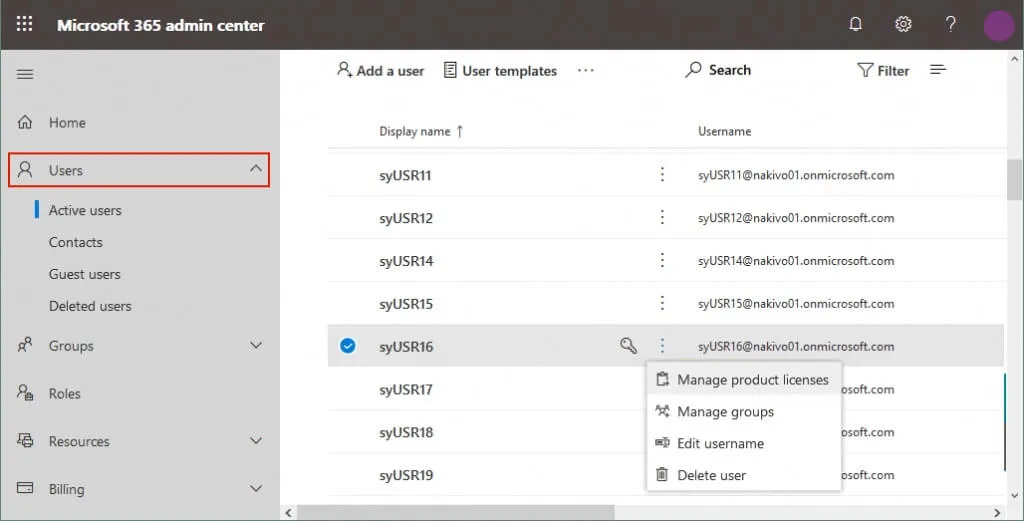
- Go to Setup:
- In the left-hand menu, click Setup. Under Get your custom domain set up, click View.
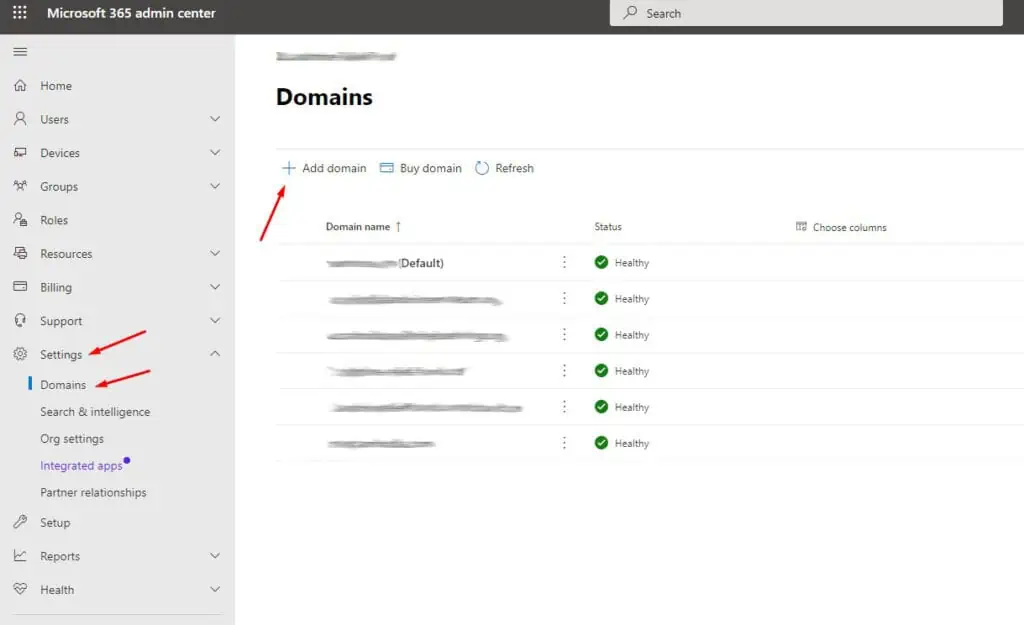
- Add a Domain:
- Click on Add Domain, then enter the domain name you want to use (e.g., yourcompany.com).
- Verify Domain Ownership:
- You will need to verify that you own the domain. Microsoft will provide DNS records that you need to add to your domain provider’s DNS settings (e.g., GoDaddy, Namecheap). These records typically include a TXT record to prove ownership.
- Update DNS Settings:
- Access your domain provider’s control panel and add the provided DNS records. After adding them, return to the Microsoft 365 setup page and click Verify.
Step 3: Create Business Email Accounts
After verifying your domain, you can create new email addresses for your employees.
Steps to Create New Email Users:
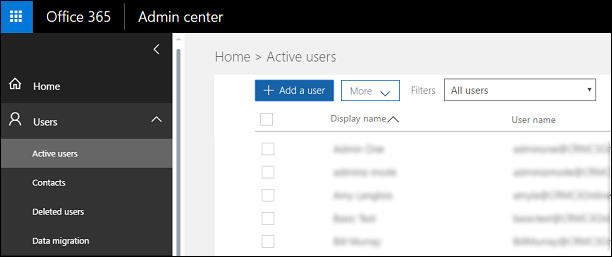
- Access Users Section:
- From the Admin Center, click Users > Active Users.
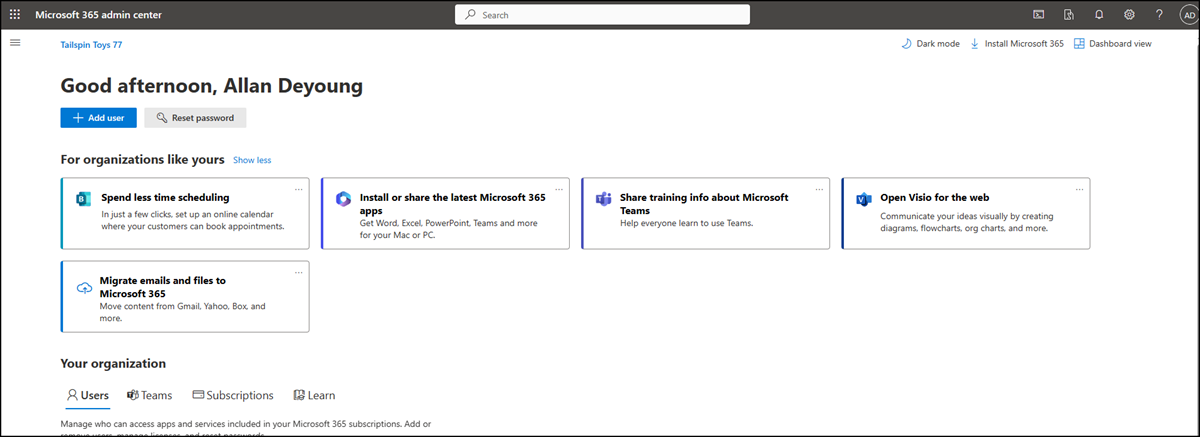
- Add a New User:
- Click Add a user and fill in the required fields, such as the employee’s name, username, and domain.
- Assign Licenses:
- Ensure that each new user is assigned a Microsoft 365 license so they can access email and other Microsoft services.
- Set Password:
- Choose to either set a password yourself or let Microsoft create one automatically. You can email the login credentials to the user.
Step 4: Configure Email Client (Outlook)
Once you’ve created email accounts, users can access their email via Outlook or other email clients. Here’s how to set up Microsoft 365 Business email in Outlook.
Steps to Set Up Microsoft 365 Email in Outlook:
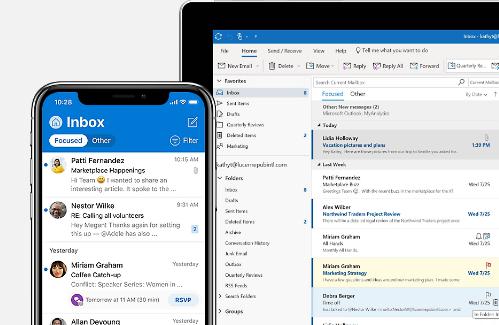
- Open Outlook:
- Launch Microsoft Outlook on your computer or download it from the Microsoft website.
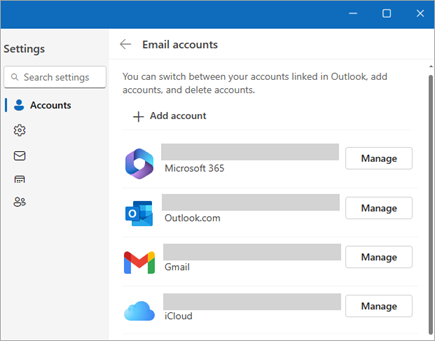
- Add a New Account:
- In the Outlook app, go to File > Add Account.
- Enter Email Address:
- Enter your Microsoft 365 Business email address (e.g., [email protected]) and click Connect.
- Enter Password:
- Enter your email password when prompted and click Sign in.
- Complete Setup:
- Once your email is verified, click Done. Your Microsoft 365 email will now be set up in Outlook, and you can start sending and receiving emails.
Step 5: Set Up Mobile Email Access
If you need to access your Microsoft 365 Business email on the go, you can easily set it up on your smartphone.
Steps to Set Up Microsoft 365 Email on Mobile:
- Download Outlook App:
- Go to the App Store (iPhone) or Google Play Store (Android) and download the Outlook app.
- Sign In:
- Open the app and sign in using your Microsoft 365 Business email address and password.
- Sync Email:
- Once signed in, your email, calendar, and contacts will sync with the app. You can now manage your business email from your phone.
Conclusion
Setting up Microsoft 365 Business email is a straightforward process that ensures professional communication for your organization. From adding a custom domain to configuring email clients, Microsoft 365 offers powerful email management tools to enhance productivity and streamline operations. By following the steps outlined above, you’ll have your business email up and running in no time, allowing your team to collaborate and communicate securely.
