How to Set Up Skype for Business on a Mac
Skype for Business is an essential tool for communication in many organizations, providing a seamless platform for online meetings, video calls, instant messaging, and collaboration. If you’re a Mac user and you need to install Skype for Business, this guide will walk you through the steps, ensuring a smooth and hassle-free installation process.
Whether you are setting up Skype for Business for the first time or reinstalling it, this guide covers everything you need to get started.
1. Prerequisites for Installing Skype for Business on Mac
Before you begin the installation process, it’s important to ensure that your system meets the following requirements:
- Operating System: Skype for Business for Mac is compatible with macOS 10.10 (Yosemite) and later versions.
- Microsoft 365 or Skype for Business Account: You need a Microsoft 365 or Skype for Business account provided by your organization.
- Internet Connection: A stable internet connection is required for downloading and activating the software.
- Admin Rights: You may need administrator privileges to install Skype for Business on your Mac.
Once you’ve confirmed that your system meets these requirements, you can proceed with the installation.
2. Steps to Install Skype for Business on Mac
Step 1: Download Skype for Business for Mac
- Visit the Official Microsoft Website
- Open a web browser and go to the official Skype for Business download page on Microsoft’s website: Skype for Business Download Page
- Download the Installer
- Click the “Download” button for Skype for Business for Mac. The file will automatically begin downloading.
- The installer file will typically be named something like “SkypeForBusinessInstaller.pkg.”
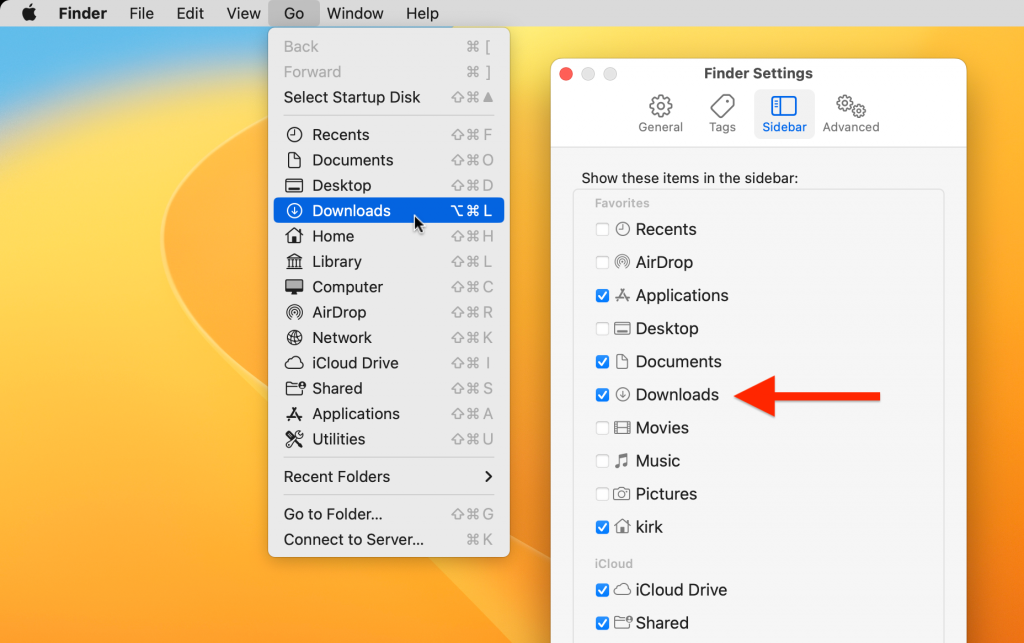
- Locate the Installer File
- Once the download is complete, navigate to your Downloads folder (or the folder where your browser saves files) and locate the “SkypeForBusinessInstaller.pkg” file.
Step 2: Install Skype for Business
- Open the Installer File
- Double-click the downloaded .pkg file to start the installation process.
- The installer window will appear on your screen.
- Agree to the License Agreement
- Read the software license agreement and click on Agree to proceed.
- Select Installation Location
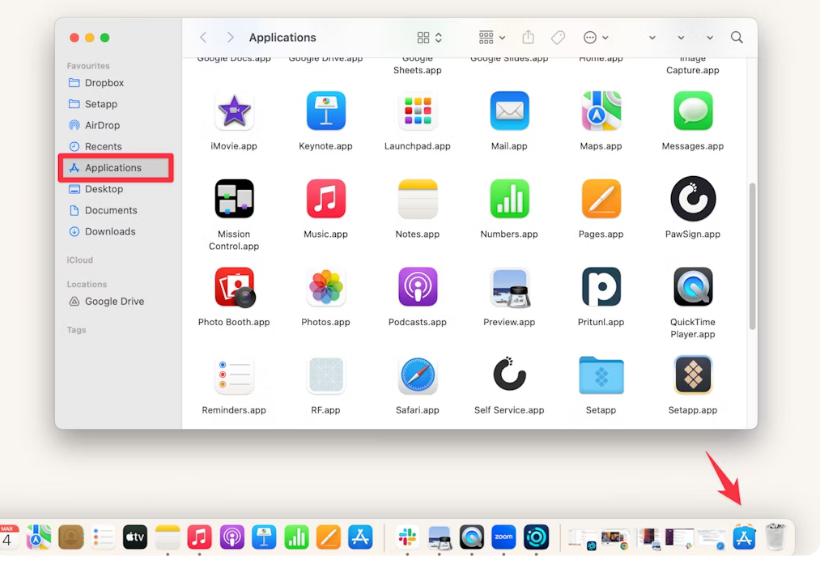
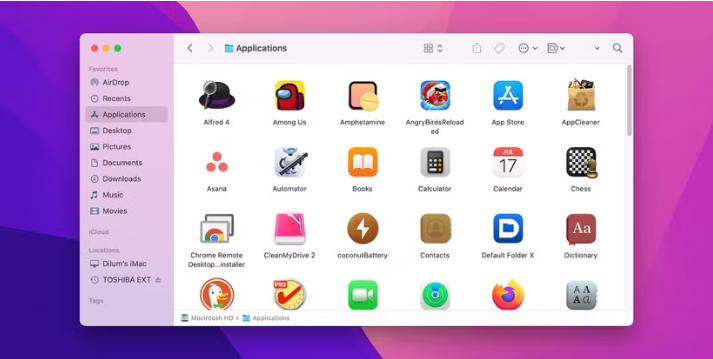
- The installer will ask you to select the destination for the installation. By default, it will install Skype for Business in the Applications folder.
- Click Install to begin the installation.
- Enter Admin Credentials
- If prompted, enter your Mac’s administrator username and password to authorize the installation.
- After entering the credentials, the installation will proceed.
- Wait for the Installation to Complete
- The installation process may take a few minutes. Wait until it is finished.
- Once complete, you will see a message that says, “The installation was successful.”
- Close the Installer
- After the installation is finished, click Close to exit the installer.
Step 3: Open and Set Up Skype for Business
- Launch Skype for Business
- Go to the Applications folder on your Mac and locate Skype for Business.
- Double-click to open the application.
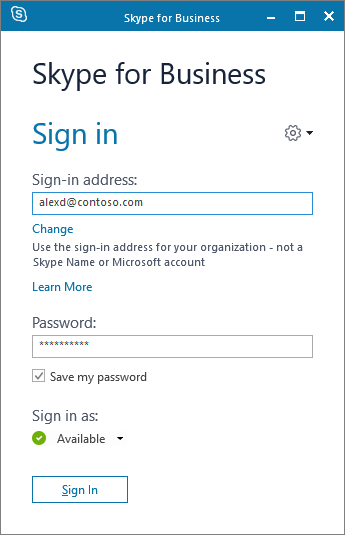
- Sign in with Your Account
- When Skype for Business opens, you will be prompted to sign in.
- Enter your Microsoft 365 or Skype for Business credentials (provided by your organization) to sign in.
- Configure Skype for Business Settings
- Once signed in, you may be asked to configure some basic settings such as your display name, profile picture, and preferred language.
- You can also configure Skype for Business to automatically start when your Mac boots up, if desired.
- Test Skype for Business
- To ensure everything is working correctly, try making a test call or sending an instant message.
- Check your audio and video settings by navigating to the Audio/Video settings menu to ensure they are set up correctly.
3. Troubleshooting Common Installation Issues
While the installation process is straightforward, you may encounter some issues. Here are some common problems and their solutions:
Issue 1: Skype for Business Not Starting
- Solution: Ensure that your Mac meets the system requirements for Skype for Business. If the application won’t start, try restarting your Mac and reopening Skype for Business. If the issue persists, reinstall the application.
Issue 2: Incorrect Sign-In Credentials
- Solution: Make sure you are using the correct Microsoft 365 or Skype for Business credentials. Double-check your username and password. If you have trouble signing in, contact your IT administrator for assistance.
Issue 3: Skype for Business Not Connecting to the Server
- Solution: This may be caused by a network issue or a problem with the server settings. Check your internet connection and try connecting again. If the issue persists, contact your IT department to ensure that the Skype for Business server is accessible.
4. Updating Skype for Business on Mac
Keeping your software up to date ensures you have the latest features and security patches. Here’s how to update Skype for Business:
- Check for Updates
- Open Skype for Business and click on the Help menu.
- Select Check for Updates to see if there’s a new version available.
- Automatic Updates
- Skype for Business for Mac will automatically notify you when a new version is available. You can enable automatic updates by going to the Preferences menu in Skype for Business and selecting Automatically keep Skype for Business up to date.
- Manual Update
- If you have disabled automatic updates, you can manually download the latest version of Skype for Business from the Microsoft website.
5. Uninstalling Skype for Business from Mac
If you decide to uninstall Skype for Business, follow these steps:
- Open Finder
- Open Finder and navigate to the Applications folder.
- Move to Trash
- Locate Skype for Business in the Applications folder. Right-click on it and select Move to Trash.
- Empty Trash
- To complete the uninstallation, go to the Trash and click on Empty Trash.
- Delete Supporting Files (Optional)
- If you want to remove all Skype for Business files, go to the Library folder on your Mac and delete any remaining Skype for Business configuration files.
Conclusion
Installing Skype for Business on Mac is a simple and straightforward process, allowing you to stay connected with colleagues and teams for seamless communication. By following the steps outlined in this guide, you can easily download, install, and configure Skype for Business on your Mac, ensuring you’re ready to collaborate and communicate effectively.
Remember to regularly check for updates to keep your software running smoothly and troubleshoot any issues that may arise. With Skype for Business, you can enjoy all the benefits of modern communication right at your fingertips.
