How to Set Up Online Meetings in Outlook
Outlook is not only a powerful email client but also a robust tool for scheduling and managing meetings, including online ones. Scheduling an online meeting via Outlook is quick and easy, especially if you’re using Microsoft Teams or Skype for Business integration. This guide will walk you through the process of scheduling an online meeting using Outlook, step by step.
Step 1: Open Microsoft Outlook

- Launch Outlook
Open Microsoft Outlook from your desktop, Start menu, or taskbar. - Navigate to the Calendar
In the bottom-left corner of the Outlook window, click on the Calendar icon to switch to the Calendar view.
Step 2: Create a New Meeting

- Click on “New Meeting”
Once you’re in the Calendar view, click on the New Meeting button in the ribbon at the top of the screen. - Alternative Method: Use the “New Appointment” Button
Alternatively, click on the New Appointment button if you don’t need to invite others yet. After creating the appointment, you can add attendees.
Step 3: Set Up Meeting Details
- Enter Meeting Title
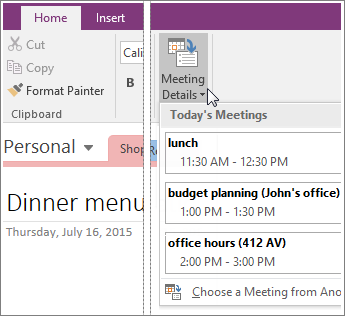
In the Subject field, enter the title of your meeting. Make it descriptive so attendees know the purpose of the meeting. - Set Date and Time
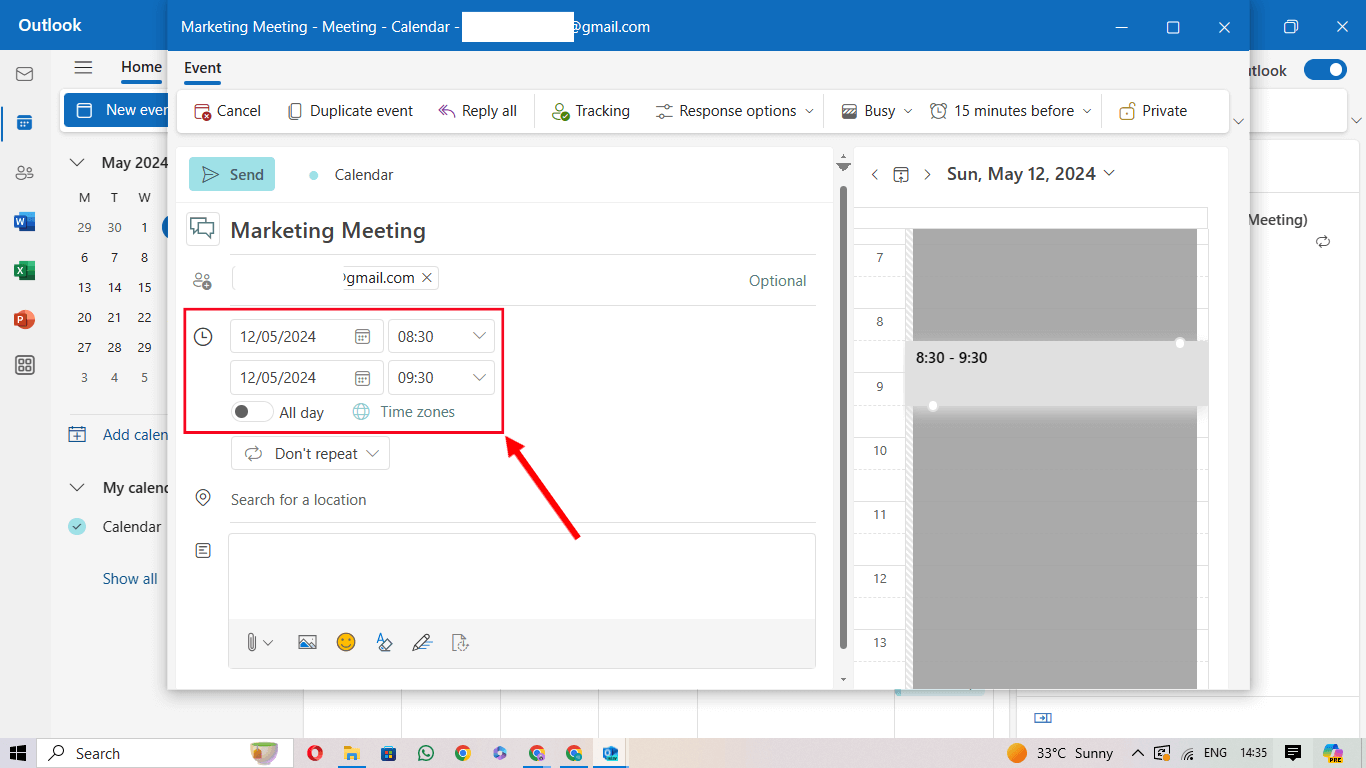
In the Start and End fields, select the date and time for the meeting. You can also set a recurring meeting if needed by clicking on the Recurrence button in the ribbon. - Location (Optional)
If the meeting is hybrid (both in-person and online), you can specify a physical location in the Location field.
Step 4: Add Attendees
- Enter Attendees’ Email Addresses
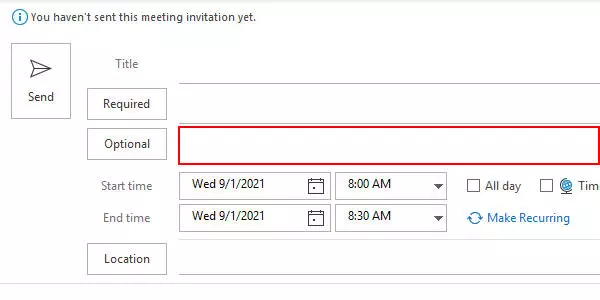
In the To field, add the email addresses of the people you wish to invite. You can also use the Scheduling Assistant to check attendees’ availability. - Add Optional Attendees
If some people are not required but should still receive the invitation, you can add them under Optional. - Set Your Response Preferences
You can choose whether to request responses from the attendees by checking or unchecking the Request Responses box.
Step 5: Add Online Meeting Link (Teams or Skype)
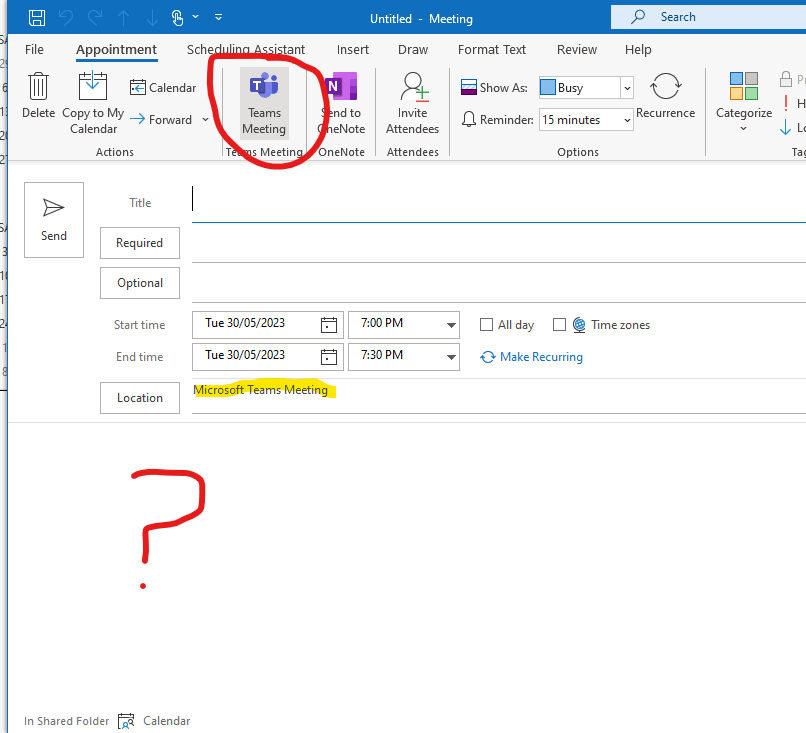
- Add Microsoft Teams Meeting
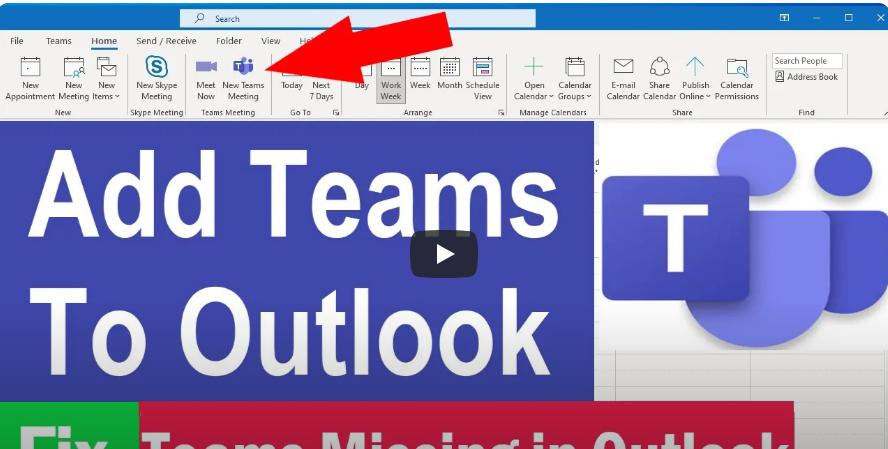
- If you are using Microsoft Teams for the online meeting, click on the Teams Meeting button in the ribbon. This will automatically add a Teams meeting link to the invite.
- If you are using Skype for Business, click on the Skype Meeting button to add the Skype link.
- Confirm Online Meeting Details
- A link to join the online meeting (via Teams or Skype) will automatically be generated and added to the body of the invitation.
- You can customize the message in the body to add additional instructions or agenda items.
Step 6: Customize Meeting Settings
- Set a Reminder
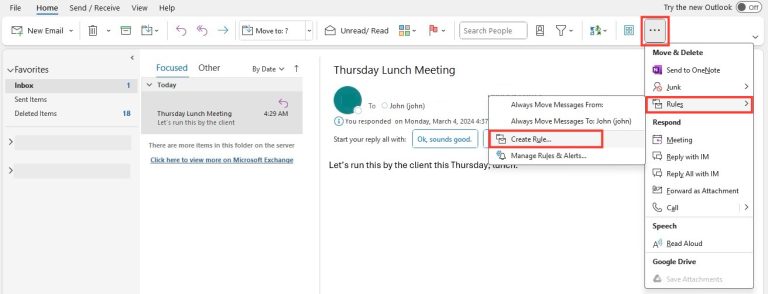
In the Reminder field, choose how long before the meeting you would like to receive a reminder (e.g., 15 minutes, 30 minutes, etc.). - Set Meeting Priority
Choose a priority level for your meeting (Low, Normal, High) based on its importance. - Add an Agenda or Attachments
Use the Insert button to add any files, documents, or a meeting agenda to the invite.
Step 7: Send the Meeting Invitation
- Double-Check the Details
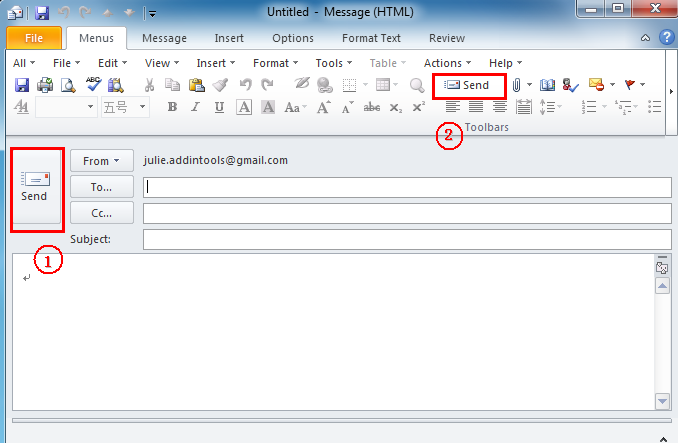
Before sending, make sure that all the meeting details are correct, such as the time, location, attendees, and online meeting link. - Click “Send”
Once everything is set, click Send. Your invitation will be sent to all attendees, and it will automatically appear on their Outlook calendar.
Step 8: Join the Meeting
- Join the Meeting from the Calendar
On the day of the meeting, open your Outlook calendar and click on the meeting invite. You will see a link to join the online meeting (via Teams or Skype). Simply click the link to join the meeting at the scheduled time. - Join Directly from the Invitation Email
If you can’t access the calendar, you can also click the meeting link directly from the meeting invitation email.
Step 9: Modify or Cancel the Meeting (If Necessary)
- Modify the Meeting
If you need to change any details about the meeting (time, attendees, agenda), open the meeting in your calendar and click Edit. You can then update the meeting and send out the revised invite. - Cancel the Meeting
If you need to cancel the meeting entirely, open the meeting from the calendar and click Cancel Meeting. You can send a cancellation notice to all attendees.
Tips for Scheduling Online Meetings in Outlook
- Check Time Zones
Be mindful of time zone differences when scheduling meetings with attendees in different regions. Outlook automatically adjusts time zones, but double-checking can save confusion. - Use the Scheduling Assistant
If you have multiple attendees, use the Scheduling Assistant feature to see when everyone is available and schedule the meeting at the best possible time. - Set Up Recurring Meetings
For regular meetings, use the Recurrence feature to set up recurring sessions (daily, weekly, monthly) with ease.
Conclusion
Scheduling online meetings in Microsoft Outlook is straightforward, especially when integrated with Microsoft Teams or Skype for Business. By following this guide, you can easily set up online meetings, invite attendees, and ensure everything is ready for a productive session. Make use of the calendar features and customization options to streamline the process and improve your meeting management skills.
