How to Set a Different Language in Word for Mac 2016
Changing the language in Microsoft Word for Mac 2016 is essential for creating documents in different languages or using the spell check and grammar tools effectively. This guide walks you through the process step-by-step.
Changing the Default Language for Proofing Tools

If you want Word to check spelling and grammar in a different language, you need to set the proofing language.
Steps to Change the Proofing Language

- Open a Document: Launch Microsoft Word for Mac 2016 and open any document or create a new one.
- Select Text: Highlight the text you want to change the language for. If you want the entire document to use the new language, press Command + A to select all text.
- Access Language Settings:
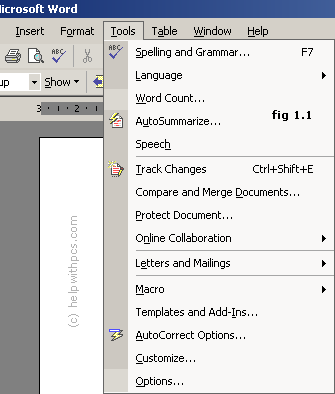
- Click on the Tools menu in the top toolbar.
- Select Language from the dropdown menu.
- Choose Your Language:
- A dialog box will appear listing various languages.
- Scroll through the list or use the search bar to find your desired language.
- Select the language and click OK.
- Set as Default (Optional):
- If you want this language to be the default for all future documents, click the Default button in the Language dialog box.
- Confirm your choice when prompted.
Changing the User Interface Language

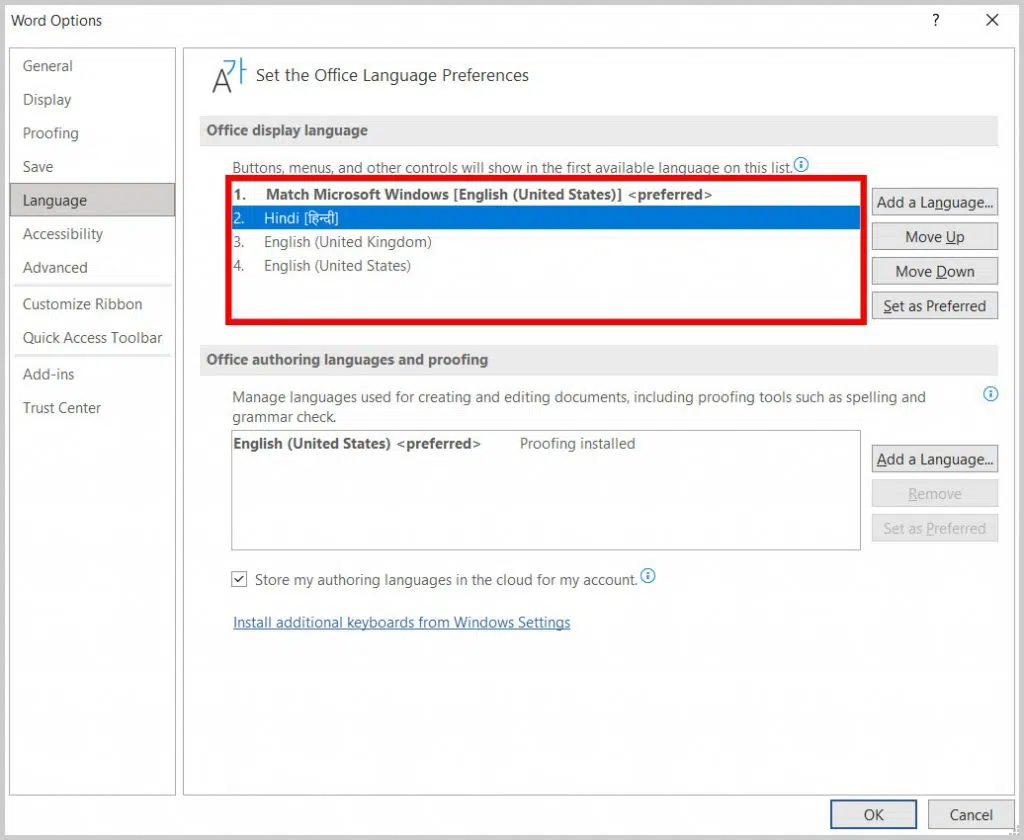
To change the Word application’s menus and interface language, you must change the macOS system language.
Steps to Change the Interface Language
- Open System Preferences:
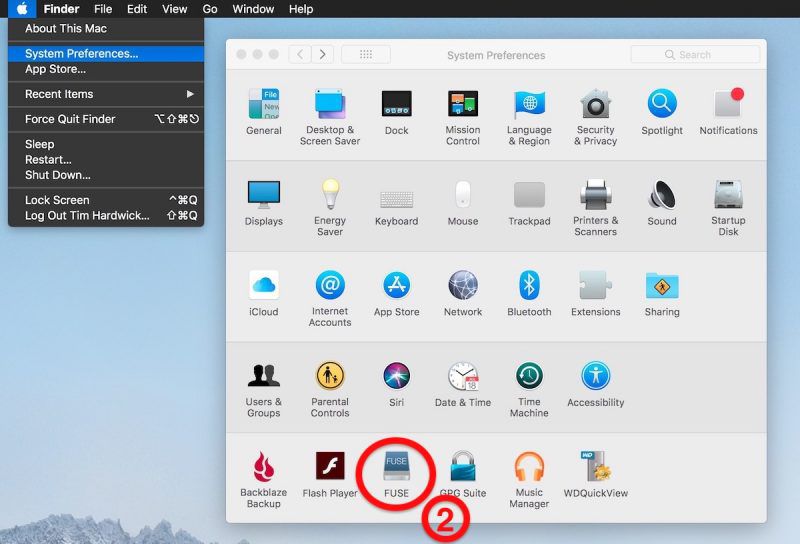
- Click on the Apple menu in the top-left corner of your screen.
- Select System Preferences.
- Go to Language & Region:
- In the System Preferences window, click Language & Region.
- Add a New Language:
- Click the + button under the list of preferred languages.
- Select the language you want from the list and click Add.
- Set the Primary Language:
- Drag the newly added language to the top of the list to make it the primary language.
- Restart your computer to apply the changes.
Changing the Keyboard Input Language

To type in a different language, you may also need to change your keyboard input settings.
Steps to Change the Keyboard Language
- Open System Preferences:
- Go to the Apple menu and select System Preferences.
- Access Keyboard Settings:
- Click on Keyboard and then navigate to the Input Sources tab.
- Add a New Input Source:
- Click the + button and select the desired language.
- Click Add.
- Switch Between Input Languages:
- Use the keyboard shortcut Command + Space to switch between input languages while typing in Word.
Tips for Using Multiple Languages in Word
- Use Templates: If you frequently create documents in different languages, consider saving templates with specific language settings.
- Check Language Packs: Ensure the required language pack is installed for full compatibility with proofing tools.
- Test the Settings: After changing the language, type some text and run the spell check to verify the changes.
Conclusion
By following these steps, you can easily change the language in Word for Mac 2016 for both proofing and interface purposes. This allows you to create documents tailored to specific audiences and ensures accurate spelling and grammar checks. If you encounter any issues, consult Microsoft’s support page or double-check your macOS settings.
