How to Resolve Screensaver Issues on Windows 10
The screensaver feature in Windows 10 enhances your system’s appearance and helps conserve energy. However, if the screensaver is not working as expected, it could be due to misconfigured settings, driver issues, or background activities. This guide will help you troubleshoot and fix the problem effectively.
Step 1: Check Screensaver Settings
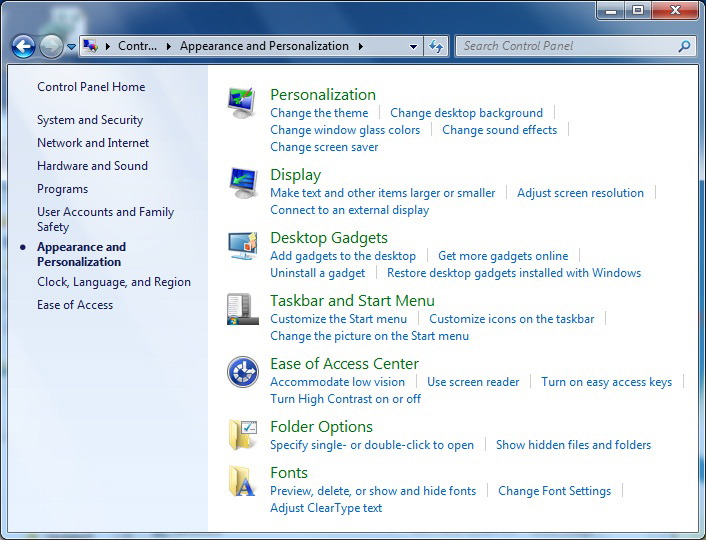
Incorrect configuration is a common reason for the screensaver not working.
- Access Screensaver Settings:
- Press Windows + S, type
Change screensaver, and press Enter.
- Press Windows + S, type
- Verify Configuration:
- Ensure a screensaver is selected from the dropdown menu.
- Set a reasonable wait time (e.g., 5 minutes).
- Preview the Screensaver:
- Click Preview to test if it works.
- Apply Changes:
- Click OK to save your settings.
Step 2: Disable Background Activities
Background processes like playing videos or running certain apps can prevent the screensaver from activating.
- Close Active Applications:
- Close media players, games, or apps that might interfere.
- Check Task Manager:
- Press Ctrl + Shift + Esc to open Task Manager.
- End unnecessary background tasks.
Step 3: Check Power Settings
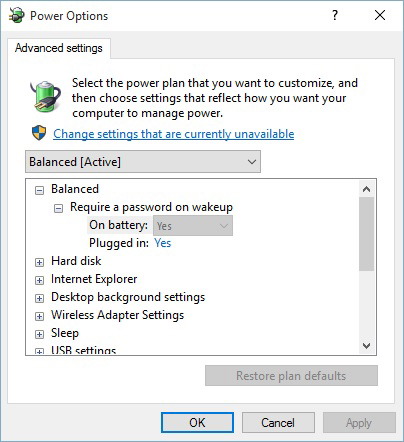
Power plan settings can override the screensaver functionality.
- Access Power Options:
- Press Windows + X and select Power Options.
- Adjust Settings:
- Click Additional power settings.
- Select your active power plan and click Change plan settings.
- Ensure the display and sleep settings do not conflict with the screensaver activation time.
Step 4: Update Display Drivers
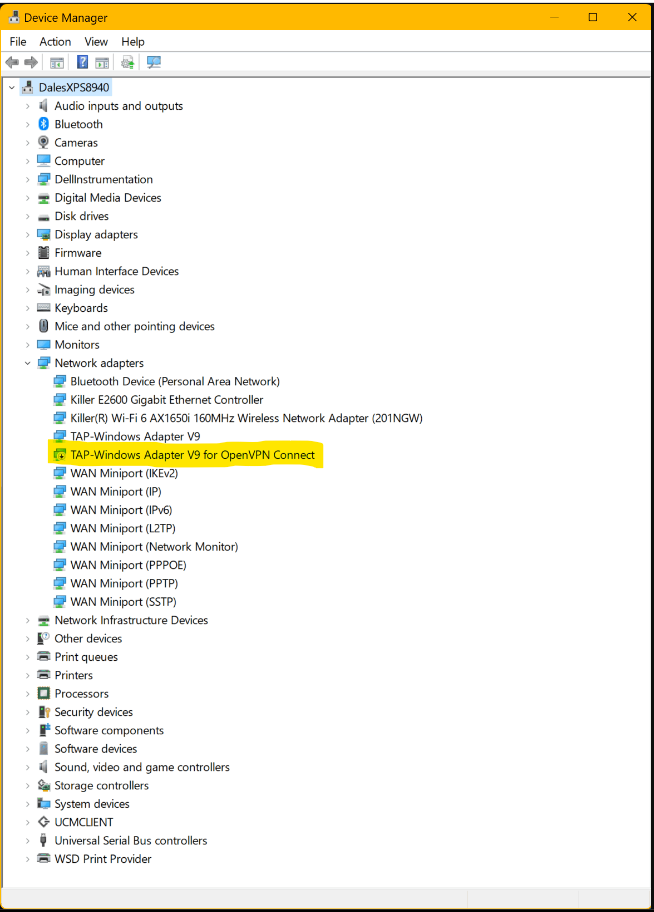
Outdated or incompatible display drivers may prevent the screensaver from working.
- Open Device Manager:
- Press Windows + X and select Device Manager.
- Update Driver:
- Expand Display adapters.
- Right-click your graphics driver (e.g., Intel, NVIDIA, AMD) and select Update driver.
- Choose Search automatically for drivers.
- Restart Your Computer:
- After updating, restart your system and check the screensaver.
Step 5: Scan for Malware
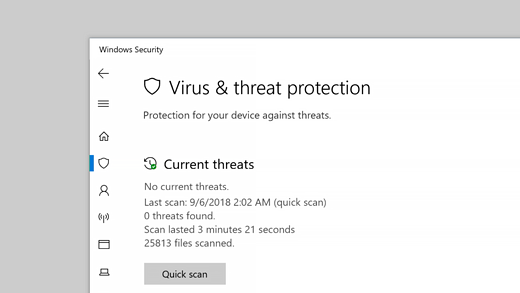
Malware or viruses may interfere with system functionality.
- Run Windows Security:
- Press Windows + I and navigate to Update & Security > Windows Security.
- Click Virus & threat protection > Quick scan.
- Perform a Full Scan:
- Select Scan options > Full scan to check for deeper issues.
Step 6: Reconfigure USB Device Settings

Certain USB devices, such as external mice or keyboards, may prevent the screensaver from activating.
- Open Device Manager:
- Press Windows + X and select Device Manager.
- Adjust USB Settings:
- Expand Universal Serial Bus controllers.
- Right-click each USB device and select Properties.
- Under the Power Management tab, uncheck Allow this device to wake the computer.
Step 7: Check for Windows Updates
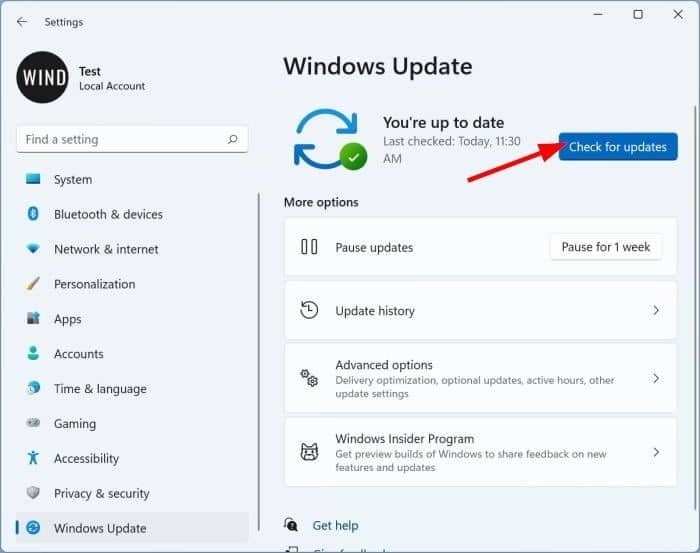
Updating your system ensures compatibility and fixes known bugs.
- Open Windows Update:
- Press Windows + I and go to Update & Security > Windows Update.
- Check for Updates:
- Click Check for updates and install any available updates.
Step 8: Perform a Clean Boot
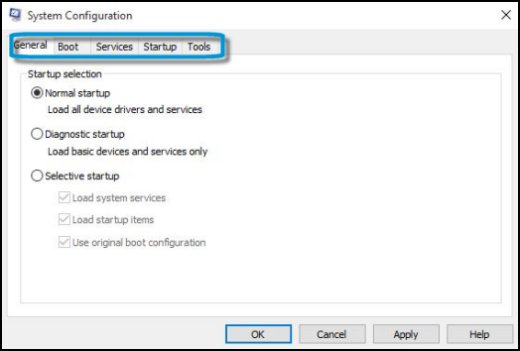
Conflicts with third-party applications can block the screensaver.
- Open System Configuration:
- Press Windows + R, type
msconfig, and press Enter.
- Press Windows + R, type
- Disable Non-Microsoft Services:
- Go to the Services tab.
- Check Hide all Microsoft services, then click Disable all.
- Restart Your Computer:
- Check if the screensaver works in a clean boot environment.
Step 9: Restore System Settings
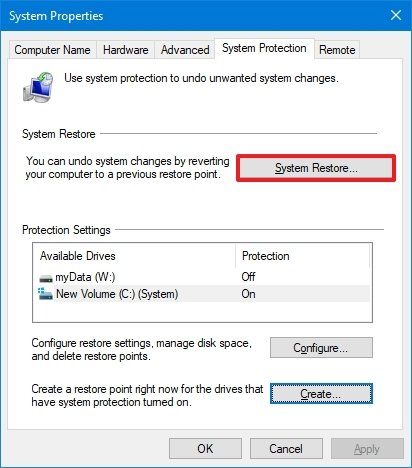
If none of the steps work, consider restoring your system to a previous point.
- Open System Restore:
- Press Windows + S, type
System Restore, and press Enter.
- Press Windows + S, type
- Choose a Restore Point:
- Select a restore point before the issue began and follow the on-screen instructions.
- Complete Restoration:
- Restart your computer to apply changes.
Conclusion
By following these steps, you can troubleshoot and fix the “Windows 10 Screensaver Not Working” issue. If the problem persists, consider contacting Microsoft Support or reinstalling Windows 10.
