SAAC's Team
December 10, 2024
How to Save a Document in Microsoft Word
Saving a document in Microsoft Word is a fundamental skill that ensures your work is preserved and accessible in the future. Whether you’re drafting a report, creating a resume, or working on an essay, understanding how to save your work in different formats and locations is essential. This guide will walk you through the process step by step.
Step 1: Open or Create a Document in Microsoft Word
- Launch Microsoft Word from your desktop, Start menu, or taskbar.
- Open an existing document or create a new one by selecting Blank Document.

Step 2: Access the Save Option
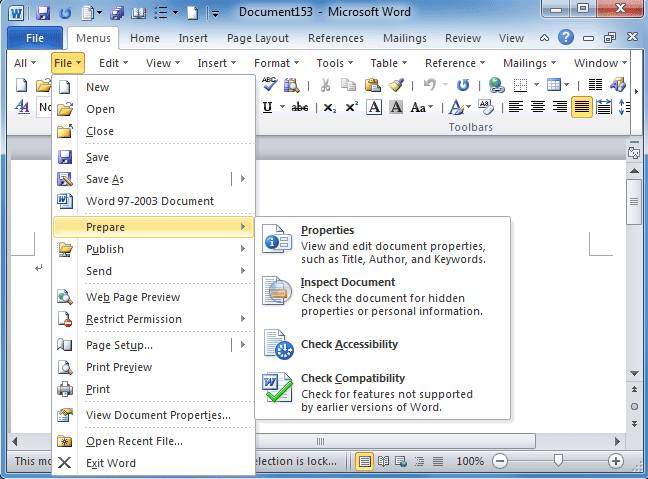
- After creating or editing your document, go to the File tab in the top-left corner of the Word interface.
- Click on Save or Save As, depending on whether you are saving the document for the first time or updating an existing one.
Step 3: Choose a Save Location
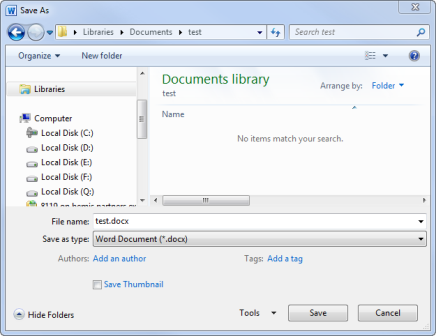
- When you click Save As, Word will ask you to choose a location to save your file.
- This PC: Save the file on your local drive (e.g., Documents or Desktop).
- OneDrive: Save the file to the cloud for access on multiple devices.
- Browse: Open a file explorer window to select a custom location.
- Select the desired location, such as a folder on your desktop or a cloud storage location like OneDrive.
Step 4: Name Your Document
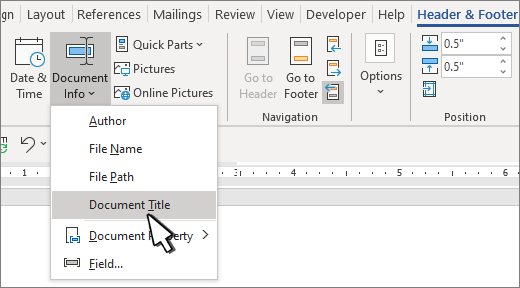
- In the File Name field, enter a descriptive name for your document.
- Ensure the name is easy to recognize and reflects the content of the document.
Tips for Naming:
- Avoid special characters such as
/,\,*, or?that are not allowed in file names. - Use clear, specific titles like Meeting_Notes_Jan2024.docx instead of generic names like Document1.
Step 5: Select a File Format
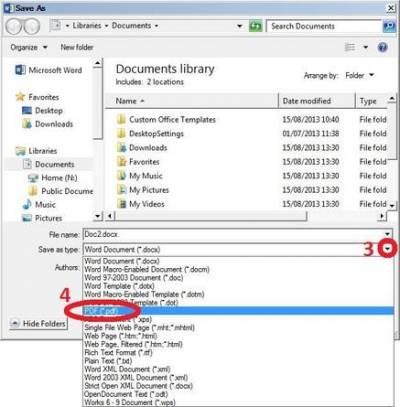
- In the Save As Type dropdown menu, choose the format for your file. The default format is Word Document (.docx), but you can select other formats depending on your needs:
- .docx: Standard Word document (recommended for most uses).
- .pdf: Saves the document as a PDF file for easy sharing and printing.
- .rtf: Rich Text Format for compatibility with various applications.
- .txt: Plain text file with no formatting.
- Click Save to complete the process.
Step 6: Save Updates to an Existing Document
- If you are working on a document that has already been saved, you can simply click the Save icon (a small floppy disk) in the top-left corner of the Word window.
- Alternatively, press Ctrl + S (Windows) or Command + S (Mac) to save your changes quickly.

Step 7: Enable AutoSave (Optional)
- If you’re working on a document saved to OneDrive or SharePoint, you can enable AutoSave.
- Toggle the AutoSave switch at the top-left corner of the Word window.
- This feature ensures that your work is saved automatically as you make changes, reducing the risk of data loss.

Common Issues and Troubleshooting
Cannot Save the File
- Insufficient Permissions: Ensure you have permission to save in the chosen location.
- Storage Space: Check if your hard drive or cloud storage is full.
- File Name Issue: Ensure the file name doesn’t contain invalid characters.
Recover Unsaved Documents
- If you accidentally close Word without saving, open Word again and look for the Document Recovery pane.
- Select the unsaved file from the list and save it immediately.
Conclusion
Saving your Word document properly is crucial for keeping your work safe and accessible. By following these steps, you can save your files in the desired location and format while also taking advantage of features like AutoSave. Regularly saving your work ensures you won’t lose progress due to unexpected errors or interruptions.
Subscribe
Login
0 Comments
Oldest
