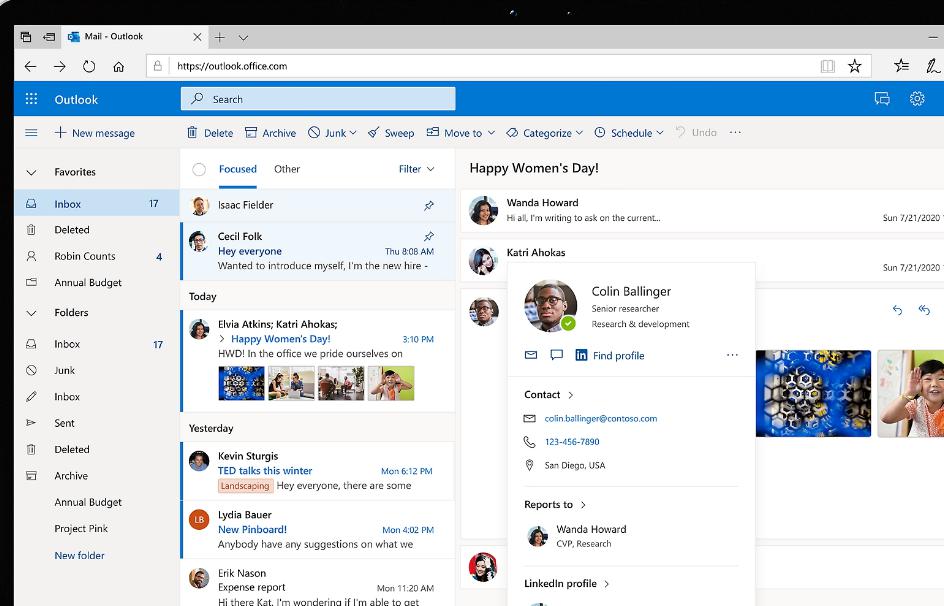
Steps to Save a Contact in Microsoft Outlook
Microsoft Outlook is a comprehensive tool for email communication, calendar management, and contact organization. Adding contacts to Outlook is essential for streamlining communication, especially if you frequently email the same people. This guide will walk you through the process of adding contacts in Microsoft Outlook step by step, whether you’re using the desktop app, web version, or mobile app.

Why Should You Add Contacts in Outlook?
Organizing your contacts in Outlook has numerous benefits:
- Faster Communication: Quickly find and email individuals or groups.
- Improved Organization: Keep contact details like phone numbers, job titles, and email addresses in one place.
- Seamless Integration: Sync contacts across devices using your Microsoft account.
How to Add a Contact in the Desktop Version of Outlook
If you are using the desktop app of Outlook, follow these steps to add a contact:
Step 1: Open the People Section
- Launch the Outlook desktop app on your computer.
- Navigate to the bottom-left corner and click the People icon (shaped like two silhouettes).
Step 2: Create a New Contact
- In the top-left corner, click the New Contact button.
- A window will pop up, allowing you to enter the contact’s details.
Step 3: Fill in Contact Details
- Full Name: Enter the contact’s first and last name.
- Email Address: Input their primary email address.
- Phone Numbers: Add a work, mobile, or home number.
- Job Information: Include their job title, company name, or department if relevant.
- Notes: Use the notes section to store additional details such as birthdays, special instructions, or personal preferences.
Step 4: Save the Contact
Once you have filled in all the relevant details, click the Save & Close button at the top-left corner. The contact will now be added to your Outlook address book.
How to Add a Contact in the Web Version of Outlook

If you prefer to use Outlook.com or the browser-based version of Outlook, the process is just as simple.
Step 1: Access the People Section
- Open your preferred web browser and go to Outlook.com.
- Log in to your account.
- Click the People icon in the left-hand menu (represented by a silhouette).
Step 2: Create a New Contact
- In the People section, click on New Contact at the top of the screen.
- A form will appear for entering the contact’s information.
Step 3: Fill in the Contact Details
- Name and Email: Enter the contact’s name and email address.
- Phone Numbers and Addresses: Optionally, you can add phone numbers, a home address, or work details.
- Personal Notes: Add custom notes if needed.
Step 4: Save the Contact
After filling out all the fields, click Create or Save to add the contact to your address book.
How to Add a Contact Using the Outlook Mobile App

Adding contacts on the go is quick and easy using the Outlook mobile app. Here’s how to do it:
Step 1: Open the App
- Launch the Outlook app on your phone or tablet.
- Log in to your Microsoft account if you aren’t already.
Step 2: Access the Contacts Section
- Tap the Search icon at the bottom of the screen.
- From the search screen, tap Contacts at the top.
Step 3: Add a New Contact
- Tap the + Add Contact button.
- Enter the contact’s details, including:
- Name
- Email Address
- Phone Number
Step 4: Save the Contact
Tap Save to add the new contact to your Outlook address book. The contact will now sync across all your devices if you are using the same Microsoft account.
Additional Tips for Managing Contacts in Outlook
1. Import Contacts from Other Platforms
Outlook allows you to import contacts from other email services or address books. To do this:
- Export your contacts from your previous email provider in CSV format.
- Use the Import/Export tool in Outlook to upload the contacts.
2. Use Contact Groups for Easier Communication
You can create contact groups (also called distribution lists) to email multiple people at once. For example, a group for your team or family makes group communication seamless.
3. Sync Contacts Across Devices
Ensure that your contacts are synced across your desktop, web, and mobile versions of Outlook. This is done automatically when you use the same Microsoft account.
4. Update Contact Information
Regularly review and update your contacts to ensure that their details are accurate. This is especially important for professional connections.
Troubleshooting Contact Issues
Problem: Contacts Not Syncing
- Ensure your Microsoft account is signed in on all devices.
- Check that synchronization settings are enabled in the Outlook app or desktop version.
Problem: Duplicate Contacts
- Use the Clean Up Contacts tool in Outlook to merge duplicate entries.
- Remove unnecessary duplicates manually if the tool doesn’t resolve the issue.
Problem: Unable to Add Contacts
- Confirm you are logged in with the correct Microsoft account.
- Check if your Outlook app or desktop version is updated to the latest version.
Conclusion
Adding and managing contacts in Microsoft Outlook is a fundamental skill that enhances communication and organization. By following the steps outlined above, you can easily create, edit, and maintain your contact list on any device. Whether you are using the desktop application, web version, or mobile app, Outlook ensures that your contacts are always accessible and well-organized.

