How to Configure Email on the Samsung Email App for Android
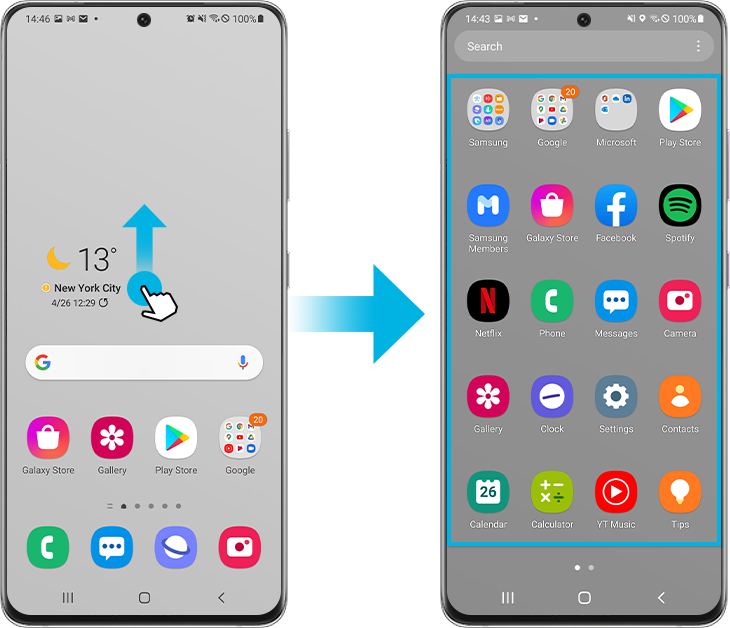
Setting up your email in the Samsung Email app on an Android device is essential for staying connected and managing your messages on the go. Whether you’re using a personal or professional email account, the Samsung Email app supports various email providers, including Gmail, Outlook, Yahoo, and custom IMAP/POP accounts. This guide will walk you through the process of setting up your email step by step.
Prerequisites for Setting Up Email
Before you begin, ensure you have the following information:
- Email Address: Your complete email address (e.g., [email protected]).
- Password: The password associated with your email account.
- Server Settings: For custom IMAP or POP accounts, you’ll need incoming and outgoing server details. Contact your email provider for this information if necessary.
- Internet Connection: A stable Wi-Fi or mobile data connection is required.
Steps to Set Up Email in the Samsung Email App
Step 1: Open the Samsung Email App
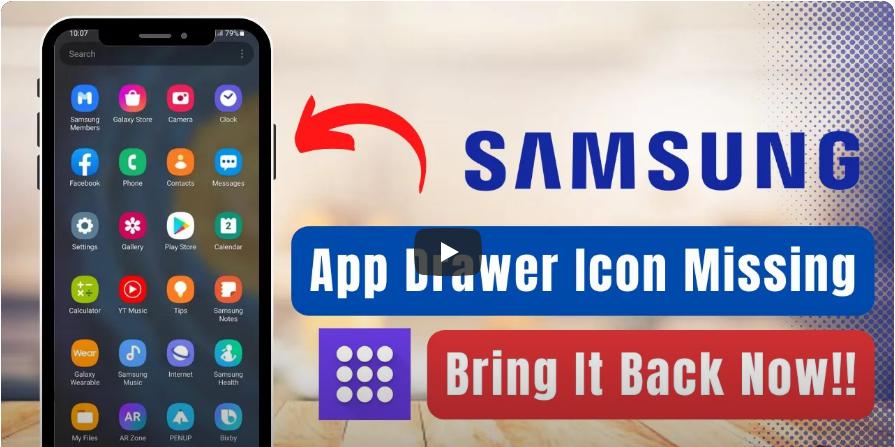
- Locate the Samsung Email app on your Android device.
- You can usually find it on your home screen or in the app drawer.
- Tap the app icon to launch it.
Step 2: Add Your Email Account
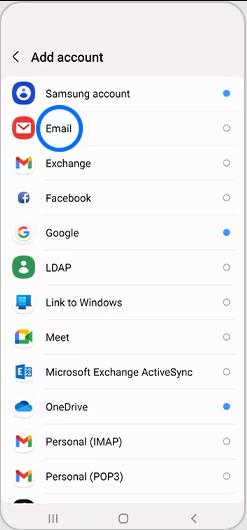
- When you open the app for the first time, you’ll see a welcome screen prompting you to add an email account.
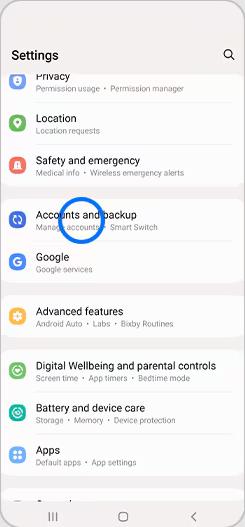
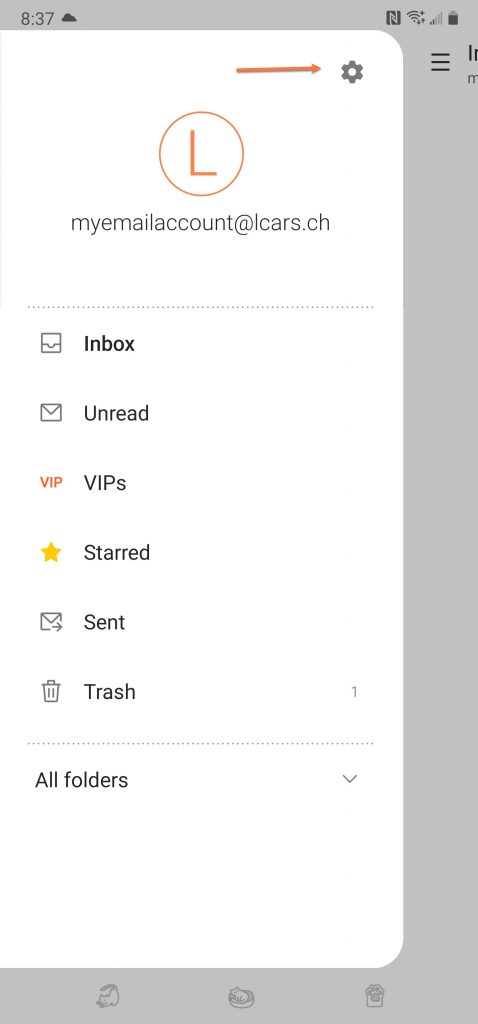
- If you have already set up another email account, tap the Menu button (three horizontal lines) and select Add Account.
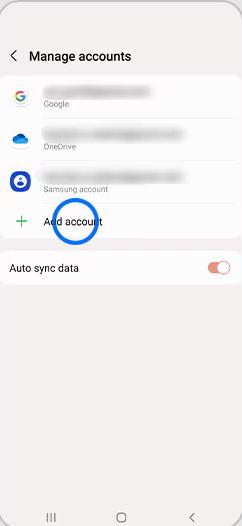
- If you have already set up another email account, tap the Menu button (three horizontal lines) and select Add Account.
- Enter your email address in the provided field.
- Tap Next to proceed.
Step 3: Enter Your Password
- On the next screen, enter your email password.
- Tap Sign In or Next (depending on your email provider).
Step 4: Choose Manual or Automatic Setup
- Automatic Setup:
- For popular providers like Gmail, Outlook, or Yahoo, the Samsung Email app will automatically detect the necessary server settings.
- Wait for the app to configure your account.
- Once the process completes, skip to Step 6.
- Manual Setup:
- For custom email accounts or if the app cannot detect settings automatically:
- Tap Manual Setup.
- Select the account type:
- IMAP: If you want to sync emails across multiple devices.
- POP3: If you prefer emails to be downloaded and stored on your device.
- Enter the following details for the incoming server:
- Username: Your full email address.
- Password: The same as your email password.
- IMAP/POP Server: Provided by your email service (e.g., imap.example.com or pop.example.com).
- Port: Commonly 993 for IMAP or 995 for POP3.
- Security Type: Select SSL/TLS.
- Enter the following details for the outgoing server:
- SMTP Server: Provided by your email service (e.g., smtp.example.com).
- Port: Commonly 587 or 465.
- Security Type: Select SSL/TLS.
- Authentication Required: Ensure this is checked, and use the same credentials as the incoming server.
- Tap Next to proceed.
- For custom email accounts or if the app cannot detect settings automatically:
Step 5: Configure Account Settings
- Once the app successfully connects to the server, you’ll be prompted to configure additional settings:
- Sync Frequency: Choose how often the app should check for new emails.
- Notifications: Enable or disable notifications for this account.
- Sync Emails: Ensure this option is checked to receive emails.
- Download Attachments: Decide whether to download attachments automatically when connected to Wi-Fi.
- Tap Next to save your settings.
Step 6: Customize Your Account Name
- Enter a name for the account (e.g., “Work Email” or “Personal Email”).
- Add a display name, which will appear in outgoing messages (e.g., “John Doe”).
- Tap Done to complete the setup.
Troubleshooting Common Issues
If you encounter issues while setting up your email, here are some tips to resolve them:
1. Incorrect Password or Username
- Double-check your email address and password.
- Reset your password if necessary by visiting your email provider’s website.
2. Server Settings Not Recognized
- Verify incoming and outgoing server details with your email provider.
- Ensure you’ve entered the correct port numbers and selected the appropriate security type.
3. Cannot Connect to the Server
- Check your internet connection and ensure you’re connected to Wi-Fi or mobile data.
- Ensure that the server addresses are spelled correctly.
4. App Crashes or Freezes
- Restart the Samsung Email app or your device.
- Clear the app’s cache by navigating to Settings > Apps > Samsung Email > Storage > Clear Cache.
5. Emails Not Syncing
- Ensure email syncing is enabled under Settings > Accounts > Email > Sync Email.
- Check if battery-saving modes are restricting background activity for the Samsung Email app.
Benefits of Using the Samsung Email App
- Unified Inbox: Manage multiple email accounts in one place.
- Customizable Notifications: Set unique tones or vibration patterns for different accounts.
- User-Friendly Interface: Enjoy an intuitive design tailored for Samsung devices.
- Offline Access: Read and compose emails even when offline, with messages sent automatically when reconnected to the internet.
Conclusion
Setting up your email in the Samsung Email app is a straightforward process when you follow the steps outlined in this guide. Whether you’re using a common email provider or a custom domain, the app’s flexible configuration options ensure compatibility and ease of use. If you encounter any issues, troubleshooting steps are available to help resolve them quickly. Once set up, you can efficiently manage your emails and stay connected wherever you go.
