How to Revert to a Previous Version of Windows
If you recently upgraded to a new version of Windows and are experiencing issues, you might want to roll back to your previous version. Restoring the earlier version is a straightforward process if you act within the designated rollback period. This guide will walk you through the steps to restore your previous version of Windows safely.
Understanding the Rollback Period
Windows allows users to revert to their previous version within 10 days of an upgrade. After this period, the necessary files for rollback are deleted to free up disk space. Before proceeding, ensure you’re within this window and that you have backed up your important data.
Steps to Restore Your Previous Version of Windows
Step 1: Open the Settings Menu

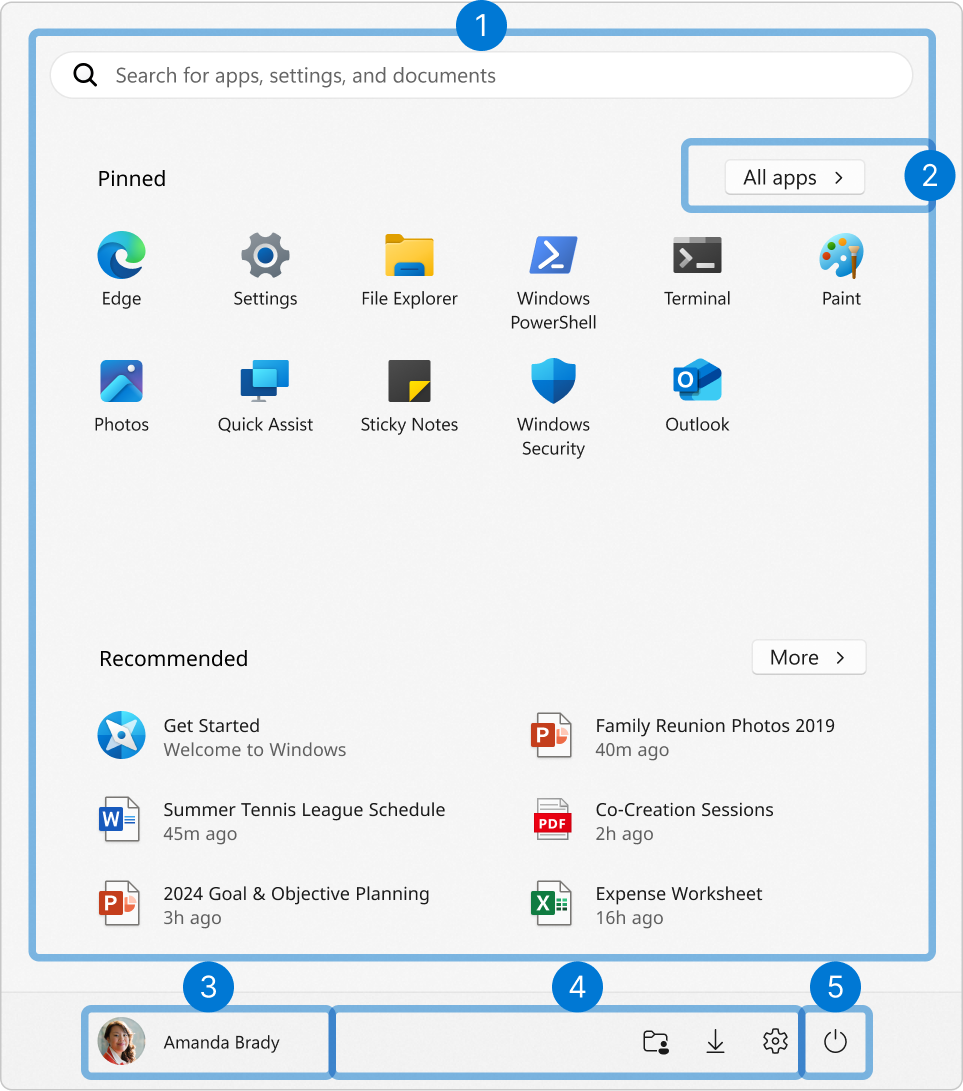
- Click on the Start button (Windows logo) in the bottom-left corner of your screen.
- Select Settings (gear icon) from the Start menu.
Step 2: Navigate to Recovery Options

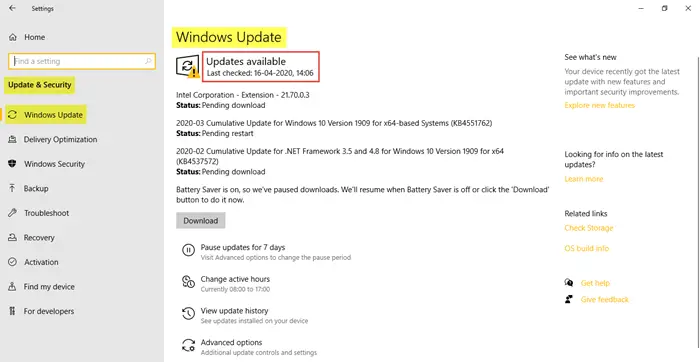
- In the Settings window, select Update & Security.
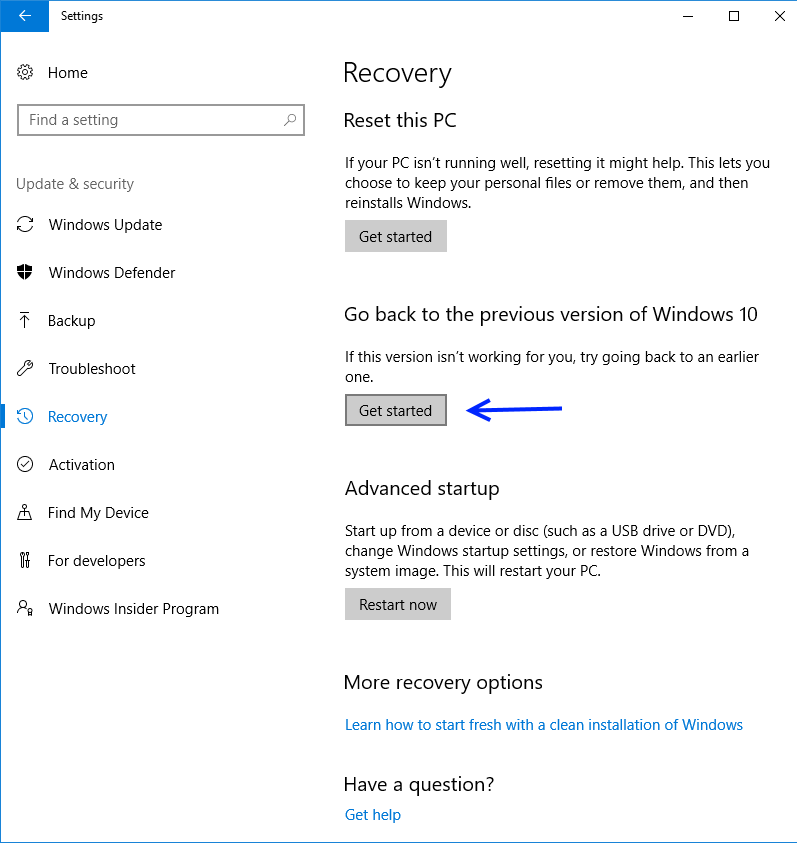
- From the left-hand menu, click on Recovery.
Step 3: Start the Rollback Process

- Under the “Go back to the previous version of Windows 10” section, click the Get Started button.
- If this option is grayed out, the rollback period has likely expired, or the required files have been deleted.
- Follow the on-screen instructions to complete the process.
- Microsoft may ask for feedback regarding why you’re reverting. Choose the option that best describes your reason and click Next.
Step 4: Prepare for the Rollback

- You will be prompted to review the impact of rolling back:
- Confirm that programs installed after the upgrade will be removed.
- Verify that settings changed post-upgrade will revert to their previous state.
- Click Next to proceed.
Step 5: Complete the Rollback
- Ensure your device is plugged into a power source to prevent interruptions.
- Click Go back to the previous version to begin the restoration process.
- Your system will restart multiple times. Once complete, you’ll be back on your previous version of Windows.
Alternative Options if Rollback Is Unavailable
If the rollback option isn’t accessible, you can explore these alternatives:
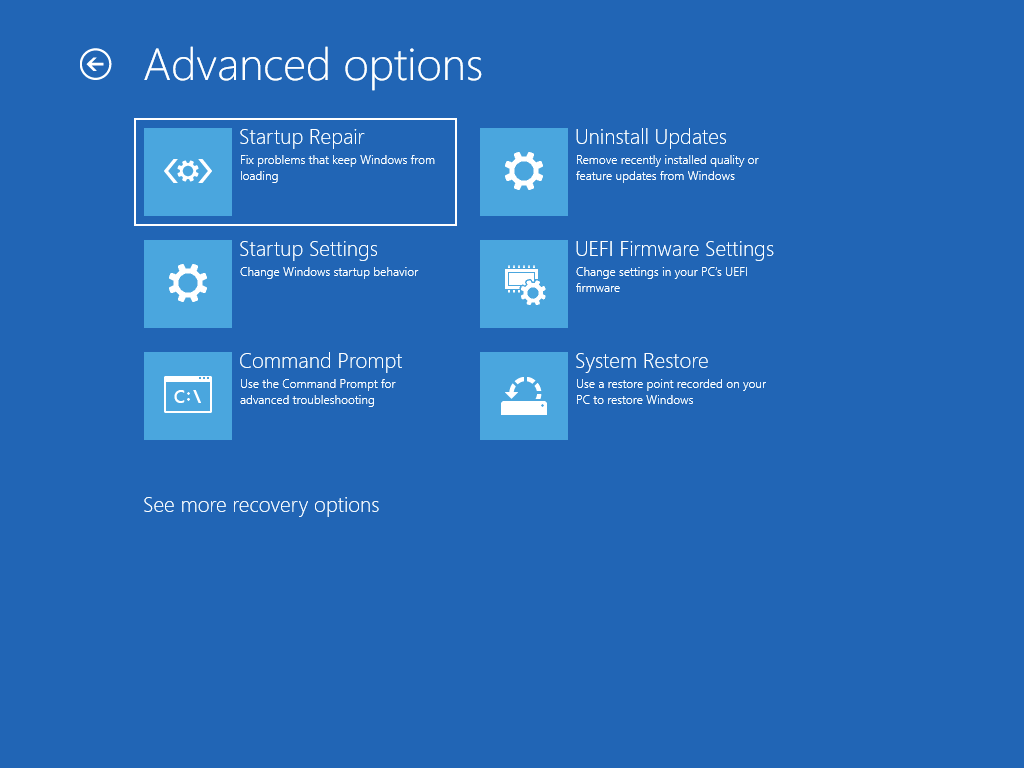
Perform a System Restore

- Search for Create a restore point in the Windows search bar and select it.
- In the System Properties window, click System Restore.
- Follow the wizard to revert your system to a previous restore point.
Reinstall the Previous Version Manually
- Visit the Microsoft website and download the installation media for your desired version.
- Create a bootable USB drive using the Media Creation Tool.
- Boot your system from the USB drive and follow the on-screen instructions to reinstall the previous version.
Tips for a Smooth Rollback Process
- Backup Your Data: Always backup your files before starting the rollback to avoid data loss.
- Check Installed Programs: Reinstall programs that were removed during the rollback process.
- Update Drivers: Ensure your device drivers are updated for optimal performance on the previous version.
Conclusion
Restoring your previous version of Windows is a helpful option if the latest update causes compatibility issues or system instability. Follow the steps outlined above for a smooth rollback experience. If you encounter problems during the process, seek support from Microsoft or your device manufacturer.
