How to Rename Multiple Files at Once in Windows 10
Renaming multiple files individually can be tedious and time-consuming. Thankfully, Windows 10 offers several ways to batch rename files quickly and efficiently. Whether you want to rename photos, documents, or any other files, you can use the built-in tools or third-party applications to save time and effort. In this guide, we will cover different methods to batch rename files on Windows 10.
Why You Might Need to Batch Rename Files
Batch renaming files is useful in many scenarios:
- Organizing photos: Rename hundreds of vacation photos to have a consistent format like “Vacation_2023_01, Vacation_2023_02,” etc.
- Renaming documents: Standardize the names of project files or reports for easy identification.
- Tidying downloads: Files downloaded from the web often have random names that are hard to follow. Renaming them helps maintain a clean file system.
Now, let’s explore the methods to rename multiple files at once.
Method 1: Batch Rename Using File Explorer

Windows File Explorer allows you to rename multiple files simultaneously, providing a simple way to keep files in order.
Steps to Batch Rename Using File Explorer:
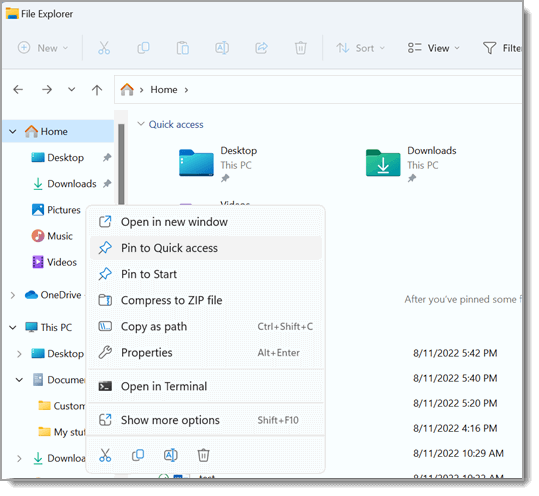
- Open File Explorer: You can press Windows + E or click the folder icon on the taskbar.
- Navigate to the Folder: Go to the folder containing the files you want to rename.
- Select Multiple Files: Click on the first file, then hold the Shift key and click the last file to select all files between. Alternatively, you can hold down the Ctrl key and click each file individually.
- Right-Click and Select Rename: Once all files are selected, right-click one of them and choose Rename from the context menu.
- Rename the First File: Type the new name for the first file, and all the other selected files will be renamed automatically, with numbers in parentheses added at the end (e.g., Vacation_01, Vacation_02, etc.).
- Press Enter: After typing the name, press Enter to apply the changes. All files will now have the new name with numerical suffixes.
Pros:
- Quick and easy for simple file renaming.
- Doesn’t require any additional software.
Cons:
- Limited customization, such as adding prefixes or suffixes beyond the number sequence.
Method 2: Batch Rename Using PowerShell

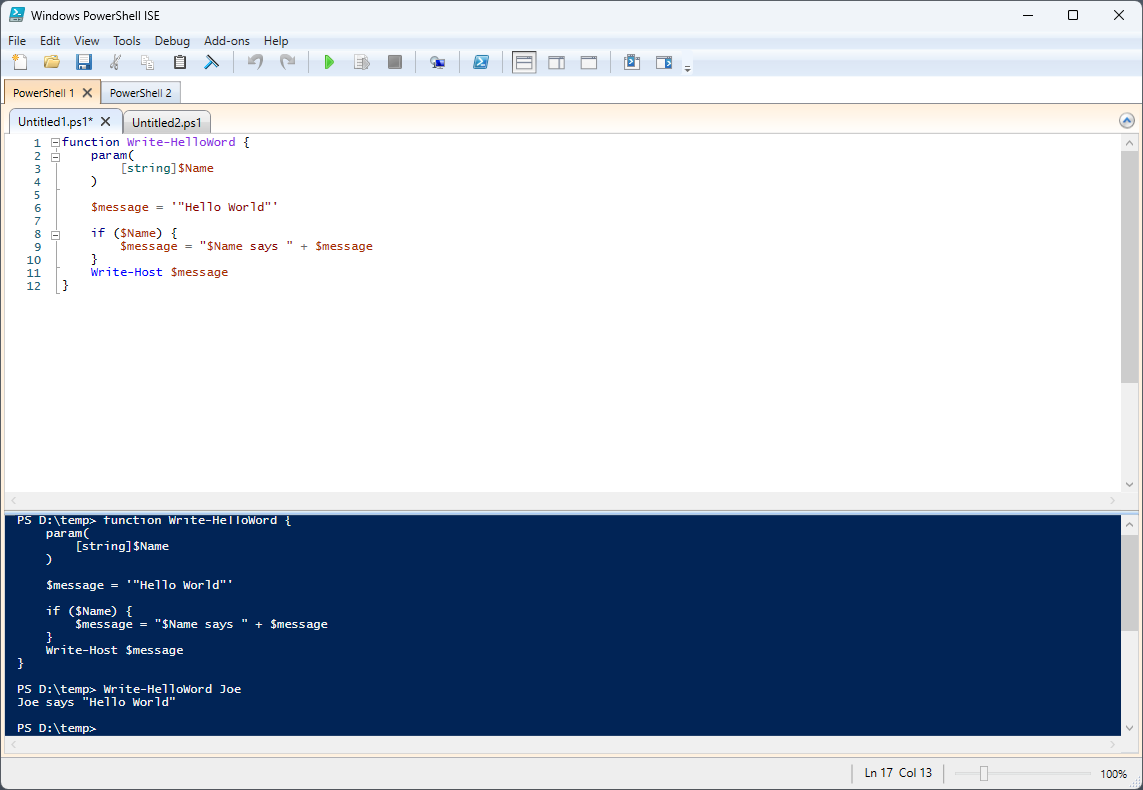
If you need more flexibility in renaming files, PowerShell offers advanced options. PowerShell is a powerful tool that allows you to automate tasks, including file renaming.
Steps to Batch Rename Using PowerShell:
- Open PowerShell: Right-click the Start button and select Windows PowerShell from the list.
- Navigate to the Folder: Use the
cd(change directory) command to navigate to the folder containing your files. For example: - Run Rename Command: Use the following command to rename files:
Replace OldName with the part of the name you want to change, and NewName with the new text. For example, if you want to rename files from “IMG_001.jpg” to “Photo_001.jpg”:
- Press Enter: After entering the command, PowerShell will rename all the files in the folder accordingly.
Pros:
- Highly customizable with many options.
- Ideal for more advanced batch renaming tasks.
Cons:
- Requires familiarity with PowerShell commands.
Method 3: Using a Third-Party Application

If you prefer a graphical user interface with more advanced renaming options, third-party tools like Bulk Rename Utility or Advanced Renamer are great options. These tools offer extensive renaming features like adding prefixes, suffixes, timestamps, and much more.
Steps to Batch Rename Using Bulk Rename Utility:
- Download and Install: Download Bulk Rename Utility from the official website and install it on your computer.
- Open the Application: Launch Bulk Rename Utility and navigate to the folder containing your files.
- Select Files: Select the files you want to rename.
- Customize Renaming: Use the options at the bottom of the screen to customize how you want to rename the files. You can add text, remove parts of the filename, add numbers, change case, etc.
- Click Rename: Once you have set your renaming preferences, click Rename at the bottom right. All selected files will be renamed instantly.
Pros:
- Advanced features for complex renaming tasks.
- Easy-to-use graphical interface.
Cons:
- Requires installation of additional software.
Conclusion
Renaming multiple files at once on Windows 10 is easy with the built-in File Explorer for basic tasks or PowerShell for more control. If you need even more advanced renaming options, third-party tools like Bulk Rename Utility provide a wealth of features to streamline the process.
Recap:
- File Explorer: Best for simple renaming tasks.
- PowerShell: Ideal for advanced users who want more flexibility.
- Third-Party Tools: Provide comprehensive renaming features with a graphical interface.
By using any of these methods, you can quickly and efficiently rename large sets of files, saving you time and hassle!
