How to Turn Off and Remove Microsoft Store Apps
Microsoft Store apps, also known as Universal Windows Platform (UWP) apps, are pre-installed with Windows 10 and Windows 11. While some of these apps are useful, others may be unnecessary or take up valuable system resources. Fortunately, you can easily disable or uninstall Microsoft Store apps to optimize your computer’s performance or free up space.
In this guide, we’ll walk through different methods to disable and uninstall Microsoft Store apps, along with step-by-step instructions and images for a seamless process.
Why Disable or Uninstall Microsoft Store Apps?
Before diving into the methods, it’s important to understand why you might want to disable or uninstall these apps:
- Free up storage space: Some Microsoft Store apps take up disk space, which can be valuable on devices with limited storage.
- Improve performance: Disabling background apps can help boost system performance, especially on lower-spec devices.
- Personal preference: You may prefer third-party applications over the default Microsoft apps.
- Reduce clutter: Removing unused apps can declutter your Start menu and system.
Method 1: Uninstall Microsoft Store Apps via Start Menu
The easiest way to uninstall Microsoft Store apps is directly through the Start menu.
Steps to Uninstall Microsoft Store Apps from the Start Menu:
- Open the Start Menu:
- Press the
Windowskey or click on the Start button in the taskbar. 
- Press the
- Find the App You Want to Uninstall:
- Scroll through the list of apps or type the app’s name in the search bar.

- Right-Click the App:
- Once you locate the app, right-click on its icon.
- Select Uninstall:
- From the context menu, click Uninstall. A confirmation box will appear asking if you want to uninstall the app. Confirm to complete the process.

This method is straightforward and works for most Microsoft Store apps, including built-in apps like Mail, Calendar, and Xbox.
Method 2: Uninstall Microsoft Store Apps Using Settings
The Settings app allows you to uninstall multiple apps more systematically, especially if you want to view the app sizes before deciding to remove them.
Steps to Uninstall Apps via the Settings App:
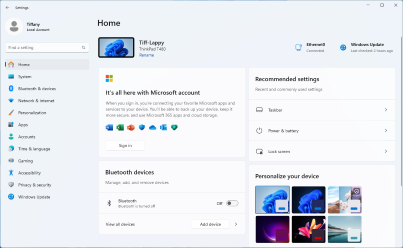
- Open Settings:
- Press
Windows + Ito open the Settings window. 
- Press
- Navigate to Apps:
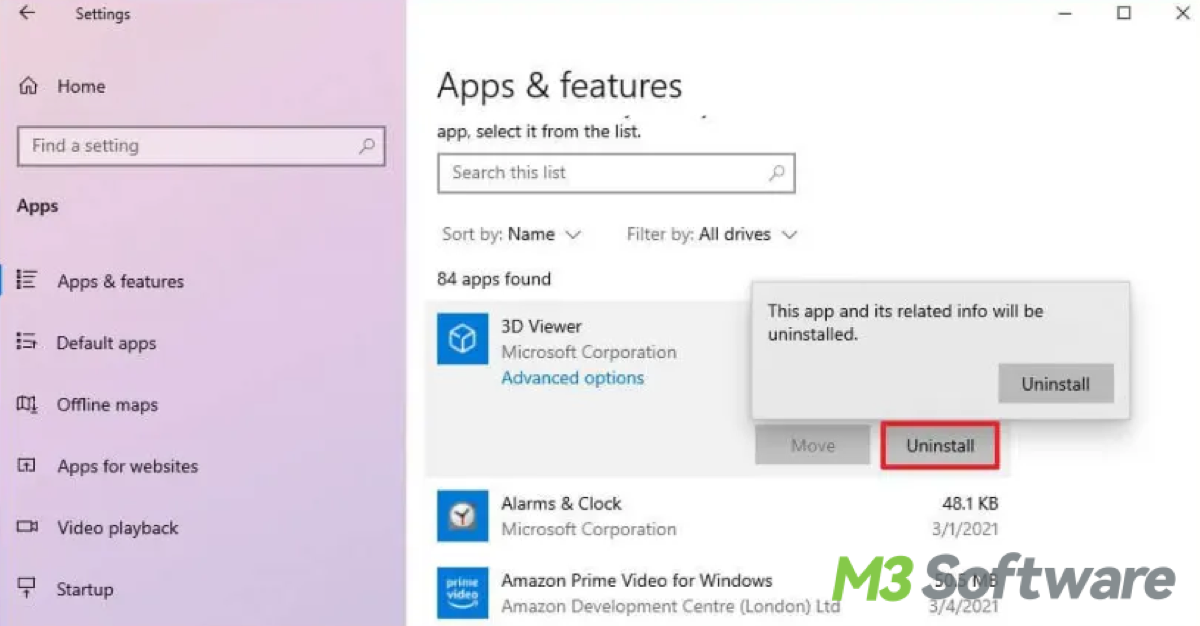
- In the Settings menu, click on Apps to open the Apps & features section.

- Find the App You Want to Uninstall:
- Scroll through the list of installed apps or use the search bar to quickly locate the app.

- Uninstall the App:
- Click on the app’s name to reveal the Uninstall button. Click Uninstall and follow the prompts to remove the app.

This method gives you more control over viewing all installed Microsoft Store apps and managing them.
Method 3: Disable Microsoft Store Apps from Running in the Background
If you don’t want to completely uninstall an app but wish to stop it from consuming resources in the background, you can disable its background activity.
Steps to Disable Background Activity for Microsoft Store Apps:
- Open Settings:
- Press
Windows + Ito open Settings. 
- Press
- Go to Privacy:
- In the Settings menu, click on Privacy.

- Navigate to Background Apps:
- Scroll down the left-hand menu and click on Background apps under the App permissions section.

- Disable Background Apps:
- To stop all Microsoft Store apps from running in the background, toggle the switch labeled Let apps run in the background to Off.

- Disable Individual Apps:
- If you only want to disable specific apps, scroll down and toggle individual apps off in the list.

By disabling apps from running in the background, you can improve system performance without completely removing the apps from your computer.
Method 4: Uninstall Microsoft Store Apps Using PowerShell
If you’re unable to uninstall certain built-in apps (like Cortana or Microsoft Edge) through the Start menu or Settings, you can use Windows PowerShell to remove them.
Steps to Uninstall Apps Using PowerShell:
- Open PowerShell as Administrator:
- Press
Windows + Xand select Windows PowerShell (Admin) from the menu.

- Press
- Enter the Command to Uninstall the App:
- In the PowerShell window, type the following command to list all installed apps:
powershell
Get-AppxPackage | Select Name, PackageFullName
- In the PowerShell window, type the following command to list all installed apps:
- Find the App’s Full Name:
- Look for the app you want to uninstall by reviewing the PackageFullName. Copy the full package name of the app.
- Uninstall the App:
- To uninstall the app, enter the following command, replacing PackageFullName with the app’s actual package name:
powershell
Get-AppxPackage PackageFullName | Remove-AppxPackage
For example, to uninstall the Xbox app, you would use:
powershellGet-AppxPackage Microsoft.XboxApp | Remove-AppxPackage
- To uninstall the app, enter the following command, replacing PackageFullName with the app’s actual package name:
Method 5: Disable Microsoft Store (Prevent New Installations)
If you want to prevent users from installing apps via the Microsoft Store, you can disable the Microsoft Store entirely.
Steps to Disable Microsoft Store Using Group Policy:
- Open Group Policy Editor:
- Press
Windows + R, type gpedit.msc, and hit Enter.

- Press
- Navigate to Store Settings:
- Go to Computer Configuration > Administrative Templates > Windows Components > Store.

- Disable Microsoft Store:
- Double-click the setting Turn off the Store application and set it to Enabled.

- Apply and Restart:
- Click Apply and then restart your computer to finalize the changes.
This will disable the Microsoft Store, preventing any further installations of apps.
Conclusion
Disabling or uninstalling Microsoft Store apps on Windows can be done using several methods, depending on your needs. Whether you’re removing unnecessary apps via the Start menu, disabling background activity to improve performance, or using PowerShell for more advanced uninstallations, these methods provide you with full control over how your system operates.
By following this guide, you can easily manage Microsoft Store apps and ensure that your system is optimized for performance and free of unnecessary clutter.

