Crafting Professional Invoices with Microsoft Office: A Detailed Tutorial

Microsoft Office offers powerful tools for creating polished and professional invoices. Whether you’re a freelancer, small business owner, or simply need to send a bill, you can leverage Word or Excel to design invoices that impress your clients and get you paid faster.
Why Use Microsoft Office for Invoices?
- Accessibility: Most people have access to Word and Excel, making it easy to share and view invoices.
- Customization: Easily tailor templates to match your brand and specific needs.
- Calculations: Excel’s formulas automate calculations for taxes, discounts, and totals.
- Professionalism: Create visually appealing invoices that reflect your brand’s image.
Creating an Invoice in Microsoft Word
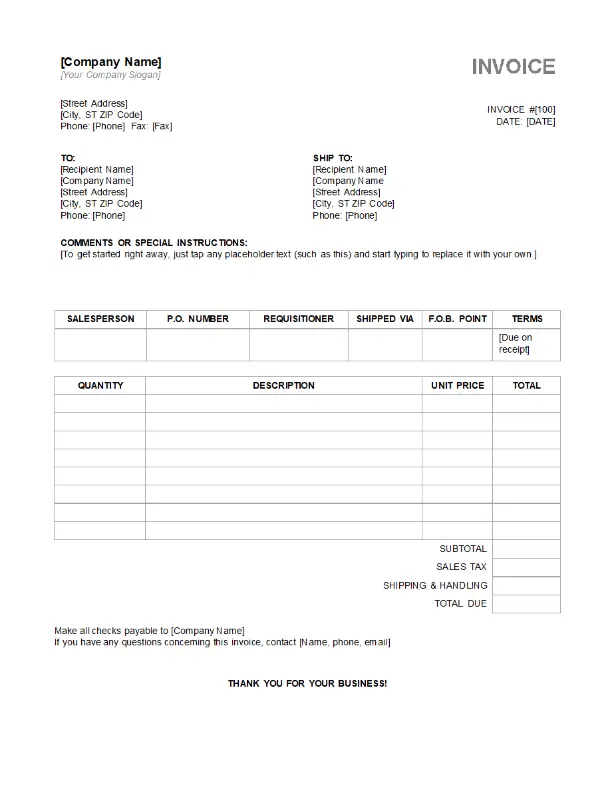
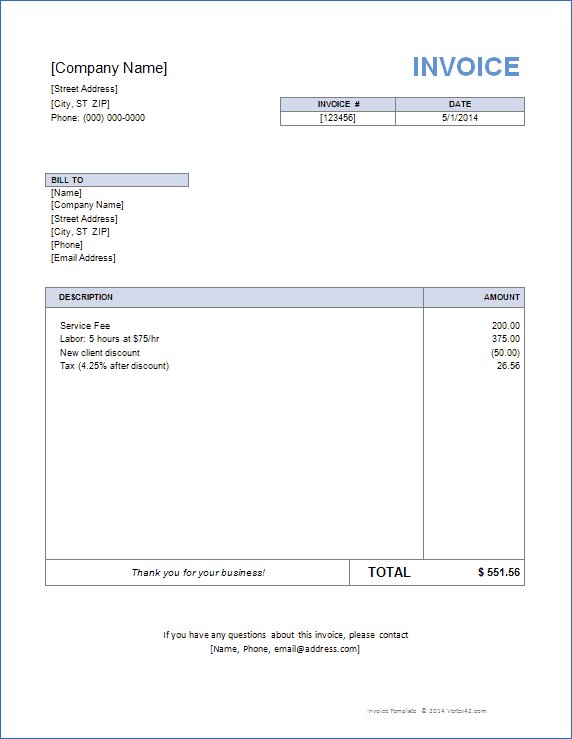
- Choose a Template: Word offers a variety of invoice templates to get you started. Go to “File” > “New” and search for “invoice.”

-
Customize: Fill in your company information, client details, invoice number, date, and payment terms.
-
Add Line Items: Describe the products or services you’re billing for, including quantity, price, and any applicable taxes or discounts.

-
Calculate Totals: Use Word’s built-in calculation tools or simple formulas to calculate subtotals, taxes, and the final total.
-
Save and Send: Save your invoice as a PDF for easy sharing and send it to your client via email or other preferred methods.
Creating an Invoice in Microsoft Excel
-
Start with a Blank Workbook: Open a new Excel workbook.
-
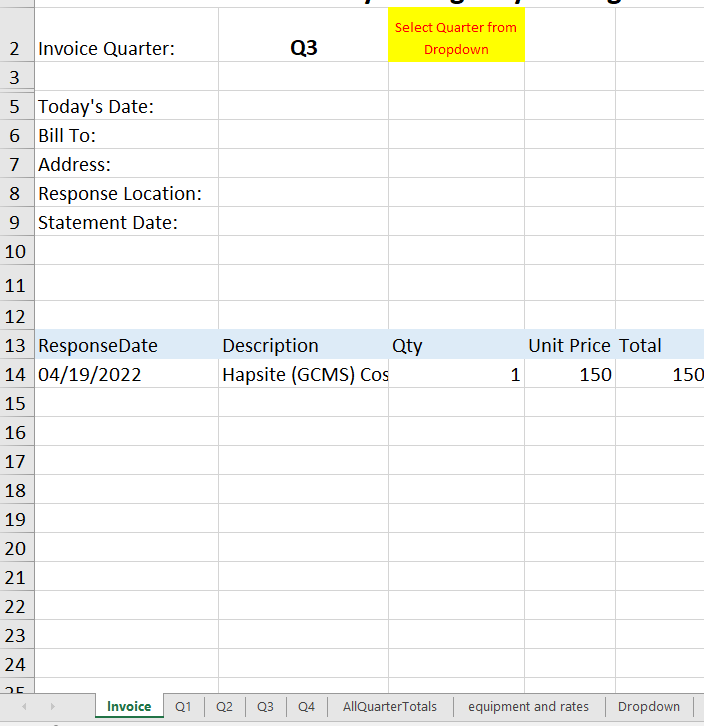
Create a Table: Design a table with columns for item description, quantity, price, and total.

-
Enter Data: Fill in the table with your invoice details.
-
Use Formulas:
- Subtotal: Use the SUM function to calculate the subtotal of all line items.
- Tax: Multiply the subtotal by the applicable tax rate.
- Discount: Apply any discounts as a percentage or fixed amount.
- Total: Add the subtotal, tax, and subtract any discounts to get the final total.
-
Format: Apply formatting to make your invoice look professional.
-
Save and Send: Save your invoice as an Excel file or PDF and send it to your client.
Tips for Creating Professional Invoices
- Clear Branding: Include your company logo, name, and contact information.
- Professional Language: Use clear and concise language throughout the invoice.
- Itemized Details: Provide a detailed breakdown of the products or services you’re billing for.
- Accurate Calculations: Double-check all calculations to avoid errors.
- Payment Terms: Clearly state your payment terms, including due dates and accepted payment methods.
Conclusion
By utilizing Microsoft Word or Excel, you can easily create professional invoices that streamline your billing process and leave a positive impression on your clients. Choose the tool that best suits your needs and follow the steps outlined in this guide to craft invoices that are both functional and visually appealing.

