How to Resolve Print Screen Not Working Issue on Windows 10
The Print Screen button is a quick way to capture your screen, but sometimes it stops working, causing frustration when you need a screenshot immediately. In this guide, we’ll go over several ways to troubleshoot and fix this issue on Windows 10.
Common Causes of the Print Screen Issue
The Print Screen button might stop working for a few reasons:
- Driver Issues: Outdated or corrupted drivers can interfere with the Print Screen function.
- Background Applications: Some applications can override or disable Print Screen.
- Software Conflicts: Certain apps can prevent Windows from recognizing Print Screen inputs.
- Settings Configuration: Incorrect keyboard or system settings might cause the Print Screen function to fail.
Let’s explore different solutions to get Print Screen working again.
Method 1: Check if the Print Screen Key is Enabled in Settings
Windows 10 has a setting that enables or disables the Print Screen button for screenshots. You should make sure this setting is configured correctly.
Steps:
- Open Settings:
- Press Windows + I to open the Settings menu.
- Go to Ease of Access:
- Select Ease of Access from the menu.
- Scroll to Keyboard Settings:
- In the left-hand menu, scroll down to Keyboard under the Interaction section.
- Enable Print Screen Shortcut:
- Scroll down to Print Screen shortcut and toggle on Use the PrtScn button to open screen snipping.

Note: Enabling this option makes the Print Screen button open the Snip & Sketch tool by default, which is useful for taking screenshots.
Method 2: Close Background Applications
Some applications (like OneDrive, Dropbox, and Snagit) might interfere with the Print Screen function by taking over the screenshot function. Closing these apps may resolve the issue.
Steps:
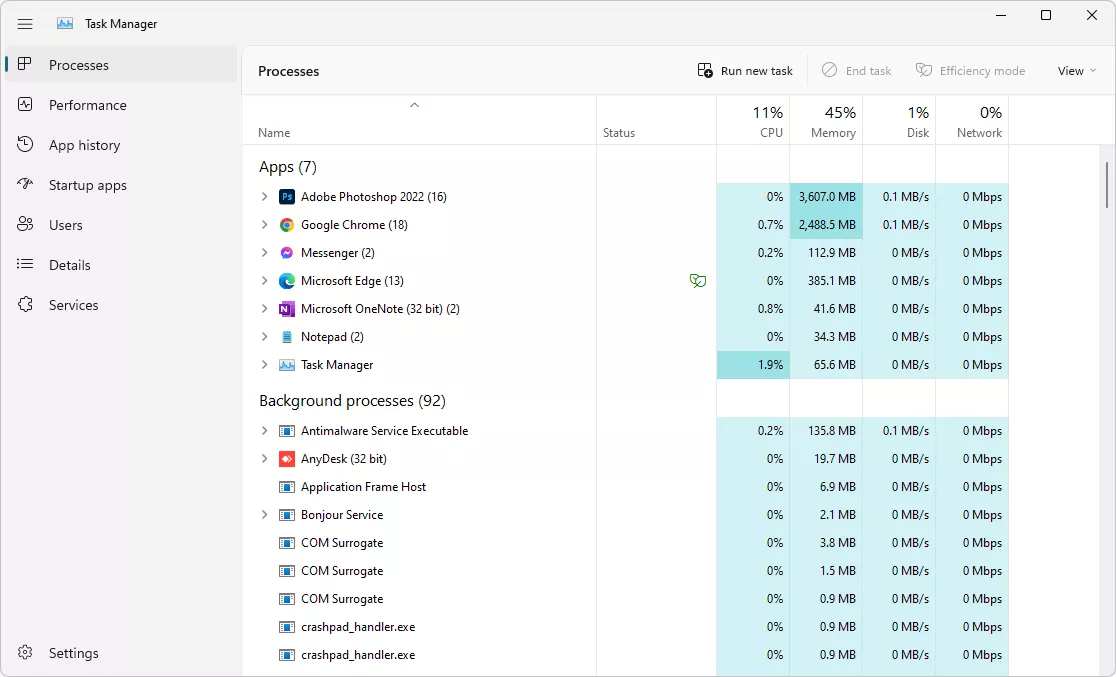
- Open Task Manager:
- Press Ctrl + Shift + Esc to open Task Manager.
- End Background Processes:
- In Task Manager, go to the Processes tab.
- Look for applications like OneDrive, Dropbox, Snagit, or any other screen-capture tools.
- Right-click each one and select End Task to close it.
- Test Print Screen: After closing these apps, try pressing Print Screen again to see if it works.
Tip: If Print Screen works after closing these apps, consider disabling their screenshot functionalities in their settings.
Method 3: Update or Reinstall Keyboard Drivers
Outdated or corrupted keyboard drivers can sometimes prevent the Print Screen function from working properly.
Steps:
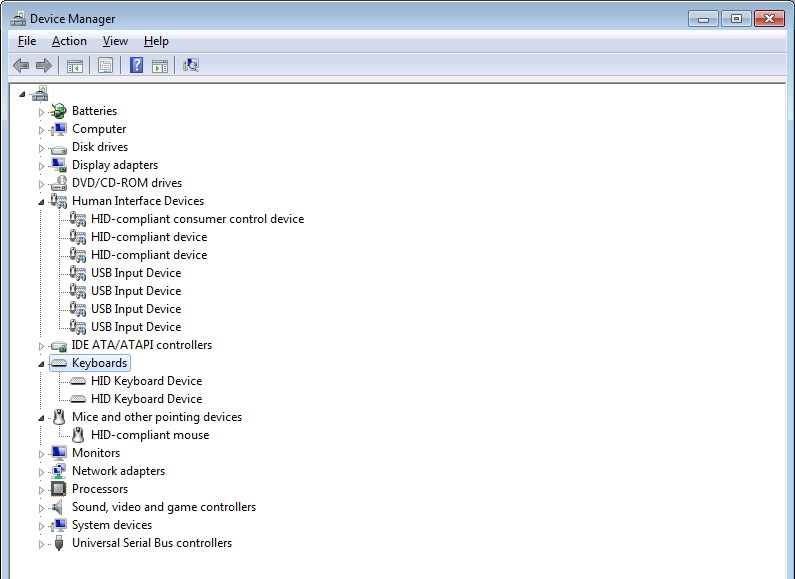
- Open Device Manager:
- Right-click on the Start menu and select Device Manager.
- Find Keyboards:
- Expand the Keyboards section to see your connected keyboards.
- Update Keyboard Driver:
- Right-click on your keyboard device and choose Update driver.
- Select Search automatically for updated driver software. Windows will search for and install any available updates.
- Reinstall Driver (if needed):
- If no updates are found, you can try reinstalling the driver.
- Right-click on your keyboard, select Uninstall device, and restart your computer. Windows will reinstall the driver automatically on reboot.
Note: If the keyboard driver was the issue, Print Screen should work after this process.
Method 4: Check Windows Clipboard Settings
Print Screen captures are stored temporarily in the clipboard before you paste them. If there’s a clipboard issue, Print Screen might not work correctly.
Steps:
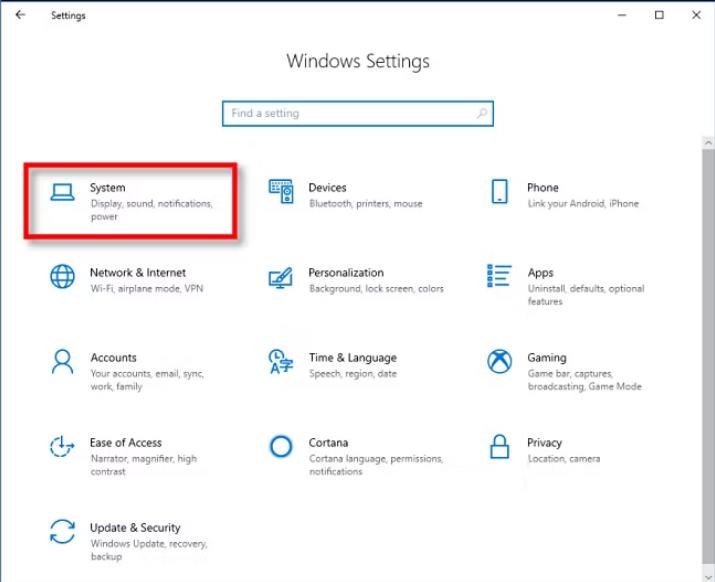
- Open Clipboard Settings:
- Press Windows + I to open Settings and go to System.
- Select Clipboard:
- In the left panel, choose Clipboard.
- Clear Clipboard Data:
- Scroll down and click Clear under Clear clipboard data.
- Enable Clipboard History (Optional):
- Toggle Clipboard history on if you want to keep multiple screenshots in your clipboard for easy access.
Tip: Clearing the clipboard can fix temporary issues that prevent screenshots from being saved properly.
Method 5: Use Windows Snipping Tool or Snip & Sketch
If Print Screen still isn’t working, you can use alternative built-in tools, Snipping Tool and Snip & Sketch, to capture your screen.
Steps for Snipping Tool:
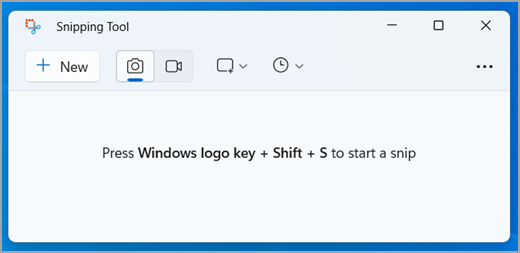
- Open Snipping Tool:
- Search for Snipping Tool in the Start menu.
- Choose a Mode:
- In Snipping Tool, click New and select the type of screenshot (Free-form, Rectangular, Window, or Full-screen).
- Capture and Save: Use the tool to capture your screen, then save the image.
Steps for Snip & Sketch:
- Open Snip & Sketch:
- Press Windows + Shift + S to open the Snip & Sketch tool.
- Select Snipping Type:
- Choose the type of snip you need, such as Rectangular Snip or Free-form Snip.
- Capture and Paste: Capture your screen and paste it where needed, or click on the notification to save the screenshot.

Note: Using these tools is a good workaround if Print Screen continues to have issues.
Method 6: Run Windows Troubleshooter
Windows has a built-in troubleshooter that can detect and resolve keyboard-related issues.
Steps:
- Open Settings:
- Press Windows + I to open Settings.
- Go to Update & Security:
- Select Update & Security and go to Troubleshoot from the left menu.
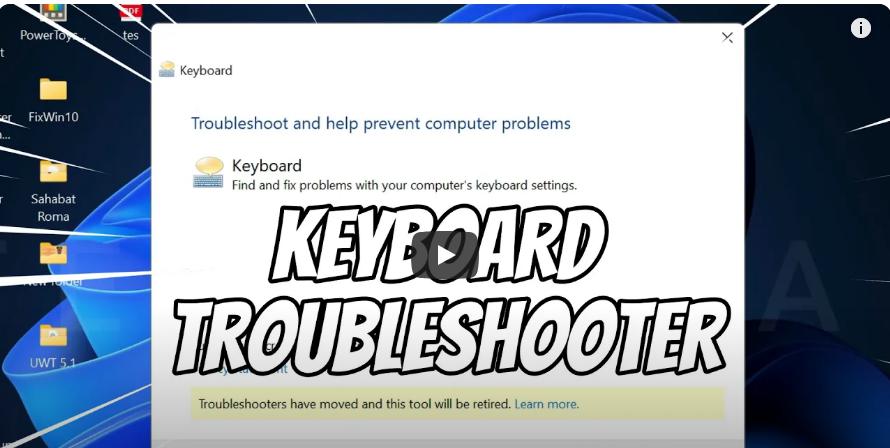
- Select Keyboard Troubleshooter:
- Scroll down to Keyboard and click Run the troubleshooter.
- Follow On-Screen Instructions:
- The troubleshooter will attempt to detect and fix any keyboard issues.
Frequently Asked Questions
Q: Why is my Print Screen not working after updating Windows?
Sometimes Windows updates can affect system functions, including Print Screen. Restarting your computer, updating drivers, or re-enabling the Print Screen setting may help.
Q: How can I take screenshots without using the Print Screen key?
You can use Windows + Shift + S for Snip & Sketch or open the Snipping Tool to capture your screen.
Q: What should I do if none of these solutions work?
If none of the fixes work, consider using third-party screenshot software or reaching out to Microsoft Support for further assistance.
Conclusion
The Print Screen button in Windows 10 is a handy tool for quickly capturing screenshots, but it can stop working due to various reasons. By following the steps in this guide—such as checking settings, updating drivers, and using alternative screenshot tools—you can troubleshoot and fix the issue.
