How to Organize and Handle Folders and Files in OneDrive for Business

OneDrive for Business is a powerful cloud-based service that allows you to store, share, and manage your files and folders from anywhere. With its seamless integration into the Microsoft 365 ecosystem, managing files in OneDrive is not only efficient but also highly accessible. In this guide, we’ll walk you through how to manage folders and files in OneDrive for Business, ensuring your data is organized, secure, and easily retrievable.
Why Use OneDrive for Business?
OneDrive for Business offers a range of features that make file management straightforward and reliable. It allows you to:
- Access files from any device with an internet connection.
- Share files and folders securely with others.
- Collaborate on documents in real time using Microsoft 365 apps.
- Automatically back up important data to the cloud.
Efficient file management is crucial for maintaining productivity and ensuring quick access to your important documents.
How to Access OneDrive for Business
To manage folders and files in OneDrive, you first need to access the platform. Follow these steps:
- Via Web Browser:
- Open a browser and go to OneDrive for Business.
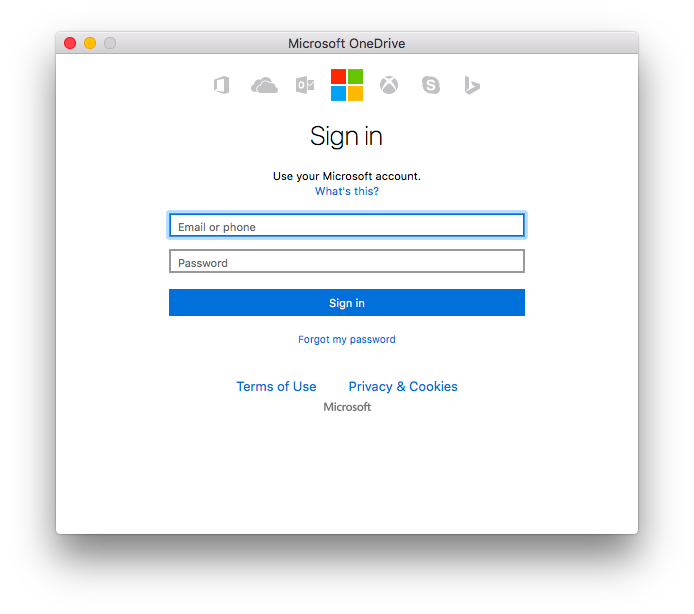
- Log in using your Microsoft 365 account credentials.

- Using the OneDrive App:
- Install the OneDrive app on your device (available for Windows, macOS, iOS, and Android).
- Log in with your Microsoft 365 account to sync and access files locally.

- From File Explorer (Windows):
- Link OneDrive for Business to your File Explorer by signing in to the OneDrive app. Once synced, your OneDrive files will appear under the OneDrive folder in File Explorer.

Creating and Managing Folders
Organizing files into folders ensures your OneDrive remains tidy and easy to navigate.
1. Create a New Folder
To create a folder in OneDrive for Business:
- On the Web:
- Navigate to your OneDrive dashboard.
- Click on New > Folder.
- Enter a folder name and click Create.

- In the App:
- Open your OneDrive folder in File Explorer or Finder.
- Right-click and select New Folder or use the New Folder option in the toolbar.
2. Rename Folders
To rename a folder:
- Right-click on the folder and select Rename.
- Enter the new name and press Enter or click Save.
3. Move Folders
You can move folders to reorganize your files:
- Drag and drop the folder to the desired location within OneDrive.
- Alternatively, select the folder, click Move To, and choose the target location.
4. Delete Folders
To delete a folder:
- Right-click the folder and select Delete.
- The folder will be moved to the Recycle Bin, where it can be restored if needed.
Uploading Files to OneDrive
1. Upload Files from Your Device
- On the Web:
- Click Upload and select Files or Folder.
- Choose the files/folders you want to upload and confirm the action.

- In the App:
- Drag and drop files into the OneDrive folder in File Explorer or Finder. The files will sync automatically.
2. Save Files Directly to OneDrive
When working in Microsoft Office apps like Word or Excel, you can save files directly to OneDrive:
- Click File > Save As > OneDrive – Business.
- Choose or create a folder and save the file.

Sharing Folders and Files
Collaboration is a key feature of OneDrive for Business. You can share files and folders securely with others.
1. Share a File or Folder
- On the Web:
- Right-click the file or folder and select Share.
- Enter the recipient’s email address and choose their permissions (e.g., edit or view only).
- Click Send or copy the link to share manually.

- In the App:
- Right-click the file or folder, choose Share, and follow the same steps as above.
2. Manage Sharing Permissions
- To change or revoke permissions:
- Right-click the shared item and select Manage Access.
- Modify or remove permissions as needed.
Organizing and Searching Files
1. Use Folders for Organization
- Group similar files into folders (e.g., Work, Personal, Projects).
- Use subfolders to further categorize your content.
2. Use Tags and Metadata
- Apply tags or add descriptions to files to make them easier to locate later.
3. Use the Search Bar
- Type keywords, file names, or extensions in the search bar to quickly find files.
Syncing Files Across Devices
OneDrive for Business automatically syncs your files across all linked devices.
1. Enable Sync
- Install the OneDrive app and log in with your Microsoft 365 account.
- Choose the folders you want to sync to your device by clicking Help & Settings > Settings > Choose Folders.
2. Check Sync Status
- Files marked with a green checkmark are synced and available offline.
- Blue cloud icons indicate files available only when online.
Recovering Deleted Files
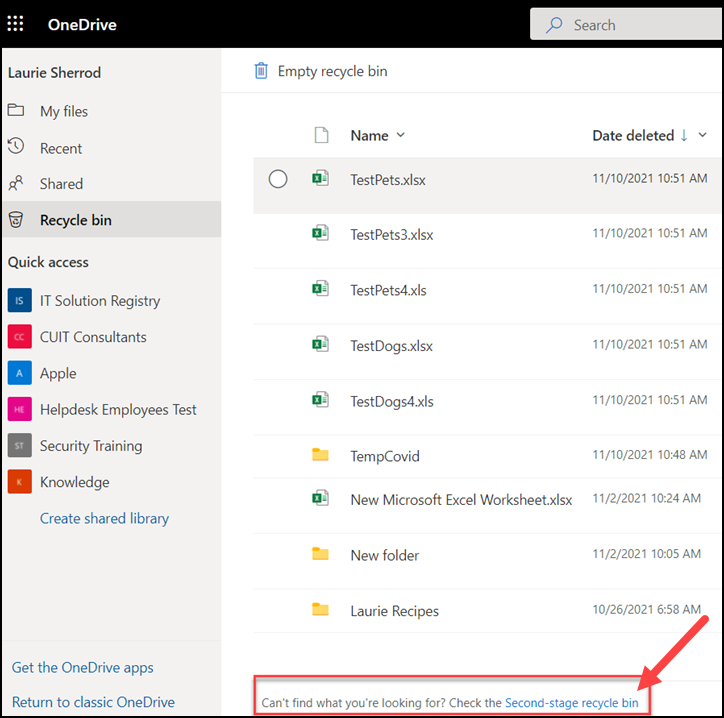
If you accidentally delete a file or folder, it can be restored from the Recycle Bin.
Steps to Restore Files
- Go to Recycle Bin in OneDrive.
- Select the file or folder you want to restore and click Restore.

Tips for Effective File Management in OneDrive for Business
- Regularly Organize Files:
- Periodically review your OneDrive and delete unnecessary files to avoid clutter.
- Use Descriptive Names:
- Name your files and folders clearly for easy identification.
- Backup Important Data:
- Store critical files in multiple locations or enable automatic backups.
- Monitor Storage:
- Keep an eye on your OneDrive storage limit to ensure uninterrupted access.
Conclusion
OneDrive for Business is an invaluable tool for managing folders and files efficiently. Whether you’re organizing work documents or personal photos, the platform’s robust features and seamless integration make it a go-to solution for cloud storage. By following the steps and tips outlined in this guide, you can keep your OneDrive organized, secure, and ready to support your productivity goals.

