How to Resolve the Issue of NVIDIA ShadowPlay Not Recording
NVIDIA ShadowPlay is a popular tool used by gamers to capture high-quality video gameplay with minimal performance impact. However, users sometimes encounter issues where ShadowPlay stops recording. If you’ve faced this problem, there are several troubleshooting steps you can take to resolve it. In this guide, we’ll outline various methods to help you fix NVIDIA ShadowPlay not recording and get back to capturing your gaming moments.
1. Ensure NVIDIA ShadowPlay is Enabled

First, verify that NVIDIA ShadowPlay is enabled. Sometimes, it might be disabled accidentally, causing it not to function properly.
Steps:
- Open GeForce Experience.
- Click on the Settings icon (gear symbol) at the top-right corner.
- In the General tab, ensure that In-Game Overlay is turned on.
If it was off, turning it on should resolve the recording issue.
2. Check for the Correct Recording Hotkeys
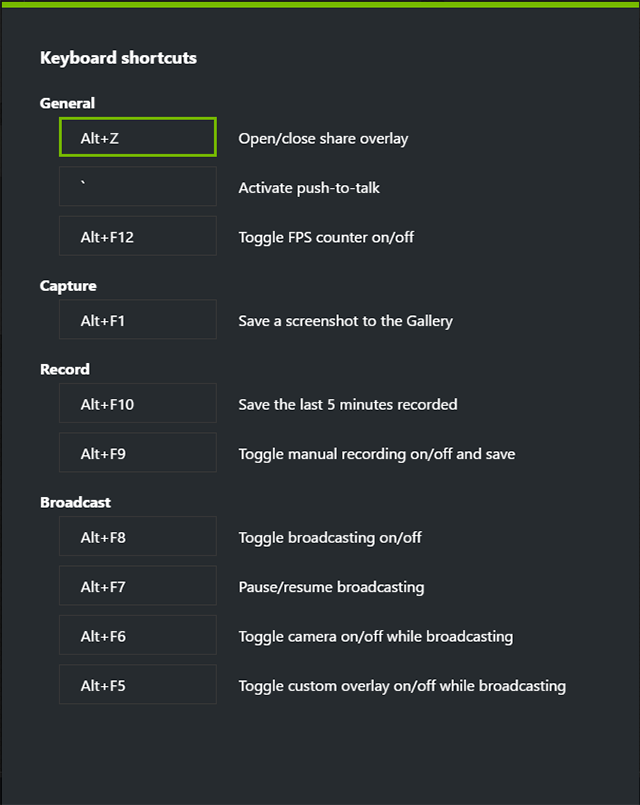
If ShadowPlay doesn’t start recording when you press the designated hotkey, you might have incorrect or conflicting keybinds. To fix this:
Steps:
- Open GeForce Experience and click on the Settings icon.
- Under the In-Game Overlay section, click Keyboard shortcuts.
- Check and reassign the Record and Instant Replay hotkeys if necessary.
Make sure the hotkeys you set do not conflict with other system or game controls.
3. Update NVIDIA Drivers

Outdated or corrupted drivers can lead to ShadowPlay malfunctioning. Updating your drivers to the latest version may solve the issue.
Steps:
- Open GeForce Experience.
- Click the Drivers tab at the top-left of the window.
- If a new driver is available, click Download and follow the prompts to install it.
After updating, restart your PC and check if ShadowPlay works properly.
4. Verify Privacy Control Settings
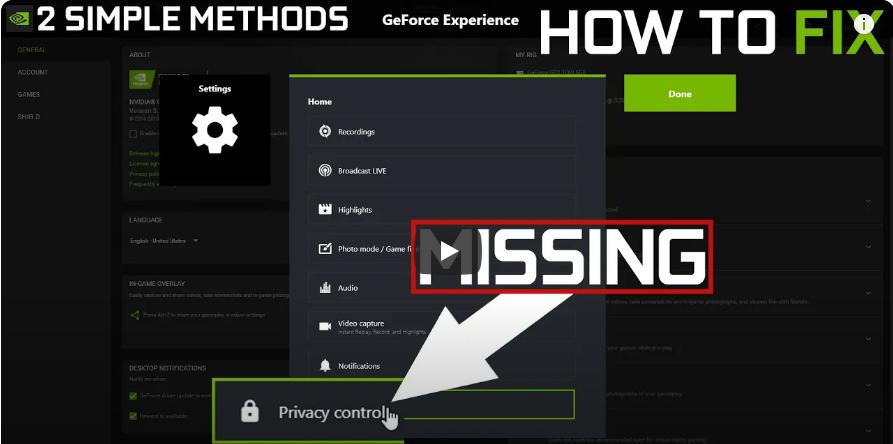
ShadowPlay requires specific permissions to record your gameplay. If your privacy control settings are incorrect, ShadowPlay might not function as expected.
Steps:
- Open GeForce Experience and click on the Settings icon.
- Scroll down to the In-Game Overlay section and click on Settings.
- Go to Privacy control and make sure Desktop capture is enabled.
Enabling desktop capture allows ShadowPlay to record your entire screen, including non-gameplay windows.
5. Restart NVIDIA Services
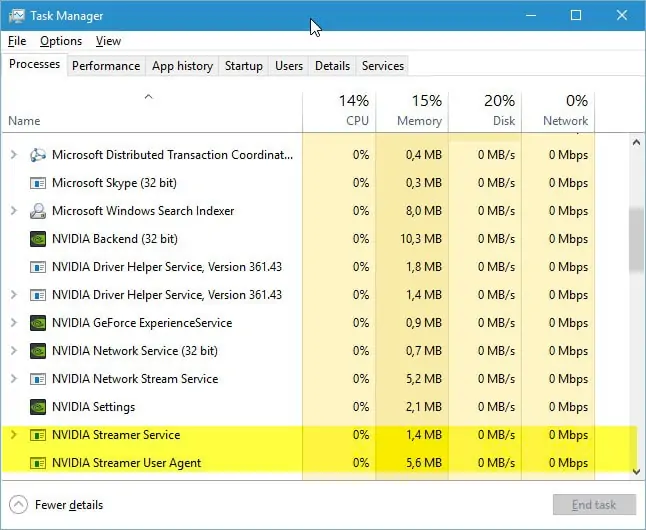
ShadowPlay relies on background services to function correctly. Restarting the NVIDIA services can help resolve recording issues.
Steps:
- Press Ctrl + Shift + Esc to open Task Manager.
- Find and right-click on the following services and select Restart:
- NVIDIA LocalSystem Container
- NVIDIA NetworkService Container
- NVIDIA Display Container LS
After restarting these services, try recording with ShadowPlay again.
6. Verify Storage Settings
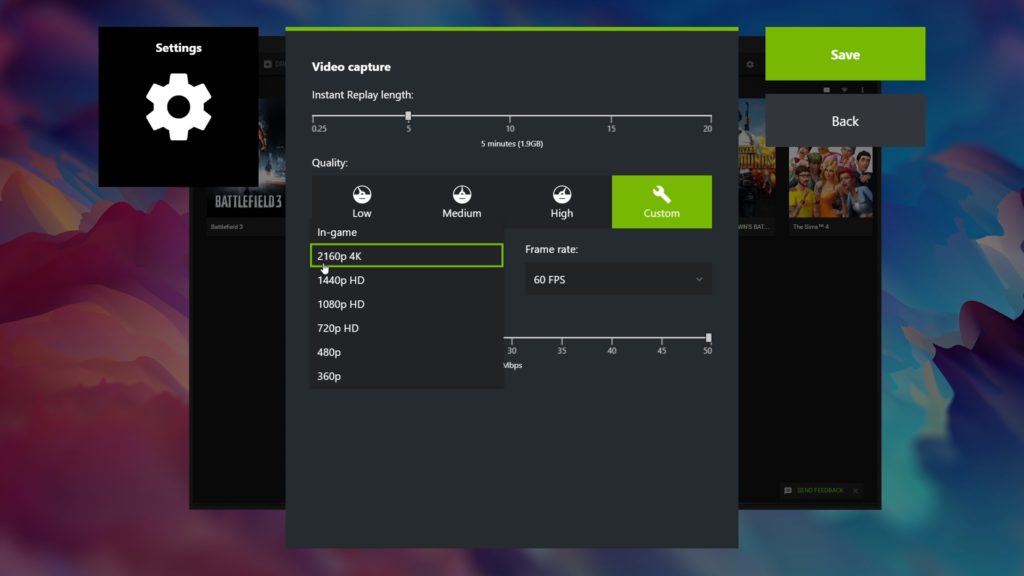
ShadowPlay might not record if your storage location is full or incorrectly configured. Ensure that you have enough space in the selected storage location.
Steps:
- Open GeForce Experience and click the Settings icon.
- Navigate to In-Game Overlay > Recordings.
- Check the Videos location and make sure there’s sufficient space.
Consider changing the recording location to another drive if your current drive is running low on space.
7. Run Games in Full-Screen Mode
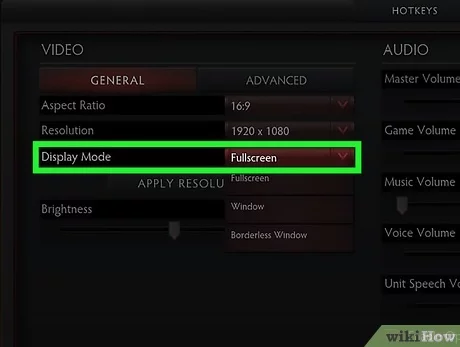
NVIDIA ShadowPlay sometimes struggles to record when games are running in Windowed or Borderless Windowed modes. Switching to Full-Screen mode might resolve the issue.
Steps:
- Open the game you wish to record.
- Go to the game’s Graphics Settings and change the display mode to Full-Screen.
- Save the changes and try recording again.
8. Reinstall GeForce Experience
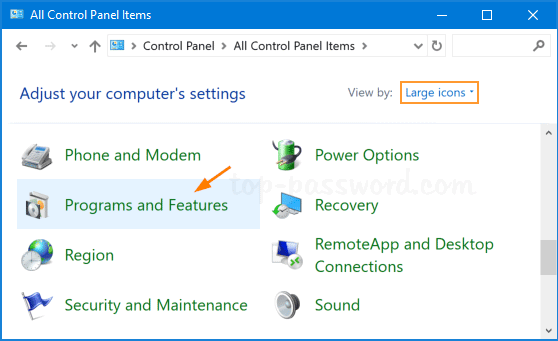
If none of the above solutions work, reinstalling GeForce Experience may resolve any software glitches or corrupted files causing the recording issue.
Steps:
- Press Windows + R and type appwiz.cpl to open Programs and Features.
- Find NVIDIA GeForce Experience in the list, right-click it, and choose Uninstall.
- Download the latest version of GeForce Experience from the official NVIDIA website.
- Install the software and sign in.
After reinstalling, test if the recording function works as expected.
9. Check for Conflicting Software
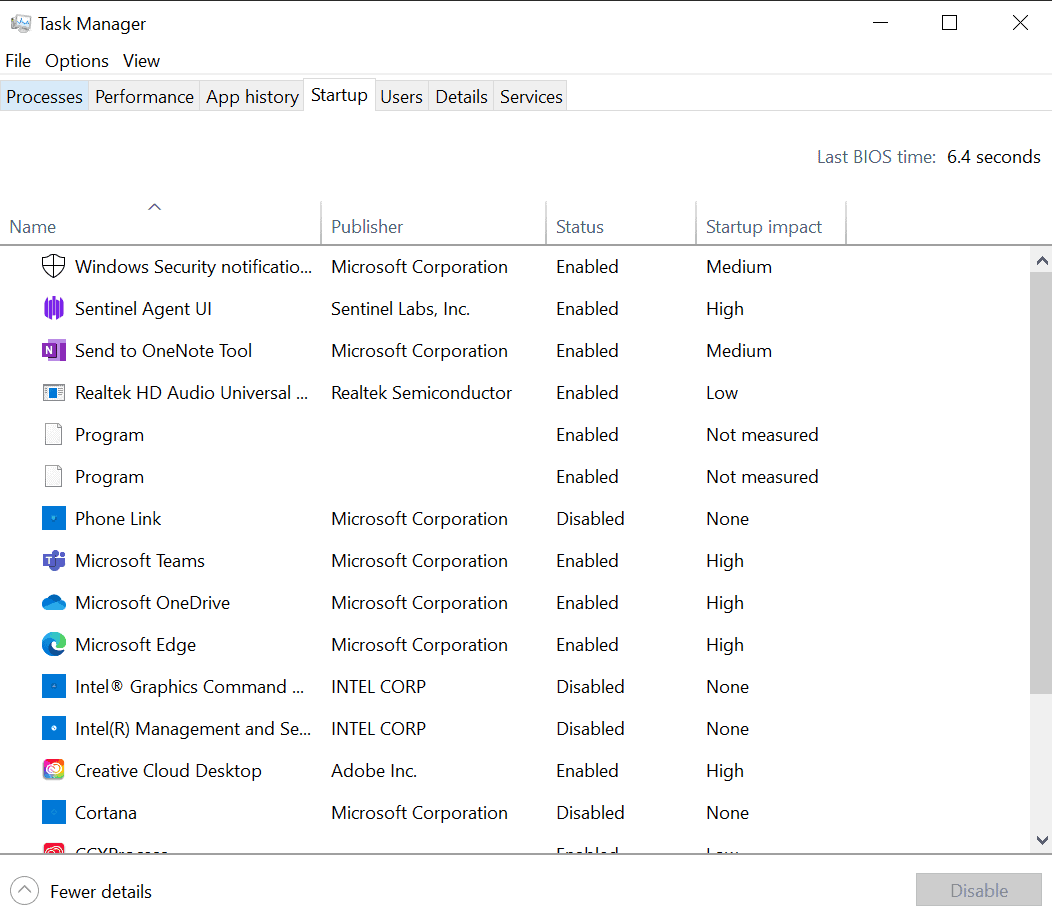
Sometimes, third-party programs or screen recorders may conflict with NVIDIA ShadowPlay, preventing it from recording properly. Try disabling or uninstalling any other recording or streaming software.
Steps:
- Open Task Manager by pressing Ctrl + Shift + Esc.
- Check if any screen recording or overlay software (like OBS, Discord Overlay, etc.) is running.
- Right-click on any conflicting software and select End Task.
After ensuring no conflicting software is running, test ShadowPlay again.
Conclusion
NVIDIA ShadowPlay is a powerful tool for recording gameplay, but when it stops working, it can be frustrating. By following the steps above—ranging from checking simple settings like hotkeys and privacy controls to more advanced fixes like updating drivers or reinstalling GeForce Experience—you should be able to resolve the issue and start recording your gameplay again.
If none of these solutions work, you may need to contact NVIDIA support for further assistance. However, in most cases, one of the methods outlined here should help you fix the ShadowPlay not recording issue and get back to capturing your gaming moments.
