How to Resolve the Issue of NVIDIA Control Panel Not Opening on Windows
The NVIDIA Control Panel is a powerful tool that lets users customize settings for their NVIDIA GPU, such as configuring 3D settings, adjusting display resolution, and more. However, it can be frustrating when the NVIDIA Control Panel won’t open on Windows. This issue can stem from several causes, such as driver problems, system glitches, or misconfigured settings. In this guide, we’ll explore different methods to troubleshoot and fix the NVIDIA Control Panel not opening issue.
1. Restart NVIDIA Services
One of the easiest fixes is to restart the NVIDIA services running in the background, as these services manage the control panel.
Steps to Restart NVIDIA Services:
- Open the Run Dialog:
- Press
Windows + R, then typeservices.mscand press Enter.
- Press
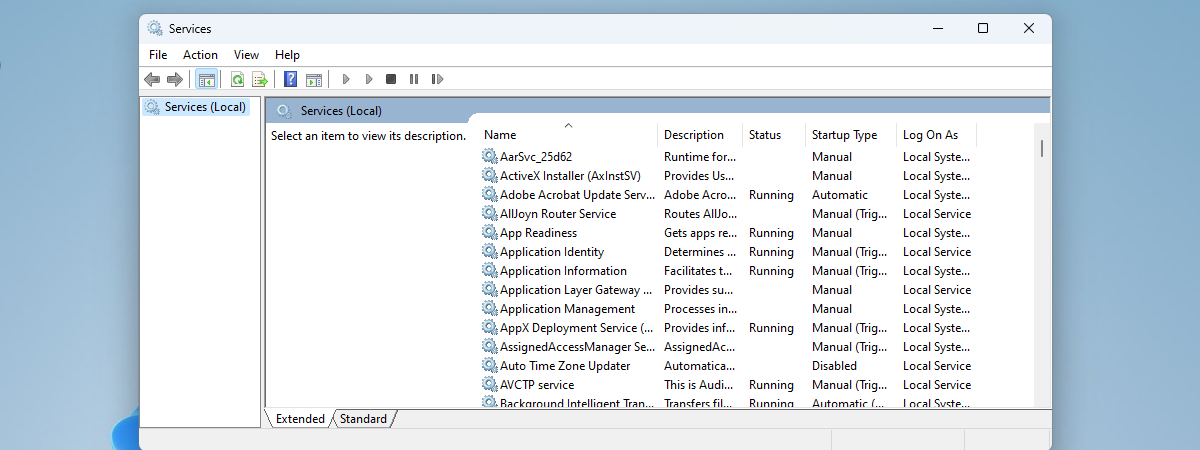
- Find NVIDIA Services:
- In the Services window, scroll down and look for services like:
- NVIDIA Display Container LS
- NVIDIA LocalSystem Container
- In the Services window, scroll down and look for services like:
- Restart the Services:
- Right-click on NVIDIA Display Container LS and select Restart.
- Do the same for the other NVIDIA services.
- Try Opening the NVIDIA Control Panel:
- After restarting the services, try launching the NVIDIA Control Panel again.
2. Update or Reinstall NVIDIA Drivers
Outdated or corrupted drivers can prevent the NVIDIA Control Panel from functioning correctly. Updating or reinstalling the drivers may fix this issue.
Steps to Update or Reinstall NVIDIA Drivers:
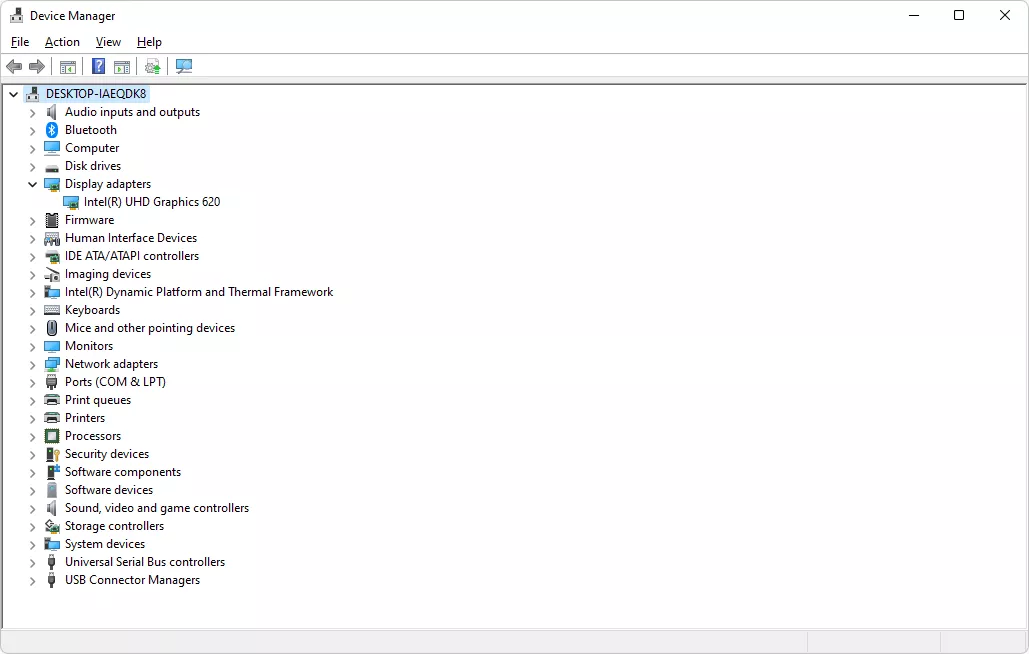
- Open Device Manager:
- Press
Windows + Xand select Device Manager.
- Press
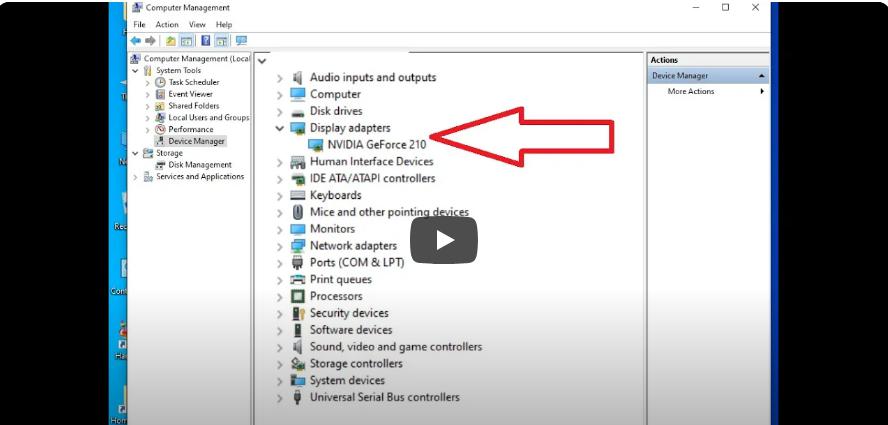
- Locate Display Adapters:
- In Device Manager, expand the Display adapters category and right-click on your NVIDIA GPU.
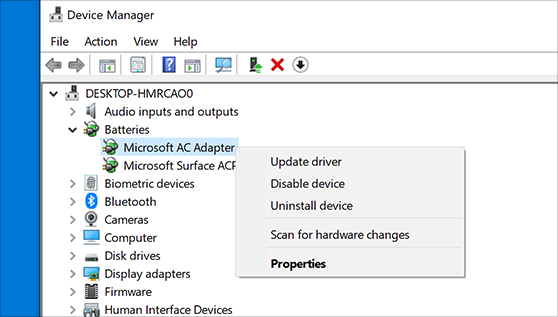
- Update Driver:
- Select Update driver and choose Search automatically for updated driver software.
- Reinstall Driver (If Updating Doesn’t Work):
- If updating doesn’t work, uninstall the driver by selecting Uninstall device.
- Afterward, download the latest drivers from the NVIDIA official website and install them manually.
- Restart Your PC:
- Once the driver is installed, restart your computer and try opening the NVIDIA Control Panel.
3. Re-enable the NVIDIA Control Panel
If the NVIDIA Control Panel is missing from the desktop context menu or the Windows Control Panel, it may have been disabled. You can re-enable it from the Windows settings.
Steps to Re-enable the NVIDIA Control Panel:
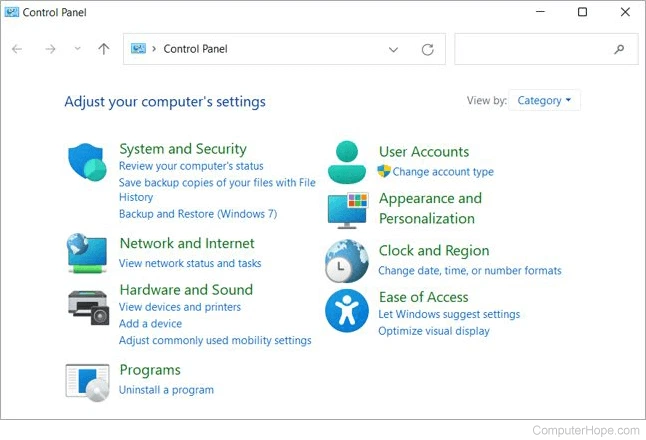
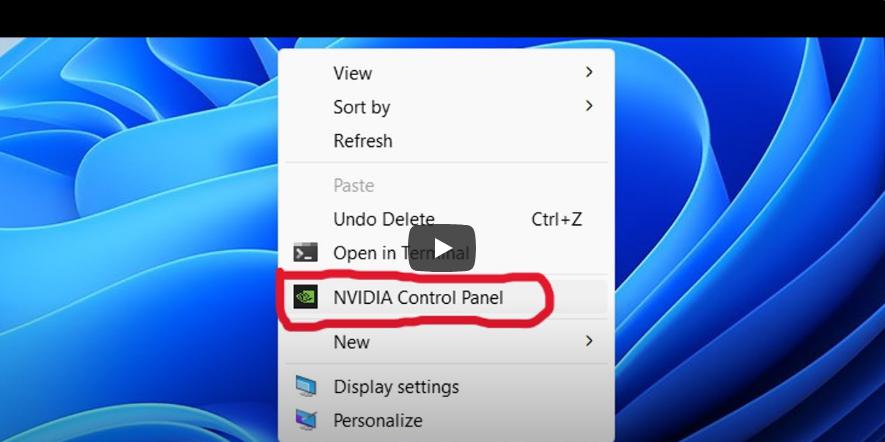
- Right-click on the Desktop:
- Right-click on the desktop and check if NVIDIA Control Panel appears in the context menu.
- If it’s missing, proceed with the next steps.

- Open Control Panel:
- Press
Windows + S, type Control Panel, and press Enter.
- Press
- Go to NVIDIA Control Panel:
- In Control Panel, switch the view to Large icons and locate NVIDIA Control Panel.
- Enable Notification Tray Icon:
- In the NVIDIA Control Panel, go to Desktop from the top menu and ensure that Add Desktop Context Menu and Show Notification Tray Icon are checked.
4. Check for Windows Updates
Sometimes, the issue can be due to incompatible Windows updates. Ensure your Windows OS is up-to-date to prevent conflicts with NVIDIA software.
Steps to Check for Windows Updates:
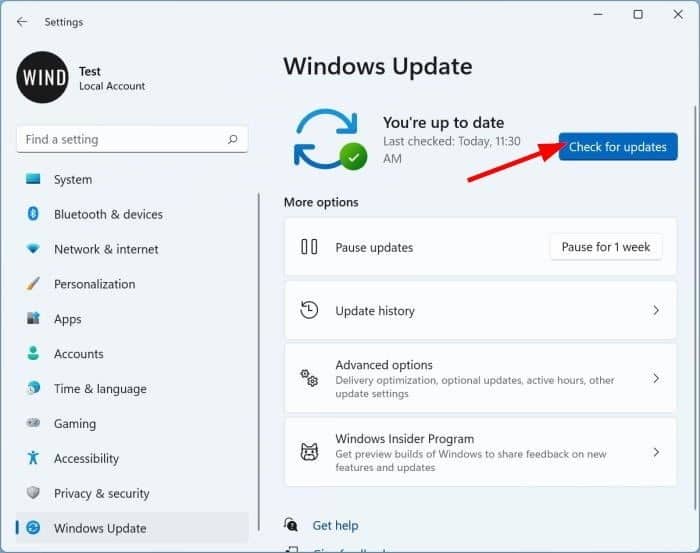
- Open Settings:
- Press
Windows + Ito open Settings.
- Press
- Go to Update & Security:
- Navigate to Update & Security and click Check for updates.
- Install Available Updates:
- If updates are available, install them and restart your computer.
5. Run NVIDIA Control Panel as Administrator
Another possible reason why the NVIDIA Control Panel won’t open is insufficient permissions. Running it as an administrator may fix the problem.
Steps to Run as Administrator:
- Locate NVIDIA Control Panel:
- Press
Windows + Sand search for NVIDIA Control Panel.
- Press
- Run as Administrator:
- Right-click on the NVIDIA Control Panel result and select Run as administrator.
- Check if It Opens:
- If it opens successfully, you can set it to always run as administrator by going to Properties > Compatibility > Run this program as an administrator.
6. Reinstall NVIDIA Control Panel App from Microsoft Store
In some cases, reinstalling the NVIDIA Control Panel from the Microsoft Store can resolve the issue. The NVIDIA Control Panel is now available as a standalone app in the Microsoft Store.
Steps to Reinstall the NVIDIA Control Panel:
- Open Microsoft Store:
- Press
Windows + S, type Microsoft Store, and press Enter.
- Press
- Search for NVIDIA Control Panel:
- In the search bar, type NVIDIA Control Panel and select the official app from the results.
- Reinstall the App:
- Click Install to reinstall the NVIDIA Control Panel.
- Open the App:
- Once installed, open the NVIDIA Control Panel from your desktop or the Start menu.
7. Disable Third-Party Conflicting Software
Some third-party applications, such as firewalls or antivirus software, might block the NVIDIA Control Panel from opening.
Steps to Disable Conflicting Software:
- Temporarily Disable Antivirus:
- Right-click your antivirus icon in the taskbar and select Disable (or similar options) temporarily.
- Try Opening NVIDIA Control Panel:
- Open the NVIDIA Control Panel again to see if it resolves the issue.
- Re-enable Antivirus:
- Don’t forget to re-enable your antivirus software after testing.
Conclusion
The NVIDIA Control Panel not opening issue can usually be resolved with one of the methods above. Whether it’s restarting services, updating drivers, or reinstalling the app, these steps should help you regain access to the control panel and continue managing your graphics settings.
If the problem persists after trying all the methods, it might be worth contacting NVIDIA Support or considering a fresh Windows installation to rule out deeper system-level issues.
