How to Resolve Windows 7 Not Shutting Down
When Windows 7 fails to shut down properly, it can be frustrating and may indicate underlying system issues. This guide provides step-by-step solutions to help you resolve the issue and ensure a smooth shutdown process.
Common Causes of Shutdown Problems
Understanding the root causes can make troubleshooting easier:
- Pending updates: Unfinished installations may block the shutdown process.
- Background processes: Applications or services running in the background may prevent shutdown.
- Corrupted system files: System file issues can disrupt shutdown operations.
- Power settings misconfiguration: Improper settings may interfere with proper shutdown.
Fix 1: Install Pending Updates
Pending Windows updates can delay or prevent shutdown.
Steps to Check for Updates:
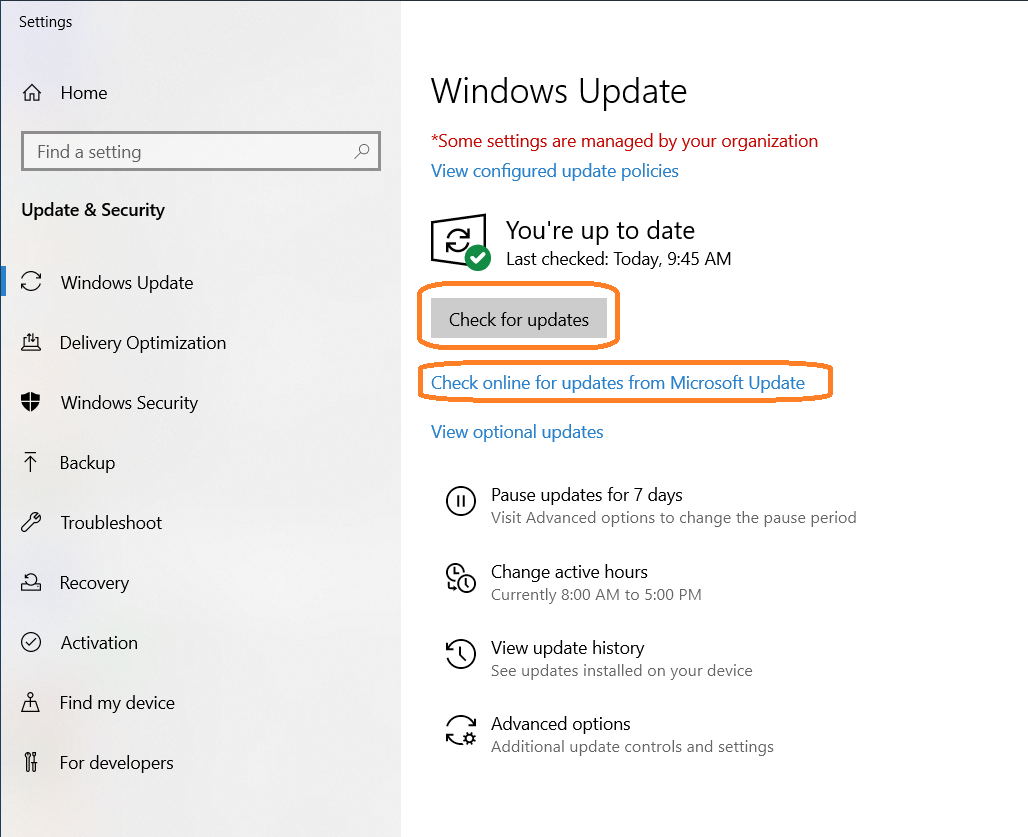
- Click Start → Control Panel → Windows Update.
- Select Check for Updates on the left pane.
- Install any available updates by clicking Install Updates.
- Restart your computer and check if the shutdown issue is resolved.

Fix 2: Force Close Applications
Certain background processes or applications might be interfering with shutdown.
Steps to Force Close Applications:
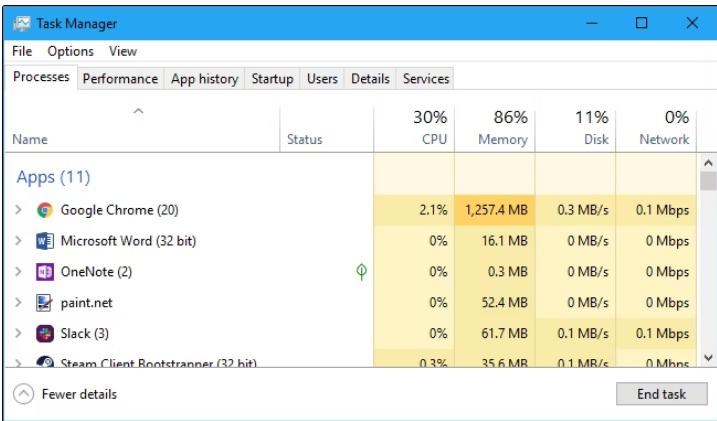
- Press
Ctrl + Shift + Escto open the Task Manager. - Under the Processes tab, identify any running programs.
- Select the problematic application and click End Task.
- Retry shutting down your computer.

Fix 3: Run Windows Troubleshooter
The built-in Windows troubleshooter can detect and fix common system issues.
Steps to Use Troubleshooter:
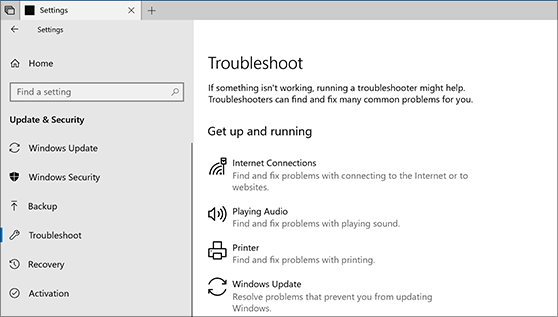
- Open the Control Panel and go to Troubleshooting.
- Select Fix problems with Windows Updates or System Maintenance.
- Follow the on-screen instructions to complete the troubleshooting process.
- Test the shutdown functionality.

Fix 4: Check Power Settings
Incorrect power settings may cause shutdown problems.
Steps to Adjust Power Settings:
- Open Control Panel → Power Options.
- Select your active power plan and click Change plan settings.
- Click Change advanced power settings.
- Expand Power buttons and lid → Power button action.
- Ensure the setting is configured to Shut Down.
Fix 5: Repair Corrupted System Files
Using the System File Checker (SFC) tool can fix corrupted system files that may prevent shutdown.
Steps to Run SFC:
- Press
Win + R, type cmd, and pressCtrl + Shift + Enterto open the Command Prompt as Administrator. - Type the following command and press Enter:
- Wait for the process to complete.
- Restart your system and attempt to shut it down.
Fix 6: Disable Fast Startup
Fast Startup can sometimes interfere with the shutdown process.
Steps to Disable Fast Startup:
- Open Control Panel → Power Options → Choose what the power buttons do.
- Click Change settings that are currently unavailable.
- Uncheck the option Turn on fast startup (recommended).
- Save changes and shut down your computer.
Fix 7: Revert Recent Changes
If the issue started recently, reverting system changes might help.
Steps to Use System Restore:
- Open Control Panel → System and Security → System.
- Select System Protection → System Restore.
- Follow the wizard to select a restore point.
- Restart your computer after the process completes.
Fix 8: Update Device Drivers
Outdated or faulty drivers can lead to shutdown issues.
Steps to Update Drivers:
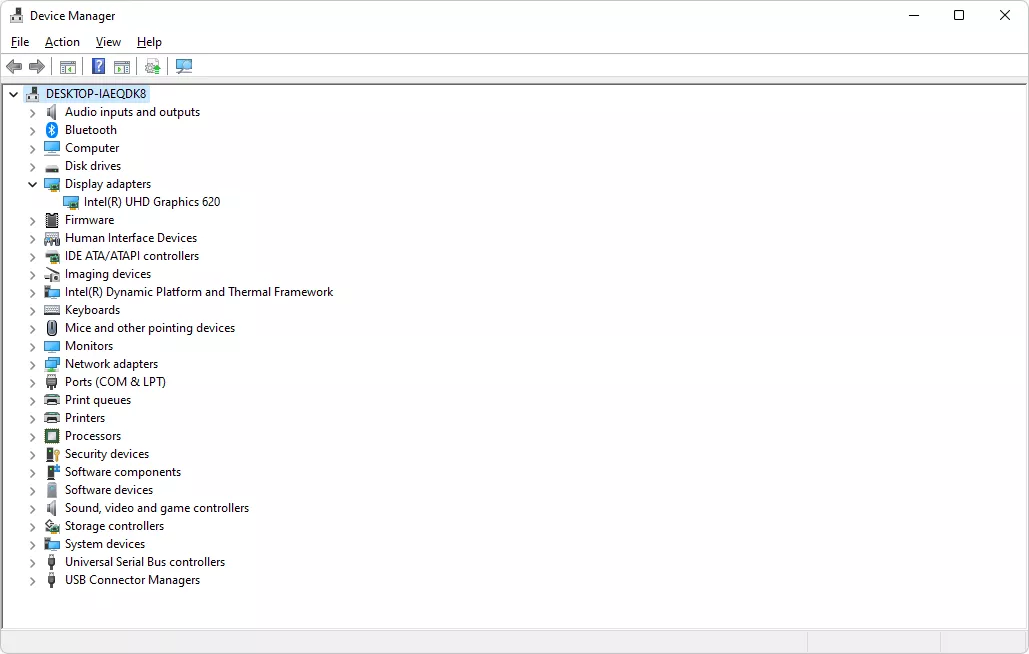
- Press
Win + R, type devmgmt.msc, and press Enter to open Device Manager. - Expand each category and check for devices with a yellow warning icon.
- Right-click the device and select Update Driver Software.
- Follow the prompts to update the driver.

Conclusion
By following these steps, you can resolve most shutdown issues in Windows 7. Start with basic troubleshooting, like checking for updates or closing applications, and move to advanced fixes, such as repairing system files or updating drivers. Regular system maintenance and updates can help prevent similar issues in the future.
