How to Customize Your Mouse Cursor in Windows 10/11
Customizing your mouse cursor can give your Windows 10 or 11 experience a personal touch or make it easier to see on your screen. Whether you want to change it for aesthetic reasons or improve accessibility, both Windows 10 and 11 allow you to modify your cursor with a few simple steps. This guide will walk you through changing your mouse cursor on these operating systems with detailed, step-by-step instructions and images.
Why Change Your Mouse Cursor?
Changing your mouse cursor can improve your user experience for several reasons:
- Personalization: Make your desktop look unique.
- Accessibility: Larger or more visible cursors can make it easier to navigate your screen, especially for users with visual impairments.
- Efficiency: You can use custom cursors to distinguish different actions or make the pointer more visible in certain programs or games.
Method 1: Change the Mouse Cursor via Settings
The simplest way to change your mouse cursor is through the built-in settings in Windows.
Steps to Change the Cursor Using Settings
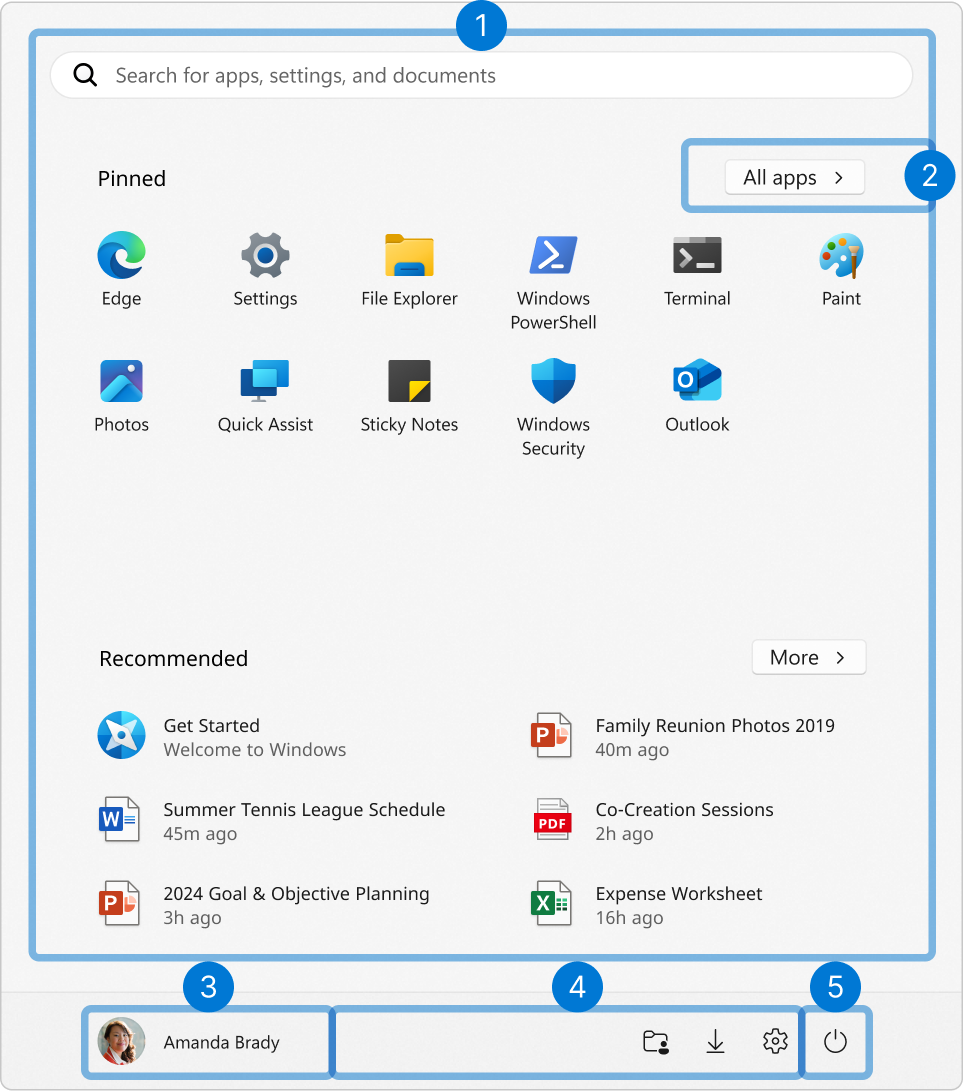
- Open the Settings Menu:
- Press
Windows + Ion your keyboard to open the Settings menu. - In the Settings window, select Devices.
- Press
- Navigate to Mouse Settings:
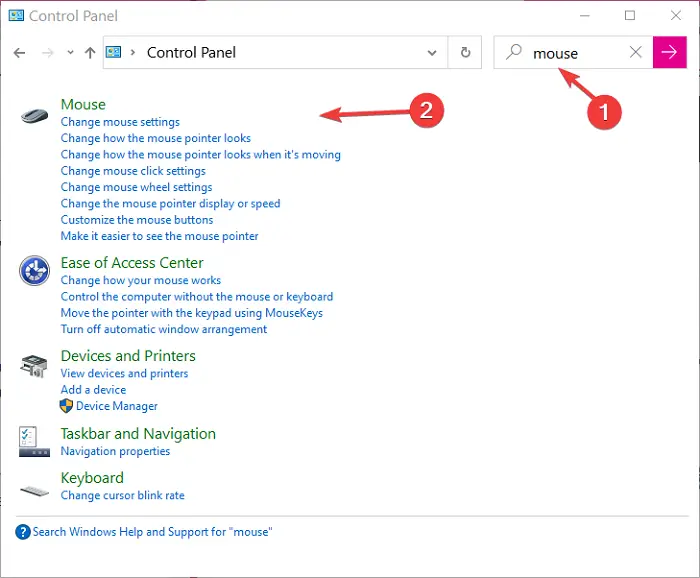
- On the left sidebar, click on Mouse.
- Scroll down and click on Additional mouse options to access more settings.

- Open the Pointer Settings:
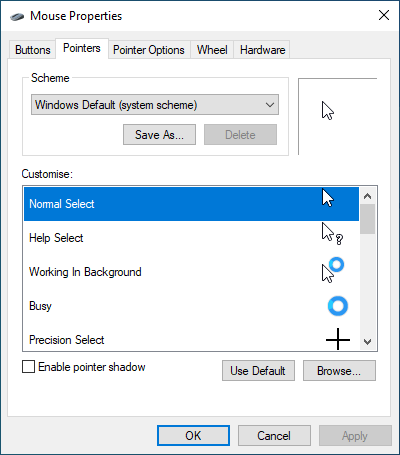
- In the Mouse Properties window, go to the Pointers tab.
- This section allows you to change the scheme of the mouse cursor or modify specific cursor icons.

- Choose a New Scheme:
- Under the Scheme dropdown, select a predefined scheme such as Windows Black (extra large) or Windows Inverted for better visibility.
- If you want a specific cursor for different actions (e.g., busy, working in background), click on the pointer you want to change and press Browse.
- Apply Changes:
- After choosing your desired cursor or scheme, click Apply, then OK to save your changes.
Method 2: Download and Use Custom Cursors
For those looking for more personalization options, Windows allows you to download and apply custom cursor sets from external websites.
Steps to Use Custom Cursors
- Find Custom Cursors Online:
- You can download free or paid custom cursors from websites such as Open Cursor Library or DeviantArt.
- Once downloaded, extract the cursor files (they should be in
.curor.aniformats).
- Access the Mouse Properties:
- Go to Settings > Devices > Mouse > Additional mouse options, as shown in Method 1.
- In the Pointers tab, select the pointer you wish to change (e.g., Normal Select, Text Select).
- Browse for the Custom Cursor:
- Click the Browse button and navigate to the folder where you saved the custom cursor files.
- Select the cursor you want to use and click Open.
- Apply the Custom Cursor:
- After selecting the custom cursor, click Apply and then OK to save your settings.
Method 3: Change Mouse Cursor Size and Color
In Windows 10 and 11, you can also change the size and color of your cursor without downloading additional files. This method is helpful for accessibility.
Steps to Change Cursor Size and Color
- Open Settings:
- Press
Windows + Ito open Settings. - Select Ease of Access (or Accessibility in Windows 11).
- Press
- Find the Cursor and Pointer Options:
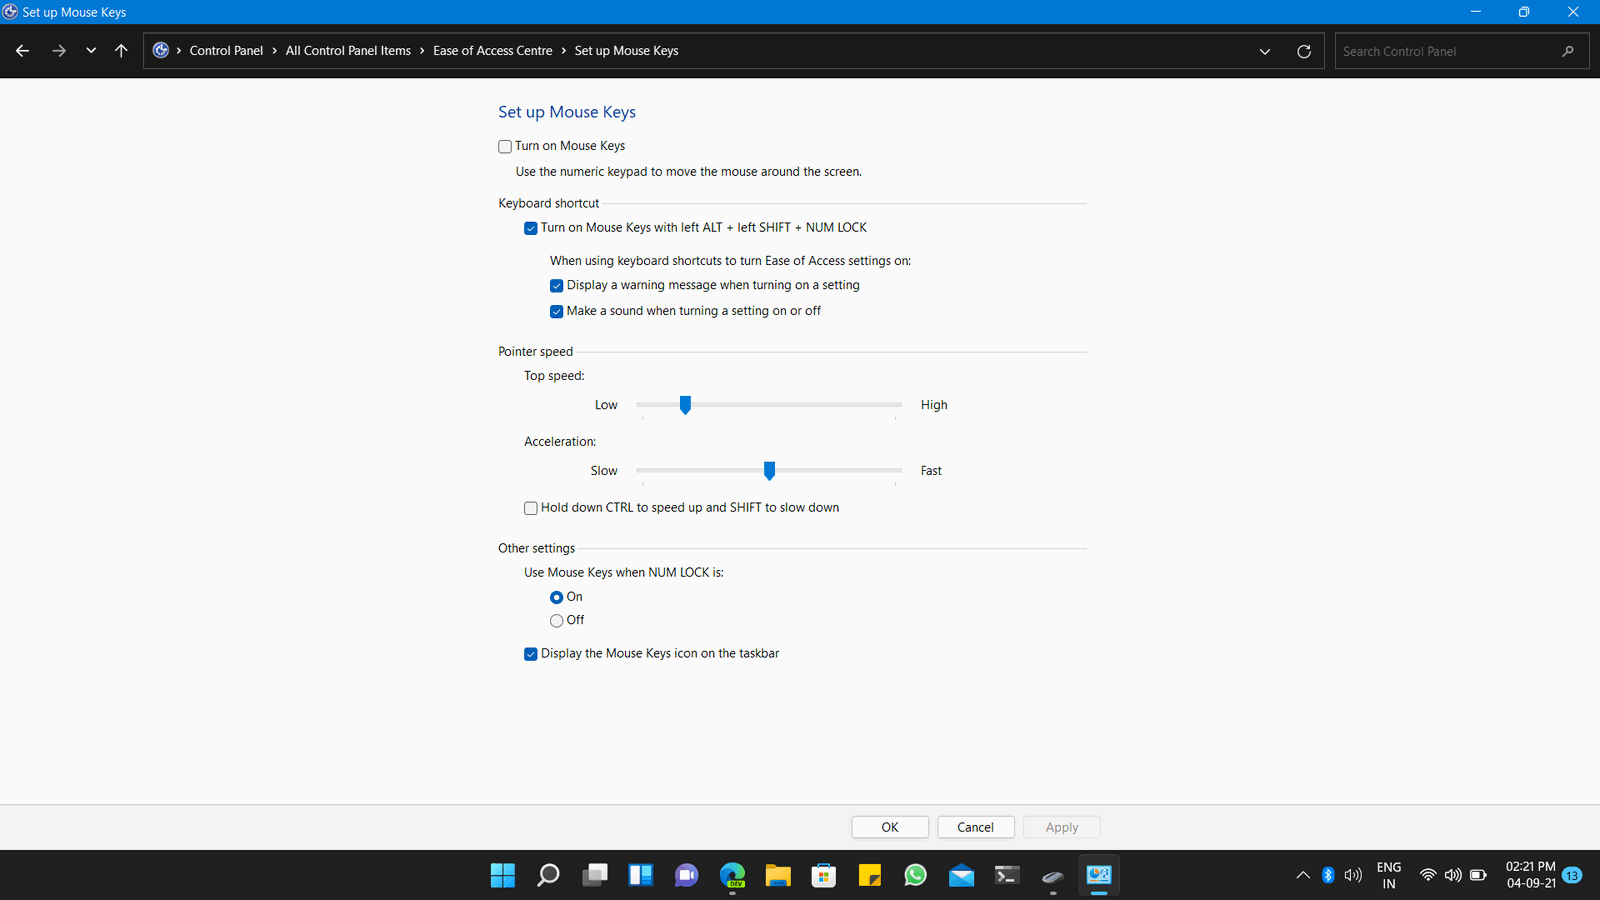
- In the left sidebar, scroll down and click on Mouse pointer.
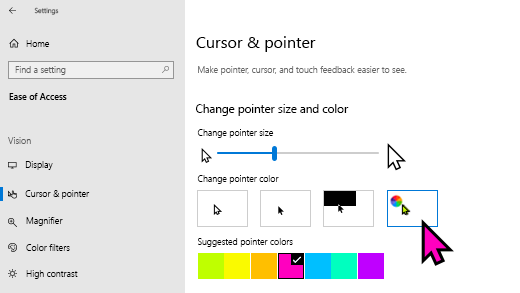
- You’ll see options for changing the pointer size and color.
- Adjust Size and Color:
- Use the slider under Change pointer size to increase or decrease the size.
- You can also select different pointer colors, including white, black, or a custom color.
- Save Changes:
- The changes will be applied immediately. Simply close the Settings window when you’re satisfied with the customization.
Method 4: Restore Default Cursor Settings
If you want to return to the default Windows cursor settings, you can easily restore them.
Steps to Restore the Default Cursor
- Open Mouse Properties:
- As in previous methods, navigate to Settings > Devices > Mouse > Additional mouse options.
- Go to the Pointers tab.
- Restore Defaults:
- In the Pointers tab, click Use Default for each cursor icon or the entire scheme.
- Click Apply and OK to revert to the default Windows cursor settings.
Conclusion
Changing your mouse cursor on Windows 10 or 11 is a simple and effective way to personalize your desktop or improve accessibility. Whether you opt for a new cursor scheme, download custom cursors, or adjust the cursor size and color, Windows provides you with plenty of customization options. Should you ever want to revert back to the original settings, restoring defaults is just a few clicks away.
By following this guide, you’ll be able to modify your cursor settings in a way that best suits your preferences and needs.

