How to Set Up Microsoft Project 2019, 2016, and 2013

Microsoft Project is a powerful project management tool used for planning, scheduling, and tracking tasks. This guide provides step-by-step instructions to install Microsoft Project 2019, 2016, and 2013 on your computer, regardless of whether you have a subscription or a standalone version.
Step 1: Check System Requirements
Before installing Microsoft Project, ensure your computer meets the system requirements.
Key Requirements:
- Operating System: Windows 10, Windows 8.1, or Windows 7 for older versions.
- Processor: 1 GHz or faster.
- RAM: 2 GB for 32-bit or 4 GB for 64-bit systems.
- Disk Space: 4 GB available.
- Browser: The latest version of Edge, Chrome, or Firefox for online downloads.
Confirm these details in your system settings.
Step 2: Download Microsoft Project
You can download Microsoft Project from your Microsoft account or installation media.
For Microsoft 365 Subscriptions:
- Log in to Office.com:
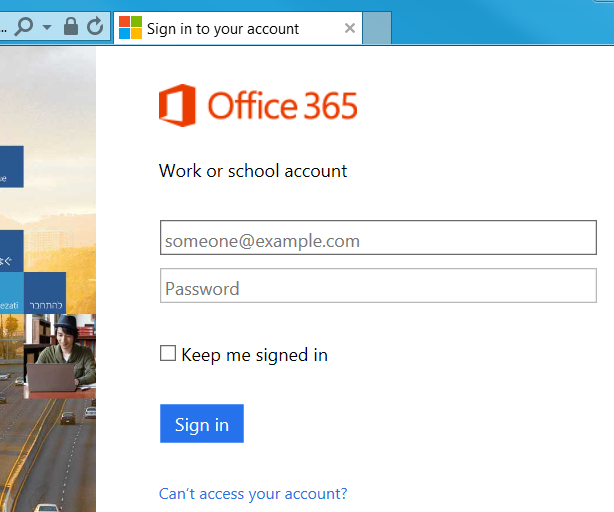
- Go to Office.com and sign in with your Microsoft account.

- Go to Office.com and sign in with your Microsoft account.
- Go to Install Options:
- Under the Apps & Devices section, select Microsoft Project.
- Choose Version:
- Select the correct version (2019, 2016, or 2013) and download the installer.
For Standalone Versions:
- Use the Installation Media:
- Insert the CD or USB drive that came with your purchase.
- Download from Microsoft Website:
- If you have a product key, go to setup.office.com to download the installer.
Step 3: Run the Installer
Once you’ve downloaded the installer or inserted the installation media, proceed to install Microsoft Project.
Steps to Install:
- Locate the Installer:
- Find the downloaded file, usually named
Setup.exe, in your Downloads folder or the installation drive.
- Find the downloaded file, usually named
- Run the Installer:
- Double-click on the file to launch the setup wizard.
- Sign in to Your Microsoft Account:
- Enter your Microsoft account credentials if prompted.
- Enter the Product Key:
- Type in the 25-character product key provided during purchase.
- Choose Installation Preferences:
- Select either Quick Install for default settings or Custom Install to choose specific options.
- Complete Installation:
- Click Install and wait for the process to finish.
Step 4: Activate Microsoft Project
After installation, you need to activate the software to use all features.
Steps to Activate:
- Launch Microsoft Project:
- Open the application from the Start menu or desktop shortcut.
- Enter the Product Key:
- If not already entered during installation, go to File > Account > Activate Product.
- Sign In:
- Use your Microsoft account if prompted.
- Confirm Activation:
- Once activated, you’ll see a confirmation message, and all features will be accessible.
Illustration
Below is a visual representation of the installation and activation process:
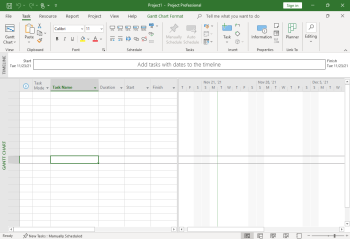
This image illustrates the setup wizard and activation screen in Microsoft Project.
Step 5: Troubleshooting Installation Issues
If you encounter errors during installation, try the following solutions:
Common Problems and Fixes:
- Error: “Setup can’t find the necessary files”
- Solution: Ensure you have a stable internet connection or check your installation media.
- Error: “The product key is invalid”
- Solution: Verify that the product key matches the version you’re installing. Contact Microsoft Support if needed.
- Error: “Not enough disk space”
- Solution: Free up disk space by deleting unnecessary files or using a disk cleanup tool.
Step 6: Updating Microsoft Project
Once installed, keep Microsoft Project updated to ensure you have the latest features and security patches.
How to Update:
- Open Microsoft Project.
- Go to File > Account > Update Options.
- Select Update Now.
FAQs
Q: Can I install multiple versions of Microsoft Project on the same computer?
A: Yes, but ensure they are compatible and installed in separate directories.
Q: What if I lose my product key?
A: Retrieve it from your Microsoft account or contact Microsoft Support.
Q: Can I install Microsoft Project on a Mac?
A: No, Microsoft Project is only available for Windows. Use alternatives like Project Online for Mac.
Conclusion
Installing Microsoft Project 2019, 2016, or 2013 is a straightforward process if you follow the steps outlined above. Whether you’re a seasoned project manager or a beginner, having Microsoft Project set up correctly ensures smooth project planning and execution.
