How to Resolve Microphone Issues on Windows 7

If your microphone is not working on Windows 7, it can be frustrating, especially if you need it for meetings, gaming, or recording. This guide provides step-by-step instructions to troubleshoot and resolve microphone issues effectively.
Check Physical Connections
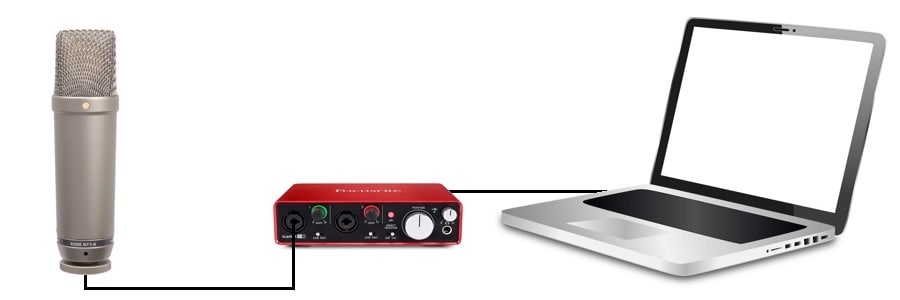
Before diving into software solutions, ensure the microphone is correctly connected to your computer:
- Verify Cable Connections: Make sure the microphone cable is securely plugged into the correct port (pink for analog microphones).
- Inspect Hardware: Check for physical damage to the microphone or its cable.
- Test on Another Device: Plug the microphone into another device to rule out hardware issues.
Enable and Set the Microphone as Default
Sometimes, your microphone may be disabled or not set as the default device. Follow these steps:
- Open Sound Settings:
- Right-click on the speaker icon in the taskbar.
- Select Recording Devices.

- Enable the Microphone:
- In the Recording tab, locate your microphone.
- If it’s not enabled, right-click it and select Enable.
- Set as Default Device:
- Right-click the microphone again and choose Set as Default Device.
- Test the Microphone:
- Speak into the microphone. The green bars next to it should move if it’s working correctly.
Update or Reinstall Audio Drivers
Outdated or corrupt drivers can cause microphone issues. Update them as follows:
- Open Device Manager:
- Press Windows + R, type
devmgmt.msc, and press Enter.
- Press Windows + R, type
- Locate Audio Inputs and Outputs:
- Expand the section and find your microphone.
- Update Driver:
- Right-click the microphone and select Update Driver Software.
- Choose Search automatically for updated driver software.
- Reinstall Driver (if updating doesn’t work):
- Right-click the microphone and select Uninstall Device.
- Restart your computer. Windows will automatically reinstall the driver.
Adjust Microphone Levels
If your microphone’s volume is too low, you may need to adjust its levels:
- Access Microphone Properties:
- In the Recording tab of the sound settings, right-click your microphone and select Properties.
- Adjust Levels:
- Navigate to the Levels tab.
- Increase the microphone volume and ensure it’s not muted.
- Test Again:
- Speak into the microphone to check if the issue is resolved.
Run the Windows Troubleshooter
Windows 7 includes a built-in troubleshooter that can identify and fix microphone problems:
- Open Troubleshooting:
- Go to Control Panel > Troubleshooting.
- Run the Audio Recording Troubleshooter:
- Select Hardware and Sound.
- Click Troubleshoot audio recording and follow the on-screen instructions.
Disable Audio Enhancements
Audio enhancements can sometimes interfere with microphone functionality. Here’s how to disable them:
- Access Microphone Properties:
- In the Recording tab, right-click your microphone and select Properties.
- Turn Off Enhancements:
- Go to the Enhancements tab.
- Check the box for Disable all enhancements.
- Apply and Test:
- Click Apply, then OK.
- Test the microphone to see if the problem persists.
Check Privacy Settings
Windows 7 doesn’t have the same privacy settings as newer versions, but some applications may restrict microphone access. Ensure the application you’re using has permission to access the microphone.
Replace the Microphone if Necessary
If none of the above solutions work, your microphone might be faulty. Testing another microphone can help confirm this.
Conclusion
Resolving microphone issues on Windows 7 involves checking connections, adjusting settings, updating drivers, and disabling enhancements. By following the steps outlined in this guide, you should be able to get your microphone working again. If the problem persists, consider consulting a professional or replacing your hardware.
