Make Excel the Default Program on Mac | Excel for Mac
If you frequently work with spreadsheets on your Mac, setting Microsoft Excel as the default application can save you time and streamline your workflow. This comprehensive guide will walk you through the process, ensuring that your spreadsheets automatically open in Excel whenever you double-click them.
Why Set Excel as Default?
- Convenience: Double-clicking a spreadsheet will directly open it in Excel, eliminating the need to manually select the application.
- Efficiency: Streamline your workflow by automatically associating Excel with spreadsheet file types.
- Customization: Tailor your Mac’s behavior to your preferences and work habits.
How to Set Excel as Default on Mac
Method 1: Using Finder
-
-
Locate a Spreadsheet File: Find any spreadsheet file on your Mac (e.g., .xlsx, .xls).
-
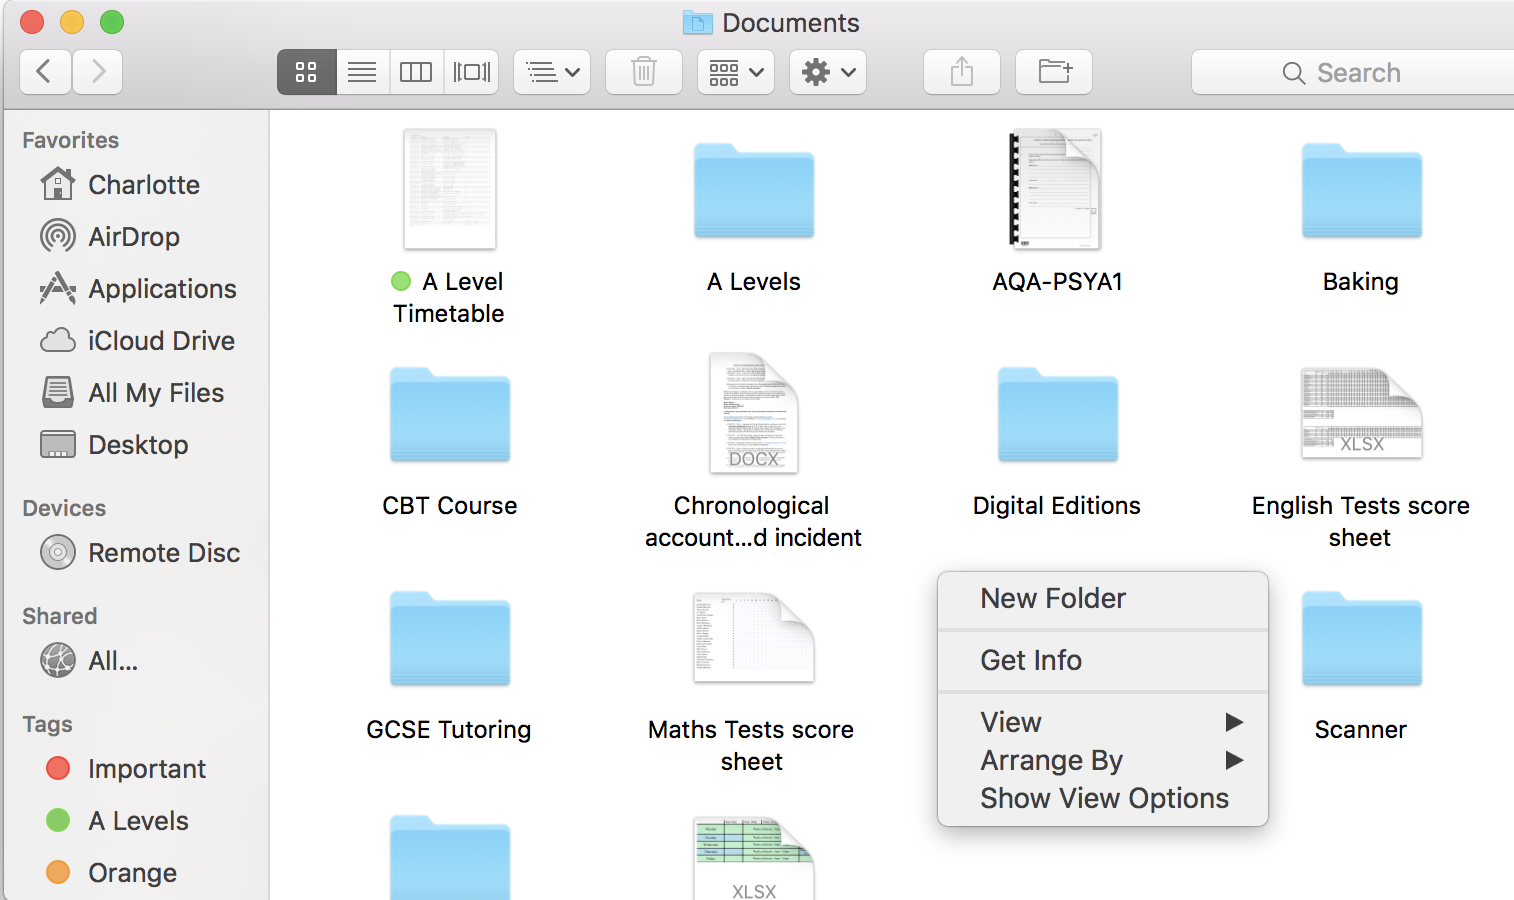
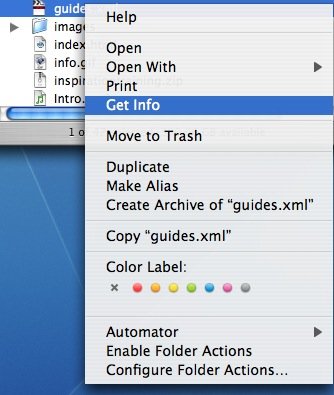
Right-Click (or Control-Click): Right-click (or Control-click) on the file to open the context menu.
-
-
-
Select “Get Info”: Choose “Get Info” from the context menu.
-
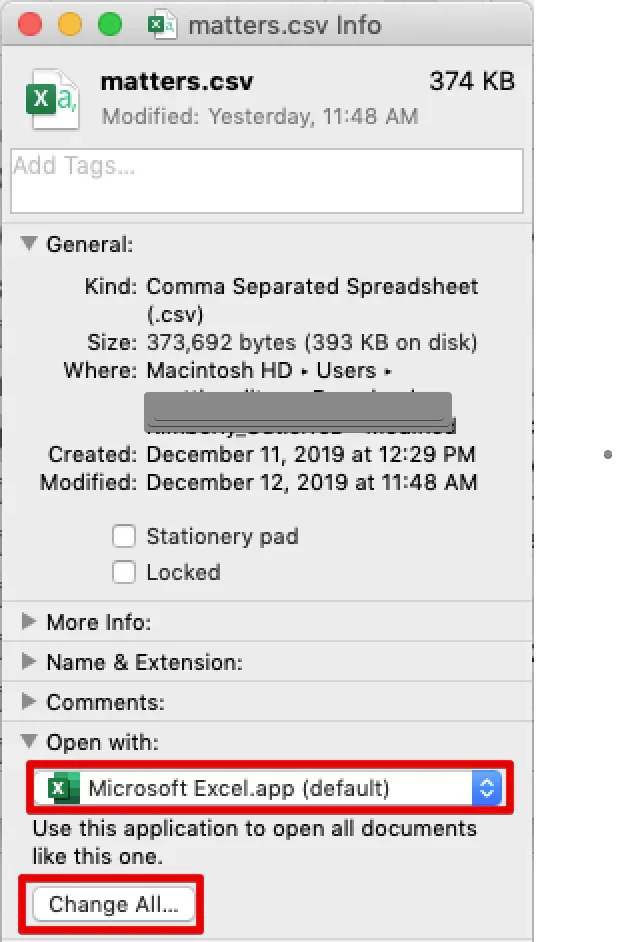
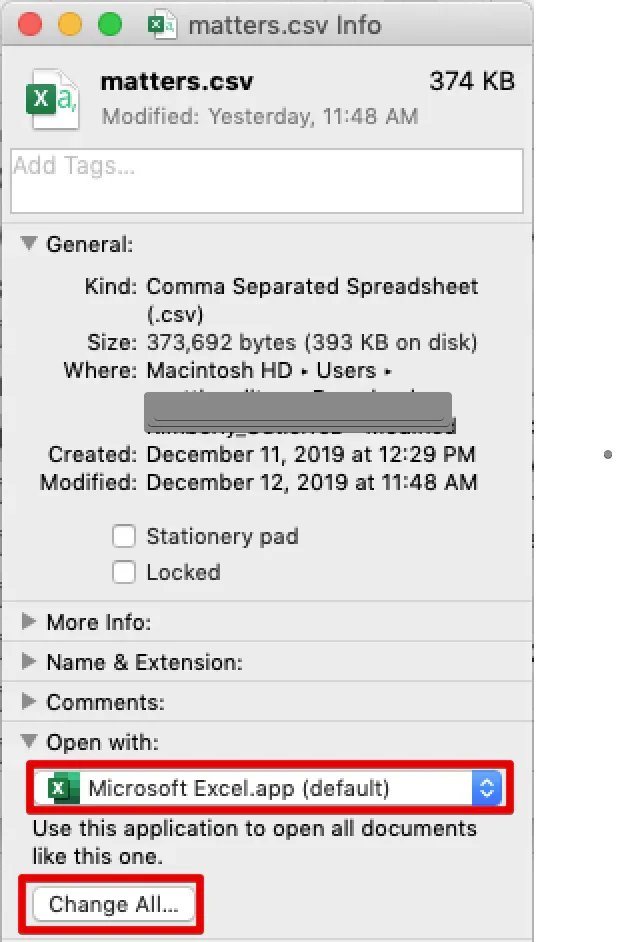
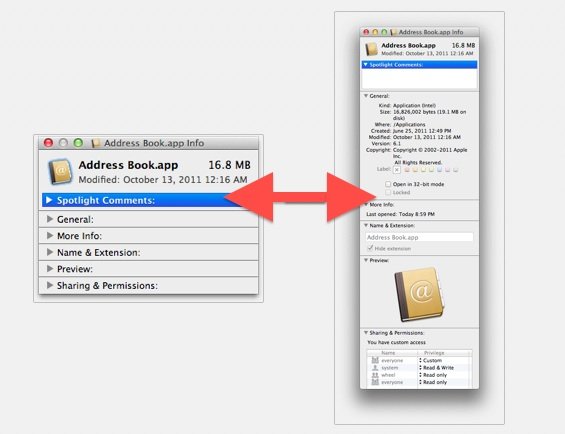
Expand “Open With”: In the “Get Info” window, locate the “Open With” section and click the triangle to expand it.
-
-
-
Choose Microsoft Excel: Select “Microsoft Excel” from the dropdown menu.
-
Click “Change All…”: Click the “Change All…” button to apply this setting to all files of the same type.
-
- Confirm: A confirmation dialog will appear. Click “Continue” to confirm the change.
Method 2: Using the “Open With” Menu
-
-
Select a Spreadsheet File: Right-click (or Control-click) on the spreadsheet file.
-
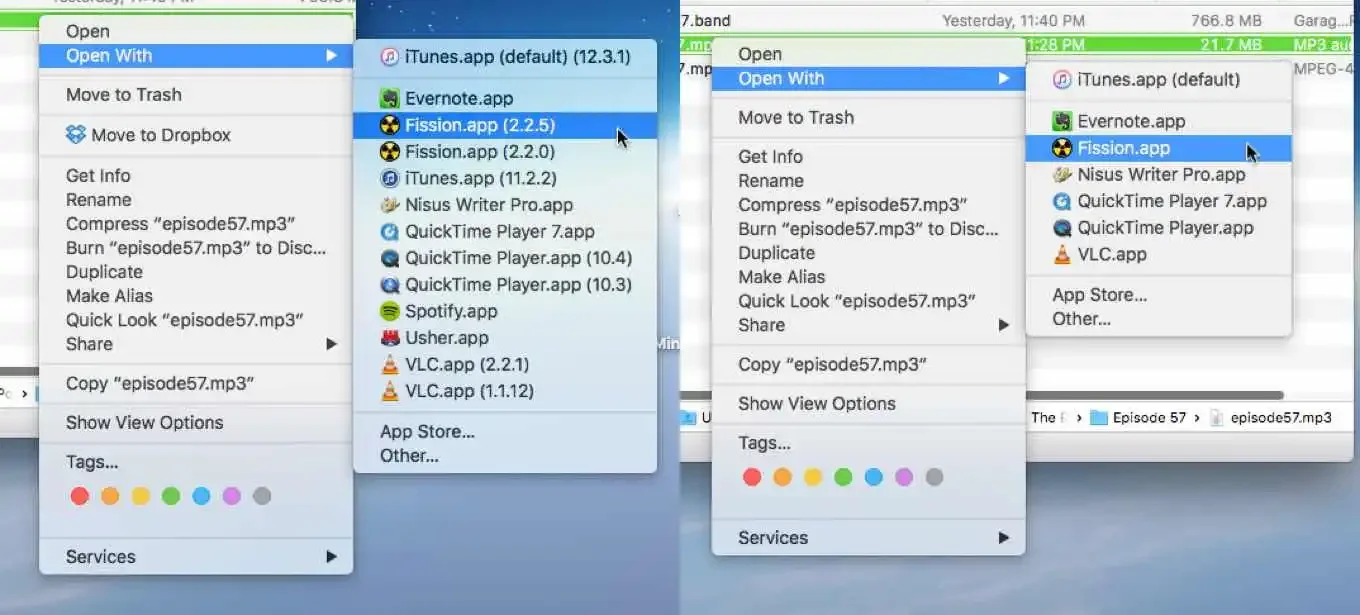
Choose “Open With”: Select “Open With” from the context menu.
-
Select “Other…”: Choose “Other…” from the submenu.
-
-
-
Locate Microsoft Excel: In the “Open With” dialog box, navigate to the “Applications” folder and select “Microsoft Excel.”
-
Check “Always Open With”: Make sure the “Always Open With” checkbox is selected.
-
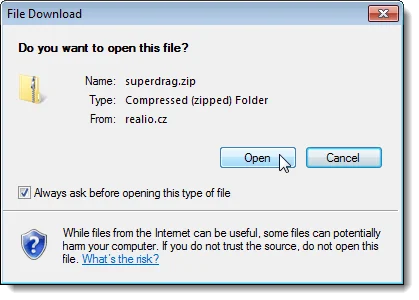
- Click “Open”: Click “Open” to open the file in Excel and set it as the default application.
Troubleshooting Tips
- Clear Cache: If Excel doesn’t appear in the “Open With” menu, try clearing the Launch Services cache by running the following command in Terminal:
/System/Library/Frameworks/CoreServices.framework/Frameworks/LaunchServices.framework/Support/lsregister -kill -r -domain local -domain system -domain user- Check File Associations: Ensure that spreadsheet file types (.xlsx, .xls) are correctly associated with Microsoft Excel in your system settings.
Conclusion
By setting Excel as the default application for spreadsheets on your Mac, you can streamline your workflow and save valuable time. Whether you use Finder or the “Open With” menu, the process is simple and straightforward. Now, you can double-click any spreadsheet file and have it automatically open in Excel, ready for you to analyze, edit, and create.
Related articles
» How To Fix “Damaged or Incomplete Installation of Microsoft Excel” on Mac?
» How to Freeze a Row or Column in Excel for Mac
» User Defined Functions (UDF) vs VBA Macros in Excel

