How to Install Microsoft Visio 2019, 2016, and 2013 Versions
Microsoft Visio is a popular diagramming tool that allows users to create a variety of diagrams, flowcharts, and visual representations. Whether you’re using Visio for business, education, or personal use, installing the software correctly is essential for a smooth experience. This guide will walk you through the installation process for Visio 2019, 2016, and 2013.
How to Install Microsoft Visio 2019
Step 1: Purchase or Access Visio 2019

To install Visio 2019, you need a valid license or subscription. You can purchase it from Microsoft’s official website or from authorized resellers.
- Visit Microsoft Visio’s official page.
- Choose between Visio Online or the standalone Visio Desktop version (Professional or Standard) and complete the purchase.
Step 2: Download Visio 2019

Once you’ve purchased Visio 2019, follow these steps to download it:
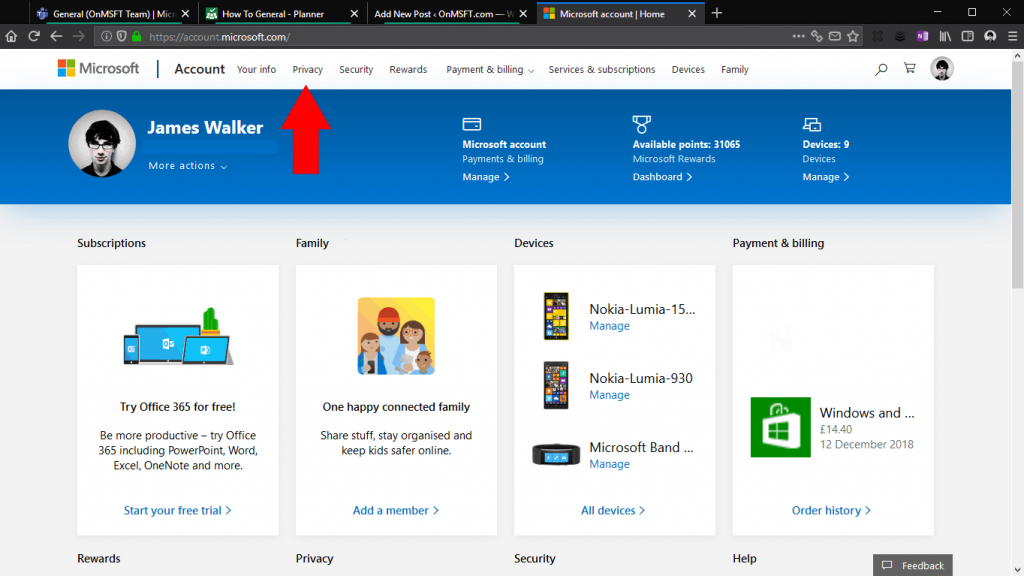
- Log in to your Microsoft account.
- Go to Services & Subscriptions.
- Find Visio under your subscriptions and click on Install.
Step 3: Run the Installer

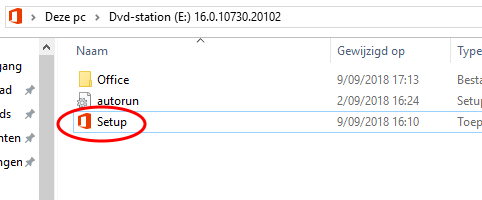
- After the setup file is downloaded, open the installer (
Visio2019.exe). - Click Yes if prompted by User Account Control.
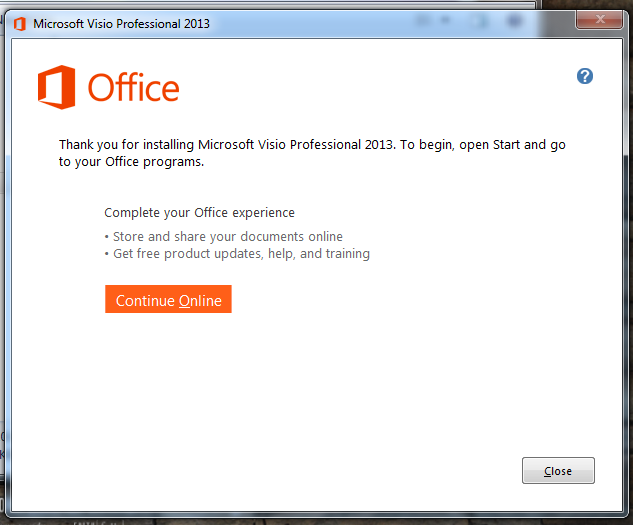
- The installation process will begin automatically.
Step 4: Sign in and Activate
During or after installation, you’ll be prompted to sign in with your Microsoft account to activate Visio. Once activated, the program will be ready to use.
How to Install Microsoft Visio 2016
Step 1: Check Your License or Subscription
Ensure you have a valid license for Visio 2016. You may have purchased a retail copy, or you may be using a volume license provided by your organization.
Step 2: Download Visio 2016

- If you have a retail or volume license, visit Microsoft’s download page.
- Sign in to your Microsoft account and go to My Account > Services & Subscriptions.
- Find Visio 2016 in your list and click Install.
Step 3: Install Visio 2016
- Open the downloaded
Visio2016Setup.exefile. - Click Install and wait for the installation to complete.
- After installation, you may need to sign in with your Microsoft account to activate the software.
How to Install Microsoft Visio 2013
Step 1: Obtain the Product Key
To install Visio 2013, you will need a valid product key. If you purchased the product online, you should have received a product key via email. If you have a physical copy, the product key will be on the box or card.
Step 2: Download Visio 2013

- Visit Microsoft’s official download page for Visio 2013.
- Sign in to your Microsoft account and go to My Account > Downloads.
- Select Visio 2013 and download the installer.
Step 3: Install Visio 2013

- Run the
Visio2013Setup.exefile once downloaded. - Follow the on-screen instructions to complete the installation.
- When prompted, enter your product key and activate the software.
Common Installation Issues and Troubleshooting
1. Compatibility Issues
Visio 2019, 2016, and 2013 may not be compatible with all versions of Windows. Make sure your system meets the minimum requirements:
- Visio 2019: Windows 10, Windows 8.1, or Windows 7.
- Visio 2016: Windows 7 or later.
- Visio 2013: Windows 7 or later.
2. Activation Problems
If Visio doesn’t activate after installation, try these steps:
- Ensure you’re connected to the internet.
- Log out and back into your Microsoft account.
- Enter the correct product key if required.
3. Slow Installation
If the installation process is slow, try:
- Restarting your computer.
- Running the installer as an administrator (right-click the installer > Run as Administrator).
- Ensuring your internet connection is stable if you’re installing from an online source.
Conclusion
Installing Microsoft Visio 2019, 2016, or 2013 is a simple process as long as you follow the steps outlined for each version. Remember to have your product key or subscription details on hand, and ensure your system meets the requirements. If you face any issues during installation, try the troubleshooting tips provided.
