How to Resolve the “Err Cache Miss” Error in Google Chrome
The “Err_Cache_Miss” error in Google Chrome often appears when there’s a problem with cached data, network settings, or the Chrome browser itself. This error usually displays the message “Confirm Form Resubmission” and can disrupt browsing activities, especially when filling out forms or accessing secure sites. Below, we’ll walk through several solutions to resolve this issue.
What Causes the “Err_Cache_Miss” Error?
The error is commonly caused by issues such as:
- Corrupted or outdated cache data
- Browser extensions interfering with Chrome’s functionality
- Misconfigured network settings
- Outdated or faulty Chrome version
Solutions to Fix the “Err_Cache_Miss” Error in Google Chrome
1. Clear Chrome’s Cache and Browsing Data
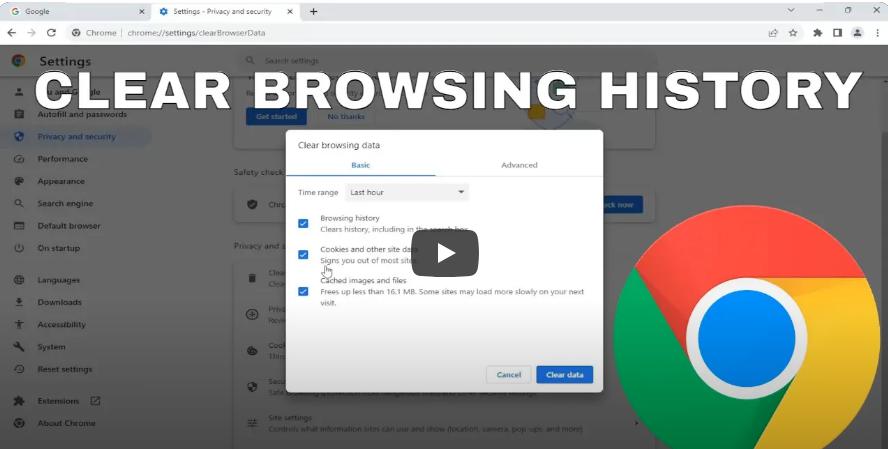
Clearing cached files and browsing history can often resolve cache-related issues. Here’s how:
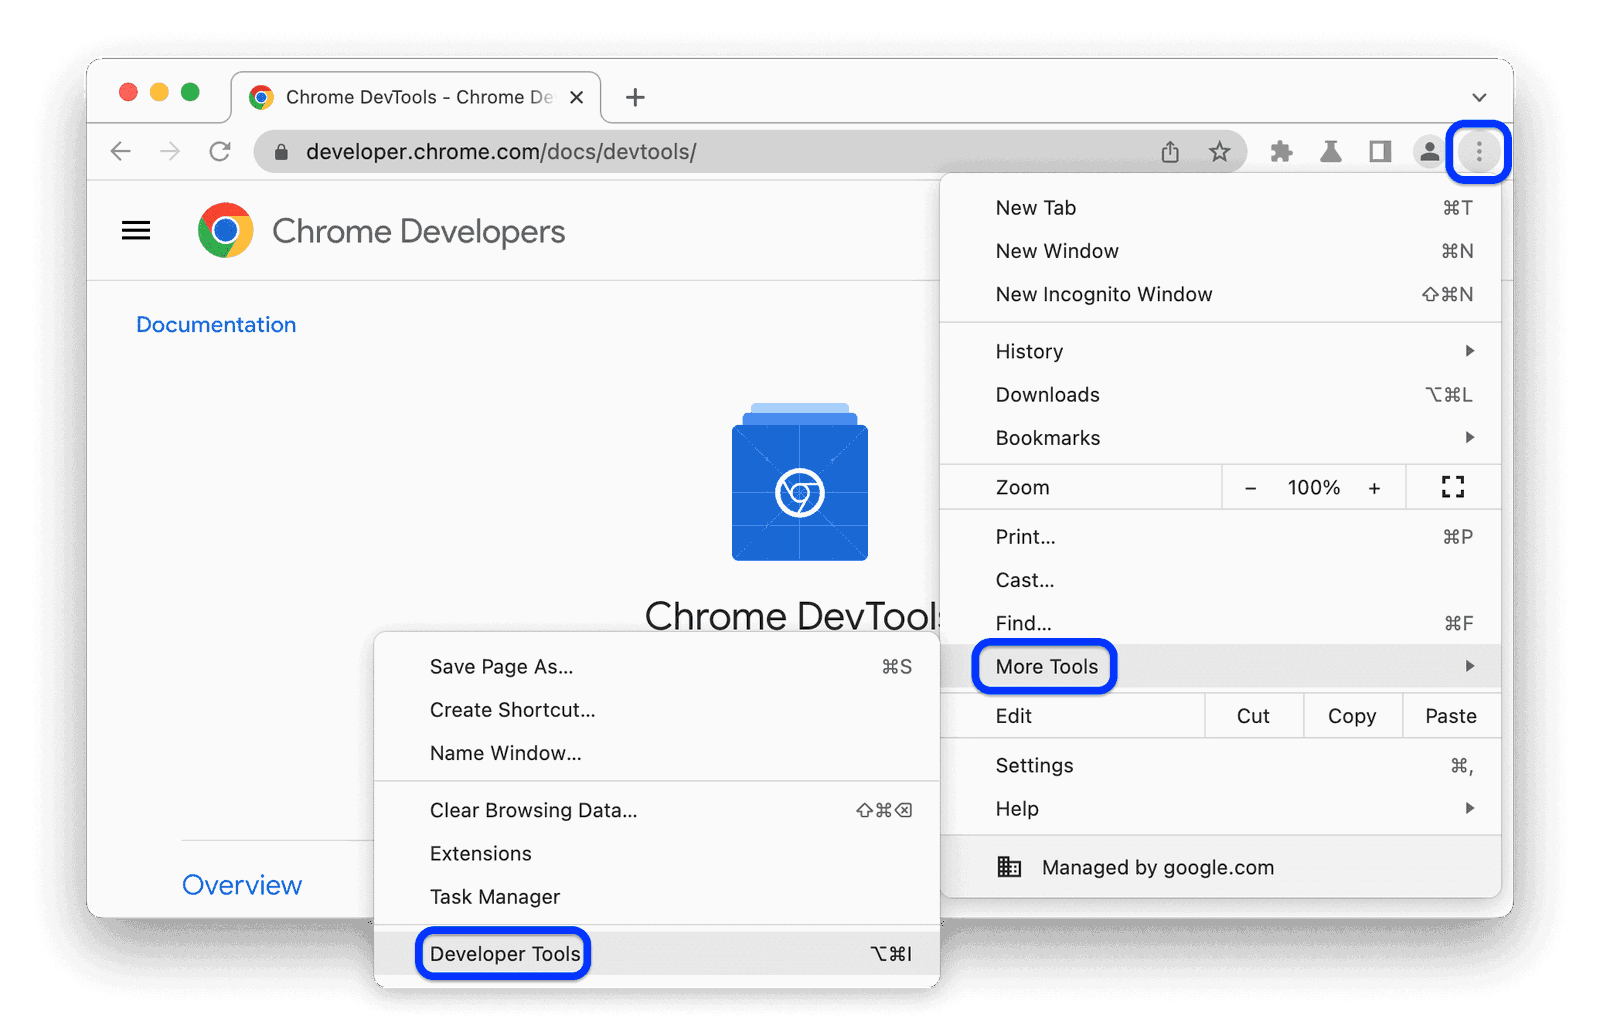
- Open Google Chrome and click on the three dots in the upper right corner.

- Go to More tools and select Clear browsing data.

- In the pop-up window, select All time in the Time range dropdown.
- Check the boxes for Cached images and files and Cookies and other site data.
- Click Clear data.
Once the cache is cleared, reload the page to check if the error is resolved.
2. Disable Chrome Extensions
Some Chrome extensions can interfere with website caching and cause this error. Disable them temporarily to see if an extension is responsible.
- In Chrome, click the three dots in the upper right corner.
- Select More tools and then Extensions.

- Toggle off each extension to disable them.
- Reload the page to see if the error persists.
If the error is fixed, enable each extension one by one to identify the problematic one.
3. Update Google Chrome
An outdated version of Chrome may lack the latest fixes, causing errors like “Err_Cache_Miss.”
- Click on the three dots in the upper right corner of Chrome.
- Select Help > About Google Chrome.

- Chrome will automatically check for updates. If an update is available, click Update.
- Once updated, click Relaunch to restart Chrome.
Check if the error is resolved after updating.
4. Reset Network Settings
If the error persists, resetting your network settings might help. This method clears any misconfigured network settings.
- Press Windows + R to open the Run dialog, type cmd, and press Enter.
- In the Command Prompt, type the following commands one by one, pressing Enter after each:
- Restart your computer to apply the changes.
5. Reset Chrome Settings to Default
Resetting Chrome to its default settings can help remove corrupted configurations that may cause the error.
- Open Chrome and click on the three dots in the upper right corner.
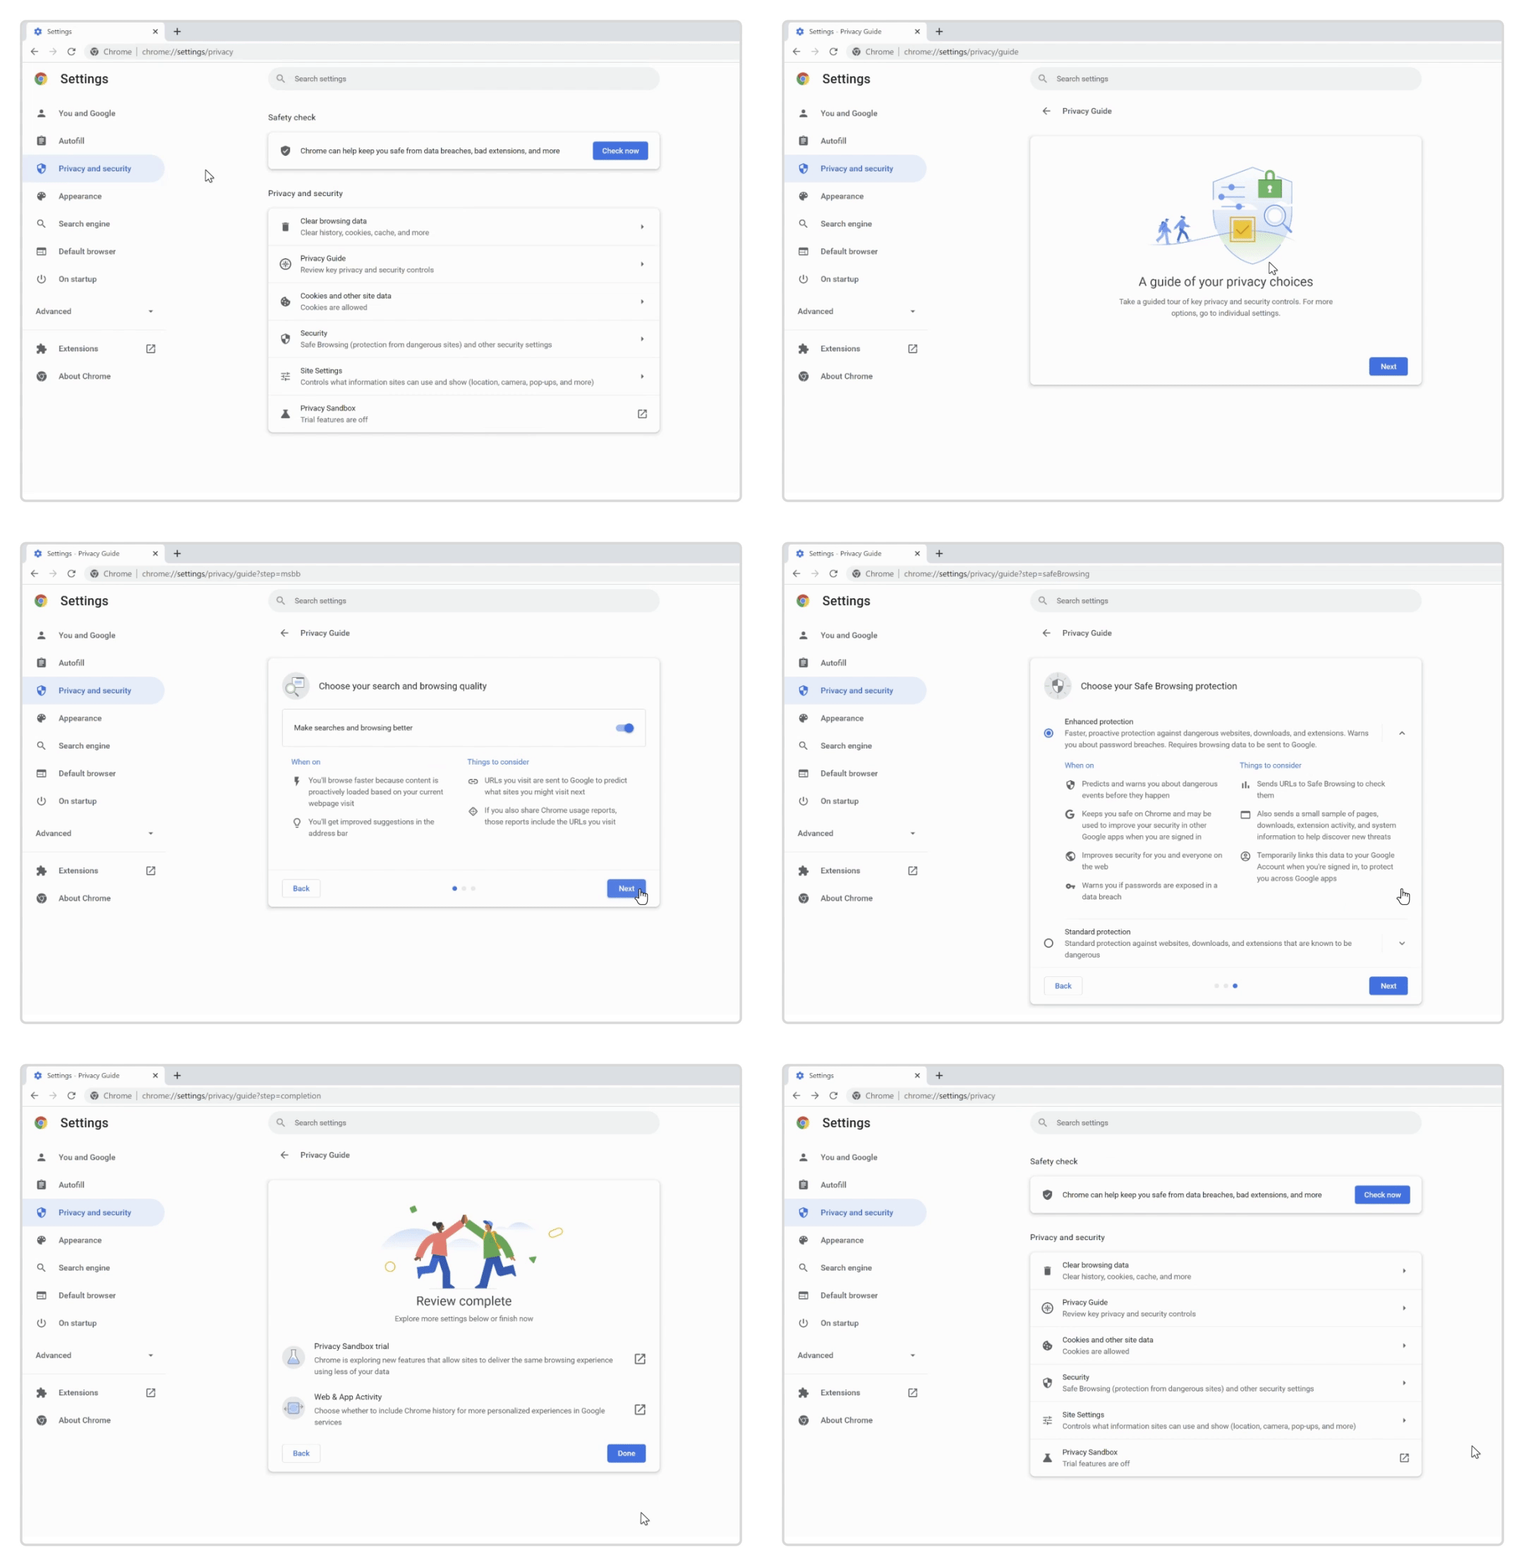
- Go to Settings > Reset and clean up.

- Select Restore settings to their original defaults.
- Confirm by clicking Reset settings.
After resetting, Chrome will restart. Check if the error is resolved.
6. Use Incognito Mode
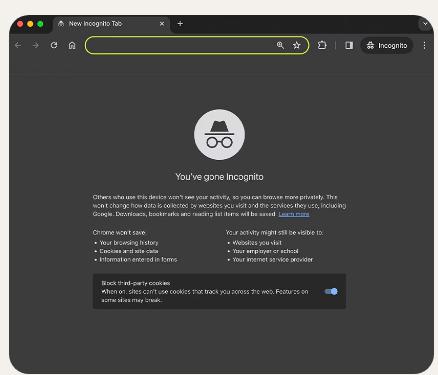
If the error only appears on specific sites, try accessing them in Incognito Mode. This mode prevents Chrome from using cached data and extensions.
- Open Chrome and click the three dots in the upper right corner.
- Select New incognito window.

- Enter the site URL to see if it loads without errors.
If the site works in Incognito, this may indicate an issue with your cache or extensions. Continue with the previous steps to resolve it.
7. Disable Cache System Using Chrome Developer Tools
You can also disable Chrome’s caching system temporarily through Developer Tools.
- Press Ctrl + Shift + I (or Cmd + Option + I on Mac) to open Developer Tools.

- Go to the Network tab.
- Check the box for Disable cache.
- Reload the page while Developer Tools is open.
This method helps if you need to refresh the page without using cache. Keep in mind that this change is only effective while Developer Tools is open.
8. Check for DNS Issues
If there are DNS-related issues, switching to a public DNS can resolve the error.
- Open Control Panel and select Network and Sharing Center.
- Click on Change adapter settings on the left.
- Right-click your network connection and select Properties.
- Select Internet Protocol Version 4 (TCP/IPv4) and click Properties.

- Choose Use the following DNS server addresses and enter:
- Preferred DNS server: 8.8.8.8
- Alternate DNS server: 8.8.4.4
- Click OK to save your changes and restart your computer.
9. Run Chrome in Compatibility Mode (Windows Only)
For Windows users, running Chrome in Compatibility Mode can sometimes help with compatibility issues that trigger the “Err_Cache_Miss” error.
- Right-click on the Chrome shortcut on your desktop and select Properties.
- Go to the Compatibility tab.
- Check the box for Run this program in compatibility mode for: and choose Windows 8 or Windows 7.
- Click Apply and then OK.
Open Chrome again to see if the error persists.
10. Reinstall Google Chrome
If none of the above solutions work, reinstalling Chrome may be the best option. This removes corrupted files and resets all settings.
- Go to Control Panel > Programs > Uninstall a program.

- Select Google Chrome and click Uninstall.
- After uninstalling, download the latest version of Chrome from Google’s official site.
- Install Chrome and check if the error is resolved.
Conclusion
The “Err_Cache_Miss” error in Google Chrome can be frustrating, especially when it disrupts browsing. By following these steps, you can troubleshoot the problem effectively. From clearing cache and disabling extensions to resetting network settings and DNS configurations, these solutions cover a range of potential issues. If the error continues, reinstalling Chrome should provide a clean start to restore its functionality.
