How to Configure Email on Various Internet-Enabled Phones and Tablets
Setting up email on an internet-capable phone or tablet is a straightforward process that ensures you stay connected to your inbox on the go. Whether you’re using a basic smartphone, a tablet without pre-installed email apps, or a device that doesn’t belong to mainstream operating systems like Android or iOS, this guide will help you configure your email account easily.

Step 1: Ensure Your Device Has Internet Access
Before setting up your email, make sure your phone or tablet is connected to the internet.
- Wi-Fi Connection: Go to your device’s Settings, select Wi-Fi, and connect to a network.
- Mobile Data: If you’re using cellular data, ensure your mobile data is turned on and working properly.
Without a stable internet connection, you won’t be able to sync your email account or receive/send emails.
Step 2: Gather Your Email Account Information
To set up an email account manually, you’ll need the following details:
- Email Address: Your full email address (e.g., [email protected]).
- Password: The password for your email account.
- Incoming Mail Server:
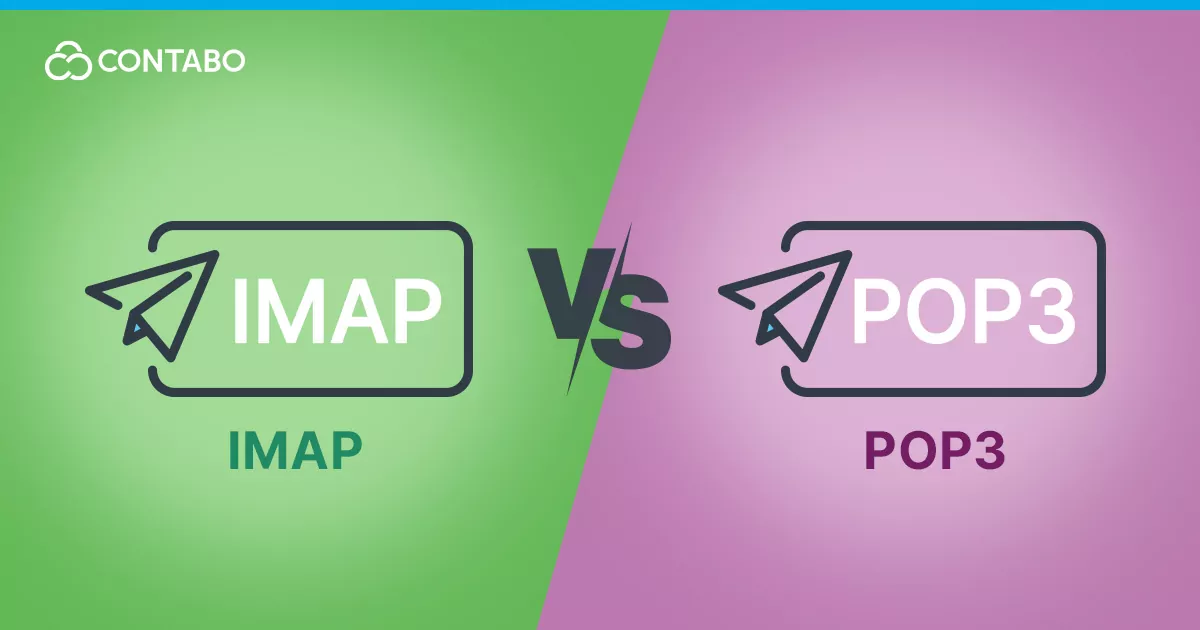
- Server Type: IMAP or POP3 (IMAP is recommended for syncing across multiple devices).
- Server Address: Typically something like
imap.example.comorpop.example.com. - Port: IMAP often uses Port 993 (SSL) or Port 143 (non-SSL); POP3 uses Port 995 (SSL) or Port 110 (non-SSL).
- Outgoing Mail Server (SMTP):
- Server Address: Usually
smtp.example.com. - Port: Often Port 587 (STARTTLS) or Port 465 (SSL).
- Authentication: Most email servers require outgoing mail authentication using your email address and password.
- Server Address: Usually
If you’re unsure about these settings, check with your email provider.
Step 3: Locate the Email App on Your Device
If your device has a built-in email app, use it to set up your email account. If not, you may need to download a third-party email client from the app store or marketplace associated with your device. Popular options include:
- Microsoft Outlook

- K-9 Mail (for Android-based systems)
- BlueMail
- Mozilla Thunderbird (tablet-compatible)
Step 4: Begin Email Account Setup
Using Built-In Email Apps
- Open the email app on your phone or tablet.
- Select Add Account or Set up Email.
- Enter your email address and password when prompted.
- Choose between IMAP or POP3:
- IMAP: Select this if you want your emails to sync across all devices.

- POP3: Choose this if you want emails downloaded and stored only on the device.
- IMAP: Select this if you want your emails to sync across all devices.

Using Third-Party Apps
- Download and install the email client of your choice.
- Launch the app and follow its setup wizard.
- Enter your email address, password, and mail server details.
Step 5: Configure Advanced Settings
If your email account setup isn’t automatic, you may need to configure settings manually.
- Incoming Server Settings:
- Enter the IMAP/POP server address.
- Choose the correct port number and security type (SSL or non-SSL).
- Enter your username (usually your email address) and password.
- Outgoing Server Settings (SMTP):
- Enter the SMTP server address.
- Select the appropriate port (587 for STARTTLS or 465 for SSL).
- Ensure Authentication is enabled and enter your username and password.
- Save your settings and proceed to complete the setup.
Step 6: Test Your Email Account
After setting up the email account:
- Send a test email to yourself to ensure outgoing mail is working.
- Check if new emails appear in your inbox to confirm incoming mail is syncing correctly.
If you encounter any errors, double-check your server settings and internet connection.
Step 7: Adjust Sync and Notification Settings
Once your email account is working, customize how emails sync and how notifications appear.
- Sync Frequency:
- Go to the email app settings.
- Select how often you want the app to check for new emails (e.g., every 15 minutes, every hour, or manually).
- Notifications:
- Enable or disable email notifications based on your preference.
- Customize sound, vibration, or visual alerts.
Troubleshooting Common Issues
If you face problems during or after setup, here are some tips to resolve them:
Problem: Incorrect Username or Password
- Double-check your email address and password for typos.
- Reset your password if you’ve forgotten it.
Problem: Cannot Connect to Server
- Verify your incoming and outgoing server settings.
- Ensure the correct port numbers are entered.
- Check if your internet connection is stable.
Problem: Emails Not Syncing
- Ensure IMAP is enabled in your email provider settings (if using IMAP).
- Restart your device or reinstall the email app.
- Check your storage space to ensure there’s room for syncing.
Benefits of Setting Up Email on Your Device
- On-the-Go Access: Stay connected to your inbox wherever you are.
- Time-Saving: Respond to important emails quickly without needing a computer.
- Synchronization: With IMAP, your emails, folders, and drafts stay consistent across devices.
- Ease of Use: Notifications alert you instantly when new emails arrive.
Tips for Managing Emails on Your Device
- Organize Emails: Use folders to categorize and archive emails.
- Delete Unnecessary Messages: Regularly clear your inbox to free up storage space.
- Enable Filters: Set up rules to sort emails automatically.
- Keep Apps Updated: Update your email client to ensure compatibility and security.
Conclusion
Setting up email on an internet-capable phone or tablet ensures you remain productive and connected wherever you go. By following the steps in this guide, you can quickly configure your email account and start managing your messages with ease. With proper settings and regular maintenance, your email experience on mobile devices will be seamless and efficient.
