How to Enable Gridlines for Printing in Excel
By default, Excel gridlines help you organize and structure your data on the screen, but they don’t automatically appear when you print your document. For many users, printing these gridlines is essential, especially when working with large tables or detailed spreadsheets. Fortunately, enabling gridlines for printing in Excel is simple. In this guide, we will walk you through how to print gridlines in Excel step by step.
What Are Excel Gridlines?
Gridlines are the faint lines that define the borders of cells in Excel, making it easier to read and work with the data. These lines are visible on your screen but, unless specified, won’t show up when you print the worksheet.
Why Would You Need to Print Gridlines?
Printing gridlines in Excel can help improve the readability of printed spreadsheets. Here are a few scenarios where printing gridlines can be beneficial:
- Organizing data: Gridlines make it easier for readers to distinguish between different rows and columns.
- Presenting data clearly: For reports or handouts, gridlines can improve the presentation of your data by visually organizing it.
How to Print Gridlines in Excel (Step-by-Step)
Follow these simple steps to enable gridlines for printing in Excel:
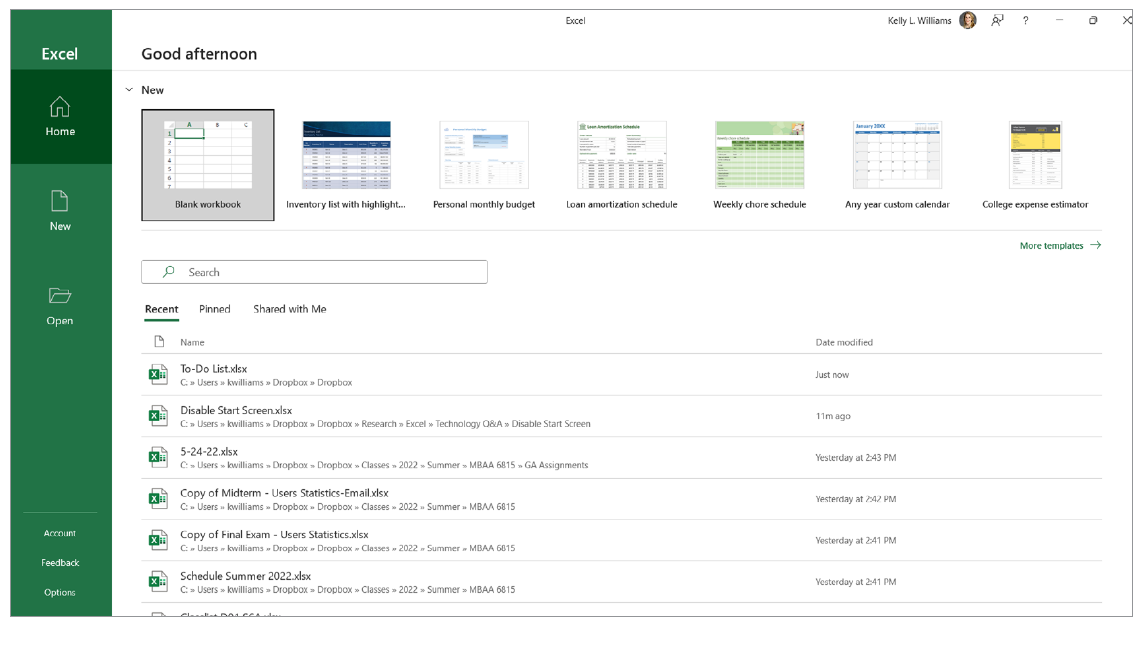
Step 1: Open Your Excel Workbook

- Open your Excel workbook where you want to print the gridlines.
- Select the worksheet where you want the gridlines to appear in print.
Step 2: Navigate to the Page Layout Tab

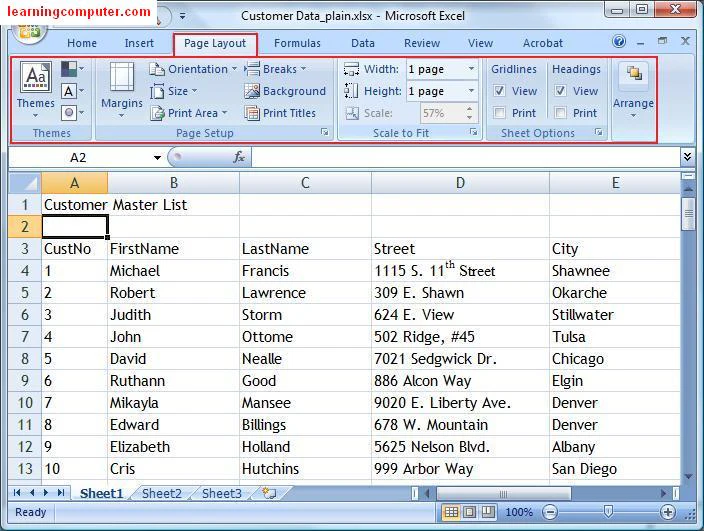
- Click on the “Page Layout” tab in the Excel ribbon. This tab contains all the settings you need to control the appearance of your printed Excel sheet.
Step 3: Enable the Print Gridlines Option
- In the Page Layout tab, locate the Sheet Options group.
- Under Gridlines, check the Print option. This ensures that gridlines will be printed along with your worksheet.
- Once you’ve enabled this setting, gridlines will be printed along with your data when you print the worksheet.
Step 4: Preview Your Sheet with Gridlines
It’s always a good idea to preview your worksheet before printing to ensure that everything looks right.
- Click on the File tab in the ribbon and select Print from the menu.
- In the Print Preview pane, you will now be able to see a preview of your sheet, including the gridlines.
- If the gridlines are visible in the preview, they will also appear on the printed page.
How to Adjust Gridline Color for Printing
By default, Excel prints gridlines in black and white, but you can change their color if needed.
Steps to Change Gridline Color:

- Go to the File Tab:
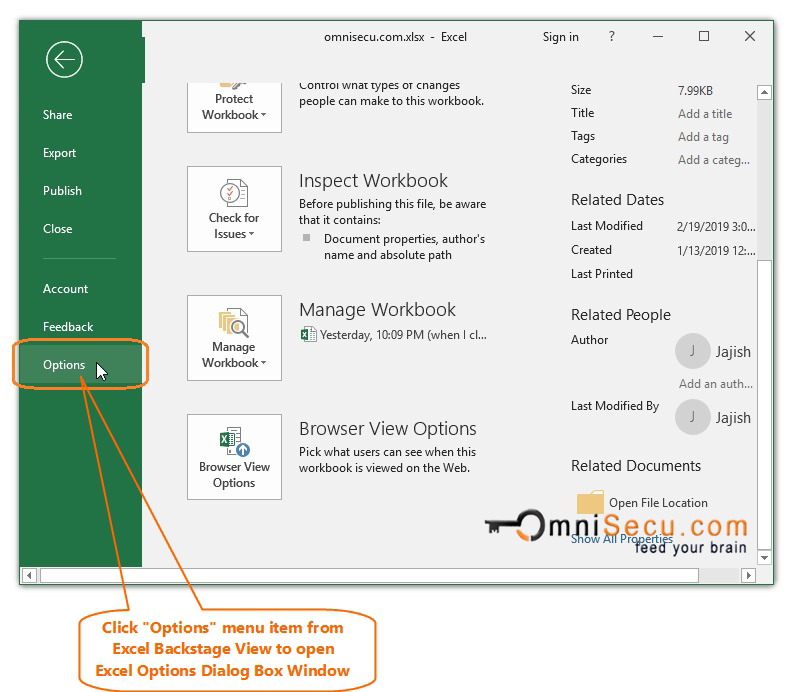
- Click the File tab and select Options from the menu.
- Access Advanced Options:
- In the Excel Options window, select Advanced from the left sidebar.

- Adjust Gridline Color:
- Scroll down to the Display options for this worksheet section.
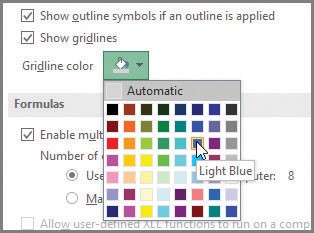
- Click the dropdown under Gridline color and select your desired color.
- Click OK to save the changes.
Now, the gridlines will print in the color you’ve selected.
How to Print Borders Instead of Gridlines
If you want more defined lines for printing, you can apply borders to your cells instead of relying on gridlines. Borders appear more prominently on printed documents and give you more control over the line style.
Steps to Apply Borders:
- Select the Cells:
- Highlight the cells where you want borders.
- Open the Borders Menu:
- Go to the Home tab and click the Borders dropdown in the Font group.
- Choose a Border Style:
- Select the desired border style (e.g., All Borders) from the dropdown list.
Now, the selected cells will have borders, and these will print clearly when you print your document.
How to Turn Off Gridlines for Printing
If you no longer need to print gridlines, you can easily disable this option.
Steps to Turn Off Print Gridlines:
- Go to the Page Layout Tab:
- Click on the Page Layout tab in the ribbon.
- Uncheck the Print Option:
- Under the Sheet Options group, uncheck the Print box under Gridlines.
Now, gridlines will no longer appear when you print your document.
Conclusion
Printing gridlines in Excel is a useful feature when you need to present your data in an organized, clear manner. By following the simple steps above, you can easily enable or disable gridlines, adjust their color, or apply borders for a more professional look. Whether you’re preparing a report or printing a spreadsheet for personal use, these tips will ensure your Excel documents look polished and well-organized.
By mastering these simple settings, you can control exactly how your printed spreadsheets will appear and make them easier for others to read.
