How to Easily Remove Office from a Mac
Uninstalling Microsoft Office on a Mac can sometimes seem like a daunting task, as it involves removing multiple components scattered across the system. Whether you’re switching to a new Office version or simply want to free up disk space, this guide provides a step-by-step process to quickly and efficiently remove Office for Mac from your device.
Step 1: Close All Office Applications
Before you begin the uninstallation process, ensure that no Office applications are running in the background. This step is essential to avoid any issues during the removal process.
- Check Open Applications: Press
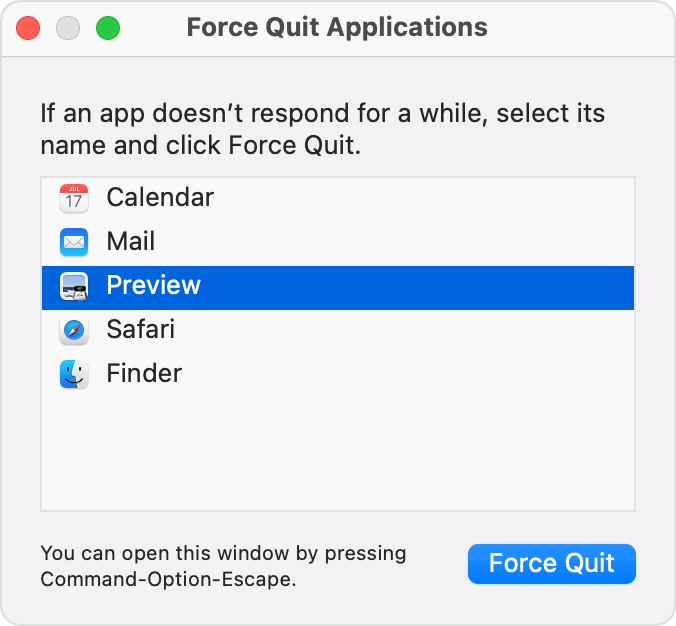
Command + Tabto see if any Office apps, such as Word, Excel, or Outlook, are running. - Force Quit if Necessary: If an app doesn’t close normally, press
Command + Option + Esc, select the app, and click Force Quit.

Step 2: Uninstall Office Apps
The primary step involves moving the Office applications to the Trash.
- Open Finder: Click on the Finder icon in the Dock.

- Go to the Applications Folder: Navigate to the Applications folder in Finder’s sidebar.
- Locate Office Apps: Look for Microsoft Office applications like Word, Excel, PowerPoint, and Outlook.
- Move to Trash: Drag each application to the Trash, or right-click on the app and select Move to Trash.

Step 3: Remove Office Files from the Library Folder
To completely uninstall Office for Mac, you’ll need to delete associated files from the Library folder. These files include preferences, licenses, and other Office-related data.
3.1 Access the Library Folder
- Open Finder.
- Click Go in the top menu bar and select Go to Folder.

- Type
~/Libraryand press Enter.

3.2 Delete Office-Related Files
Look for and delete the following files and folders in the Library:
- Preferences:
- Navigate to
~/Library/Preferences/. - Delete files starting with
com.microsoft.

- Navigate to
- Containers:
- Go to
~/Library/Containers/. - Delete folders starting with
com.microsoft.

- Go to
- Group Containers:
- Navigate to
~/Library/Group Containers/. - Look for folders with names like
UBF8T346G9.msand delete them.
- Navigate to

Step 4: Remove Office from Keychain
Your Mac’s Keychain may store credentials or license information related to Office. To remove them:
- Open Keychain Access by searching for it using Spotlight (
Command + Space).

- In the search bar, type
Microsoft.

- Delete all entries related to Microsoft Office by right-clicking on each and selecting Delete.
Step 5: Empty the Trash
After completing the above steps, ensure all deleted items are permanently removed.
- Right-click on the Trash icon in the Dock.
- Select Empty Trash.

- Confirm the action when prompted.
Step 6: Restart Your Mac
Restarting your Mac ensures all residual files are cleared from memory and allows your system to refresh after the uninstallation process.
Optional: Use a Third-Party Uninstaller
If you find the manual process too complex, consider using a third-party app like AppCleaner or CleanMyMac. These tools can help you identify and remove all Office-related files in just a few clicks.
Why Completely Uninstall Office?
Fully uninstalling Office is crucial in certain situations:
- Upgrading to a Newer Version: Ensures a clean slate for the new installation.
- Freeing Up Disk Space: Removes unnecessary files and applications.
- Troubleshooting Issues: Resolves problems caused by corrupted Office files.
Reinstalling Office for Mac
If you plan to reinstall Office after uninstalling it, follow these steps:
- Visit the Microsoft Office website.
- Sign in with your Microsoft account.
- Download the Office installer for Mac.
- Run the installer and follow the on-screen instructions.
Conclusion
Uninstalling Microsoft Office for Mac may seem complicated, but by following these steps, you can quickly remove the software and all its associated files. Whether you’re upgrading to a newer version or troubleshooting issues, this guide ensures a clean and thorough uninstallation process.

