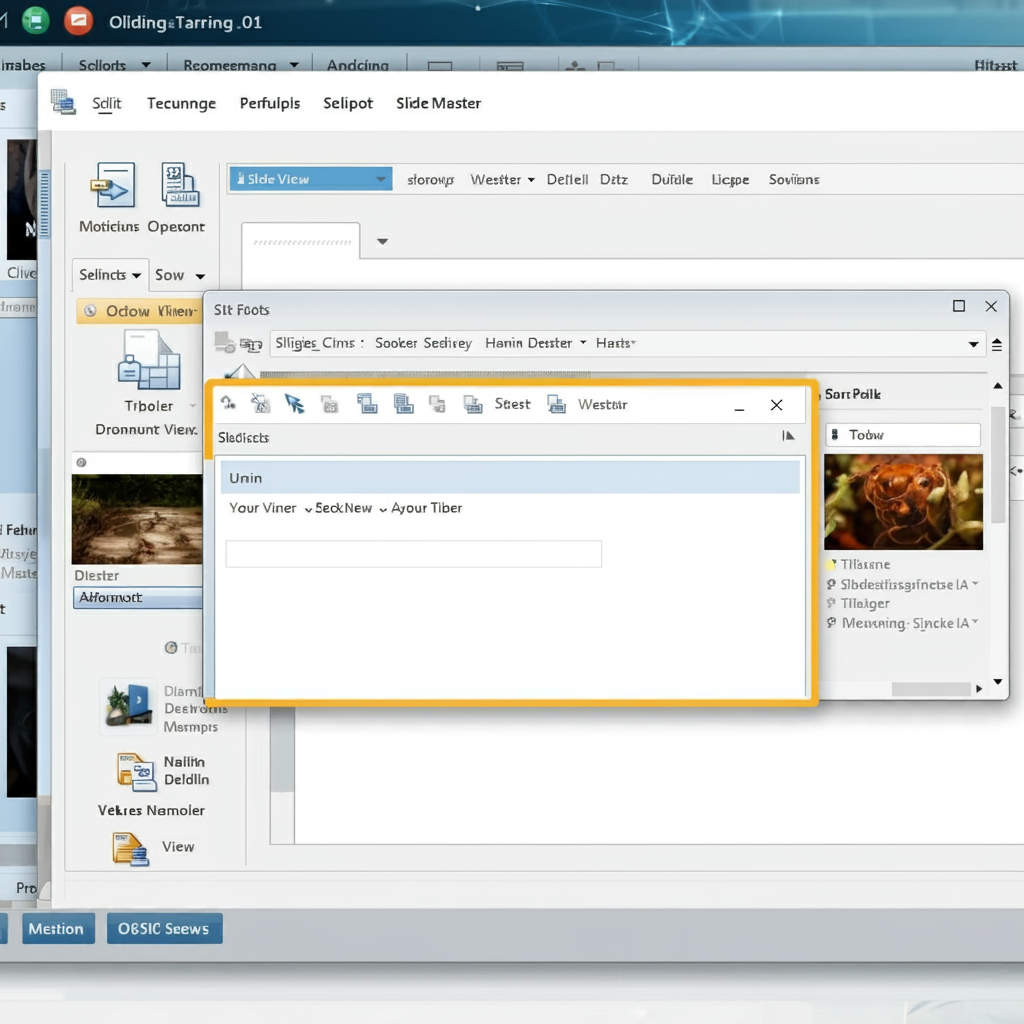
How to Design Custom Templates in PowerPoint
Creating custom templates in PowerPoint can enhance your presentations and maintain a consistent look across your slides. Custom templates save time and ensure that your presentations reflect your brand or style. This guide will walk you through the steps to create your own custom PowerPoint templates.

1. Open a New Presentation
To begin, open PowerPoint and create a new presentation. This will serve as the foundation for your custom template.
- Choose a Blank Presentation: Start with a blank presentation to have complete control over the design.
- Set Slide Size: Before designing, adjust the slide size to fit your needs by going to the “Design” tab, selecting “Slide Size,” and choosing either “Standard” or “Widescreen.”
Suggested Image: A screenshot of the PowerPoint interface showing the option to start a new blank presentation.
2. Access the Slide Master

The Slide Master is a powerful tool that allows you to create and customize your template’s layout, fonts, colors, and more. Access it by following these steps:
- Navigate to Slide Master View: Click on the “View” tab and select “Slide Master.” This will open a view where you can edit the master slides.
- Select the Master Slide: The top slide in the Slide Master view is the main master slide. Changes made here will apply to all slide layouts beneath it.
Suggested Image: A screenshot showing the Slide Master view with the main master slide highlighted.
3. Design Your Template
Once in the Slide Master, it’s time to design your custom template. You can modify various elements such as background, fonts, and colors.
- Set a Background: Right-click on the master slide and choose “Format Background” to set a solid color, gradient, pattern, or image as your background.
- Choose Fonts: Click on the “Fonts” dropdown in the “Slide Master” tab to select or customize a font set that reflects your brand.
- Add Colors: Customize your color scheme by selecting “Colors” from the “Slide Master” tab and creating a palette that aligns with your branding.
Suggested Image: An illustration showing the options available for background, font, and color customization in the Slide Master.
4. Customize Slide Layouts
PowerPoint provides various layouts, such as title slides, content slides, and comparison slides. You can customize these layouts according to your preferences.
- Edit Existing Layouts: Click on any layout beneath the master slide to modify it. You can add or remove placeholders for text, images, or charts.
- Create New Layouts: If you need a unique layout, click “Insert Layout” in the Slide Master tab. You can then customize this new layout to fit your needs.
Suggested Image: A screenshot displaying different slide layouts in the Slide Master view, with one layout being customized.
5. Add Placeholders
Placeholders are pre-defined areas in your slides where you can add content such as text, images, or charts. Adding placeholders helps maintain consistency across your slides.
- Insert Placeholders: In the Slide Master tab, click on “Insert Placeholder” and choose the type (text, picture, chart, etc.). Drag to create the placeholder size and position.
- Label Placeholders: Label your placeholders descriptively so you know what content belongs there when creating presentations.
Suggested Image: A visual representation of different types of placeholders being inserted into a slide layout.
6. Save Your Custom Template
After designing your custom template and making all the necessary changes, it’s time to save it for future use.
- Go to Save As: Click on “File,” then “Save As.”
- Select PowerPoint Template: In the “Save as type” dropdown, select “PowerPoint Template (*.potx).” Name your template and choose a location to save it.
Suggested Image: A screenshot of the “Save As” dialog in PowerPoint, highlighting the option to save as a template.
7. Use Your Custom Template
To use your custom template for future presentations, follow these steps:
- Open PowerPoint: Click on “New” in the start menu.
- Select Personal Templates: Look for the “Personal” or “Custom” section where your saved templates are located. Select your template to create a new presentation based on it.
Suggested Image: An image of the PowerPoint start menu showing where to find personal templates.
8. Update and Maintain Your Template
Over time, you might want to update your template to reflect changes in your branding or presentation style.
- Reopen the Template: Open your saved template by selecting it in PowerPoint.
- Make Necessary Changes: Access the Slide Master view to make adjustments to backgrounds, fonts, colors, or layouts.
- Resave the Template: Don’t forget to save your updates using the same “Save As” method.
Suggested Image: A before-and-after comparison showing the original template and the updated version.
Conclusion
Creating your own custom templates in PowerPoint can significantly enhance your presentations and provide a cohesive look for your branding. By following the steps outlined in this guide, you can design a template that suits your needs and makes your presentations stand out. With a custom template in hand, you’ll save time and ensure consistency across all your slides.
