How to Delete Microsoft Office from a Mac
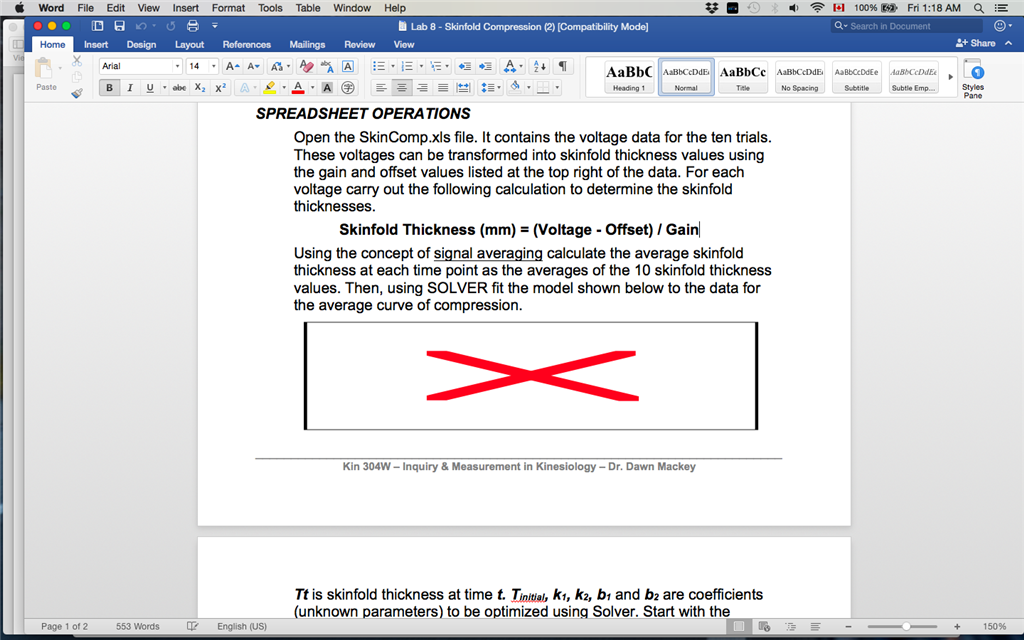
Uninstalling Microsoft Office for Mac is a necessary process if you want to free up disk space, resolve technical issues, or switch to a different version of the Office suite. This guide provides detailed steps for a complete uninstallation, ensuring no leftover files remain on your system.
Reasons to Uninstall Microsoft Office for Mac
Before diving into the steps, it’s helpful to understand why you might want to uninstall Microsoft Office:
- Upgrade or Downgrade: You may wish to switch to a newer or older version of Office.
- Troubleshooting Issues: Reinstalling Office can often resolve persistent bugs or errors.
- Switching Applications: If you’re transitioning to alternative software, such as Google Workspace or Apple’s productivity tools.
- Freeing Up Storage: Office applications and their associated files take up significant disk space, which can be reclaimed.
Step-by-Step Guide to Uninstall Microsoft Office for Mac
Step 1: Close All Office Applications
Before uninstalling Office, make sure all applications are completely closed to avoid file conflicts.
- Open any running Office apps such as Word, Excel, or PowerPoint.
- From the top menu bar, click on the app name (e.g., “Word”) and select Quit [Application Name].
- For background processes, use Activity Monitor:
- Navigate to Applications > Utilities > Activity Monitor.
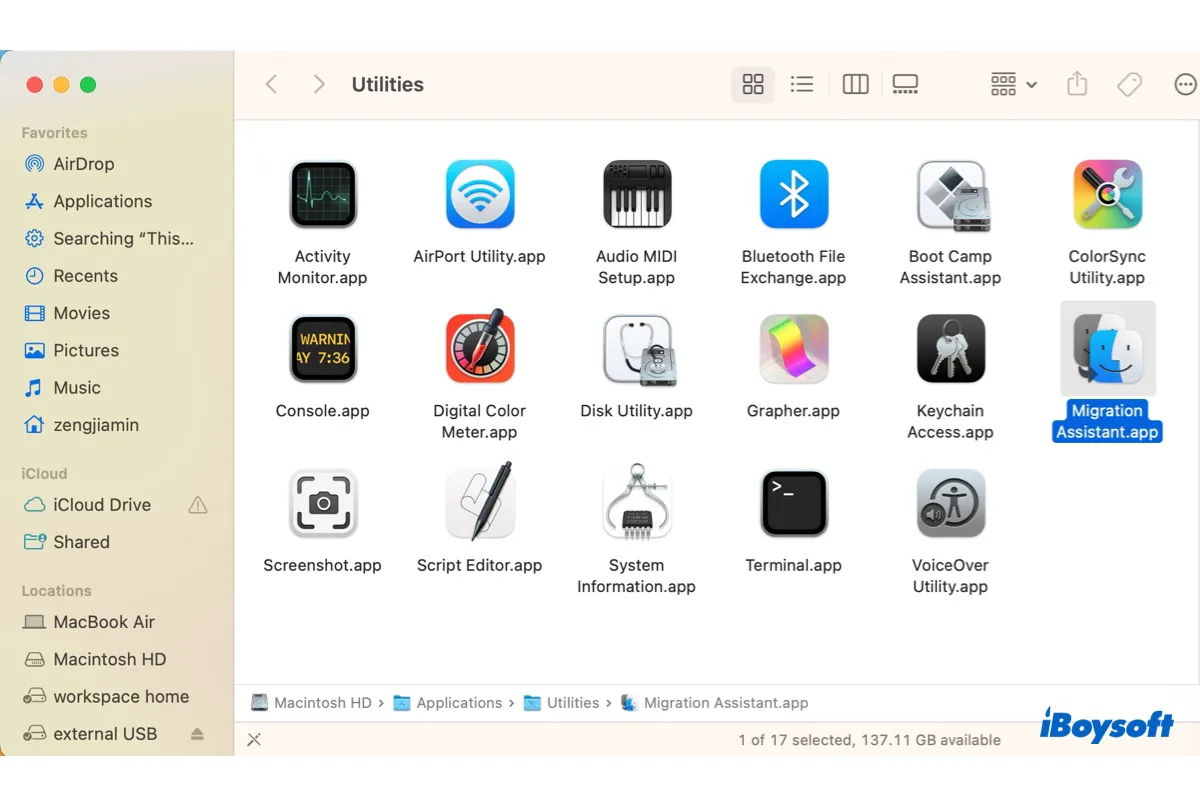
- Search for any processes related to Microsoft Office.
- Select the process and click Quit.
- Navigate to Applications > Utilities > Activity Monitor.
Step 2: Delete Microsoft Office Applications
The primary applications need to be removed from the Applications folder.
- Open the Finder.
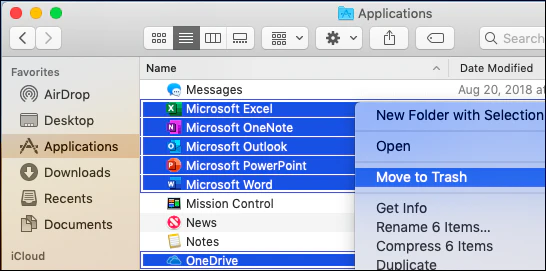
- Go to the Applications folder.
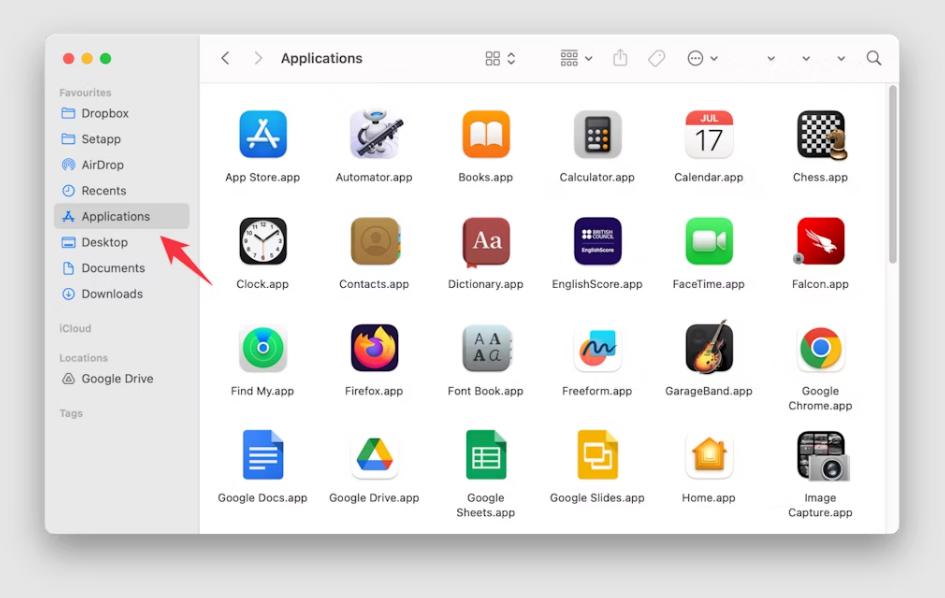
- Locate each Office application:
- Microsoft Word
- Microsoft Excel
- Microsoft PowerPoint
- Microsoft Outlook
- Microsoft OneNote
- Drag each application to the Trash.
- Empty the Trash to permanently remove these files.
Step 3: Remove Additional Files
Microsoft Office stores support files and data in various folders on your Mac. These files must be manually removed to complete the uninstallation process.
3.1 Delete Library Files
- Open the Finder and click Go in the top menu bar.
- Select Go to Folder.
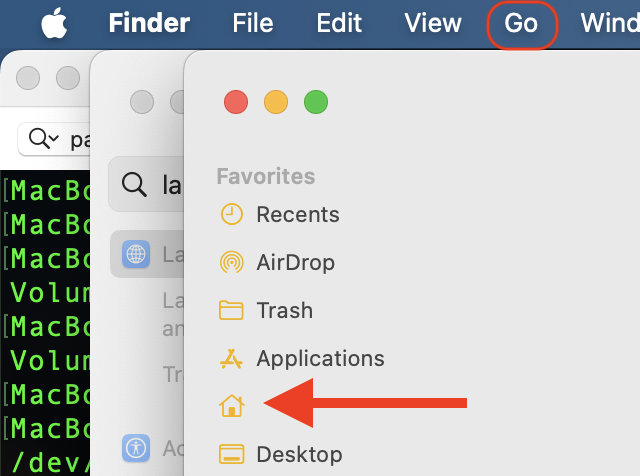
- Enter the following path and press Enter:
- Look for and delete the following:
- Containers: Delete any folders starting with “com.microsoft.”
- Group Containers: Delete the folder named
UBF8T346G9.ms. - Preferences: Locate and delete files starting with “com.microsoft.”
3.2 Remove Cached Files
- In the Finder, click Go > Go to Folder.
- Enter:
- Delete any Microsoft-related folders.
3.3 Delete Keychain Entries
- Open Keychain Access from Applications > Utilities.
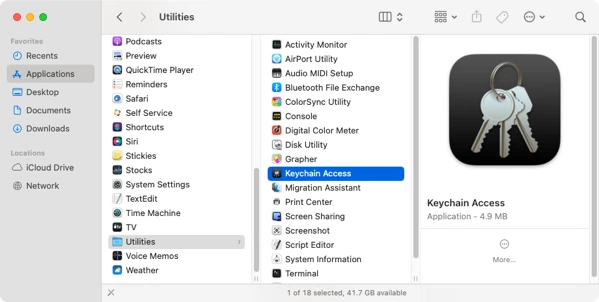
- Search for “Microsoft.”
- Right-click on related entries and select Delete.
Step 4: Remove Microsoft AutoUpdate
Microsoft AutoUpdate is a separate app used to update Office programs. To uninstall it:
- Go to the Applications folder.
- Locate Microsoft AutoUpdate.
- Drag it to the Trash.
- Empty the Trash to permanently remove it.
Step 5: Restart Your Mac
Restart your Mac to ensure all changes take effect and verify that no Office-related files remain.
Optional: Reinstall Microsoft Office
If you uninstalled Office for troubleshooting or upgrading purposes, follow these steps to reinstall:
- Visit the Microsoft Office website.
- Log in with your Microsoft account.
- Navigate to Install Office and download the installer for Mac.
- Open the downloaded file and follow the installation prompts.
Troubleshooting Common Issues
1. Unable to Delete Certain Files
- Solution: Use Activity Monitor to ensure no background processes are running. You can also try deleting files in Safe Mode.
2. Leftover Files After Uninstallation
- Solution: Revisit the ~/Library directory and check for any remaining Microsoft-related files or folders.
3. Microsoft AutoUpdate Keeps Reappearing
- Solution: Check for hidden files or folders in the Applications directory and manually delete them.
Tips for a Clean Uninstallation
- Back Up Important Files: Before uninstalling, ensure you’ve backed up any important Office documents stored locally.
- Use Third-Party Tools: Apps like AppCleaner can help locate and remove hidden Office files automatically.
- Check Disk Space: After uninstalling, verify how much storage has been freed to confirm successful removal.
Conclusion
Uninstalling Microsoft Office for Mac can be a straightforward process if you follow these steps carefully. Whether you’re freeing up space, troubleshooting issues, or transitioning to a different productivity suite, a complete uninstallation ensures no remnants are left behind. If you ever need Office again, you can reinstall it easily through your Microsoft account.
