Ways to Delete Clipboard History on Windows 10

The clipboard in Windows 10 is a handy tool that allows you to temporarily store copied text, images, and other data for quick reuse. However, over time, your clipboard history can accumulate sensitive information, such as passwords or personal details. Clearing your clipboard history not only protects your privacy but also ensures your system runs smoothly by freeing up memory.
Understanding Clipboard History in Windows 10
Clipboard history in Windows 10 stores up to 25 items, including text, images, and screenshots. While this feature is useful for multitasking, it can pose a privacy risk if sensitive data is left in the history. Luckily, Windows 10 provides simple ways to clear your clipboard.
How to Clear Clipboard History in Windows 10
Method 1: Clear Clipboard Using Keyboard Shortcut

The quickest way to clear your clipboard is through a keyboard shortcut:
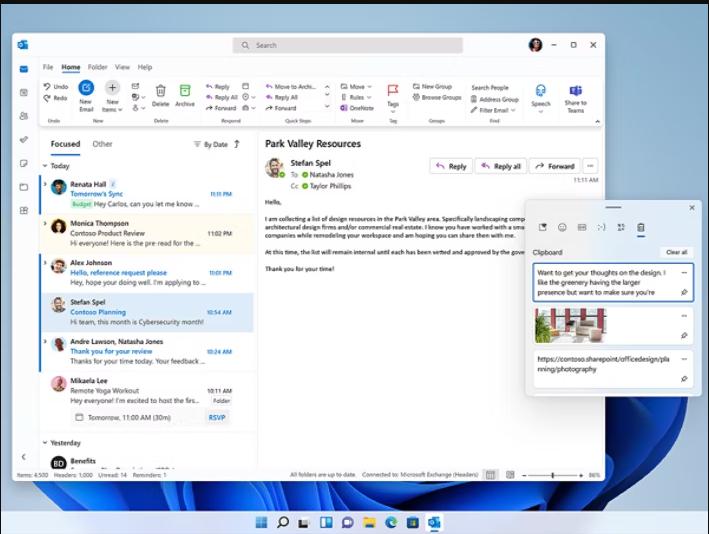
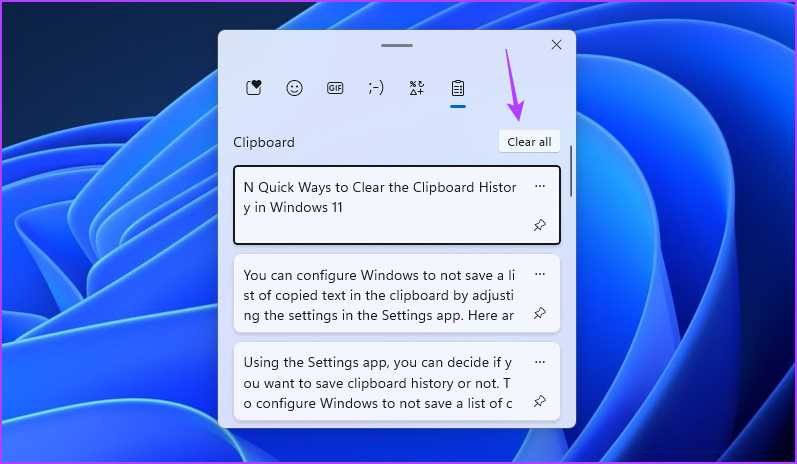
- Press Windows + V to open the Clipboard history window.
- In the popup, click the Clear All button at the top-right corner.
This will delete all saved items from your clipboard history, leaving it empty.
Method 2: Clear Clipboard History Through Settings

If you prefer to clear the clipboard from the system settings, follow these steps:
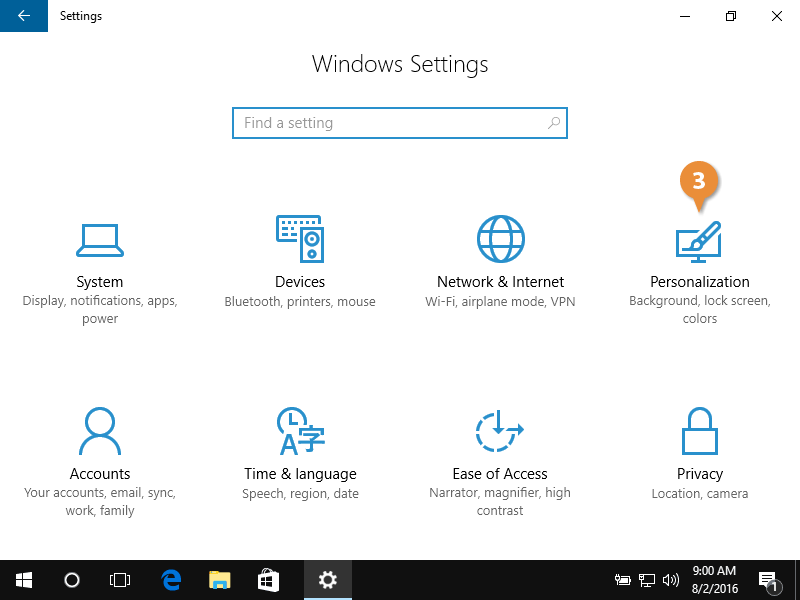
- Open Settings
- Press Windows + I to open the Settings app.
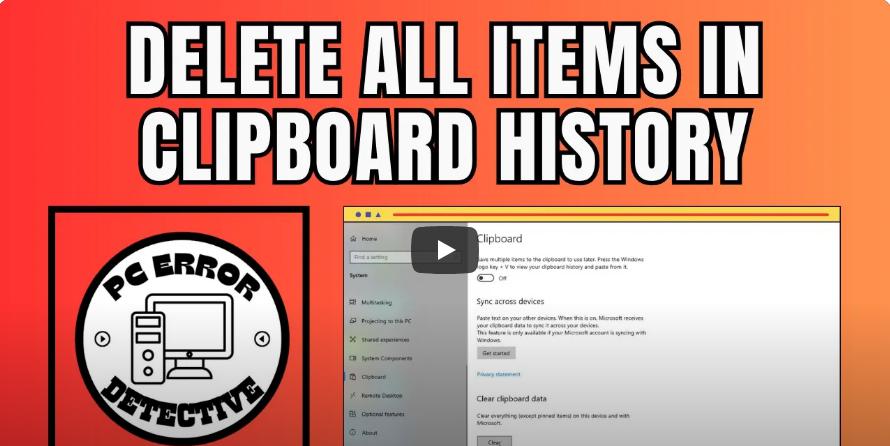
- Navigate to System > Clipboard.
- Clear Clipboard Data
- Scroll down to the Clear Clipboard Data section.
- Click the Clear button under “Clear clipboard history.”
This will instantly remove all clipboard items except those pinned to the history.
Method 3: Use Command Prompt or PowerShell
For advanced users, you can use Command Prompt or PowerShell to clear the clipboard:
- Open Command Prompt or PowerShell
- Press Windows + S, type “Command Prompt” or “PowerShell,” and press Enter.
- Run the Clear Command
- Enter the following command and press Enter:
This command clears the clipboard by overwriting it with an empty string.
Method 4: Clear Specific Items from Clipboard History

To remove only specific items from your clipboard:
- Press Windows + V to open the Clipboard history window.
- Hover over the item you want to delete.
- Click the X icon next to the item.
This approach is useful when you want to keep certain entries while clearing others.
How to Disable Clipboard History in Windows 10

If you rarely use clipboard history and want to prevent Windows from saving your copied items:
- Open the Settings app by pressing Windows + I.
- Go to System > Clipboard.
- Toggle off the switch for Clipboard history.
This disables the clipboard history feature entirely.
Why Clear Clipboard History?
Clearing your clipboard history can benefit you in several ways:
- Protect Privacy: Prevent sensitive information, like passwords or personal details, from being accessed accidentally.
- Free Up Memory: Clipboard data, especially large files or images, can consume system memory. Clearing the history helps free up resources.
- Prevent Errors: Outdated or corrupted clipboard items can cause errors in certain applications.
Troubleshooting Clipboard History Issues
If you’re unable to clear your clipboard history or encounter issues:
- Restart Your PC: A simple restart can resolve temporary glitches.
- Update Windows: Ensure your system is up to date by going to Settings > Update & Security > Windows Update.
- Run System File Checker: Open Command Prompt as an administrator and run
sfc /scannowto repair corrupted system files.
Conclusion
Clearing your clipboard history in Windows 10 is essential for maintaining privacy and optimizing system performance. Whether you use a quick keyboard shortcut or manage the settings manually, the process is simple and effective. By regularly clearing your clipboard, you can ensure that your sensitive data remains secure and your system operates smoothly.
