How to Change the Default Font for Documents in Office?
Changing the default font in Microsoft Office applications like Word, PowerPoint, and Excel can enhance your productivity and make your documents look more professional. By adjusting the default font settings, you ensure that every new document you create will automatically use the font style you prefer. In this guide, we’ll walk you through how to change the default document font in Microsoft Office.
Step 1: Open the Microsoft Office Application

- Launch the Program
Open the Microsoft Office application where you want to change the default font (for example, Word, PowerPoint, or Excel). - Access the Application Settings
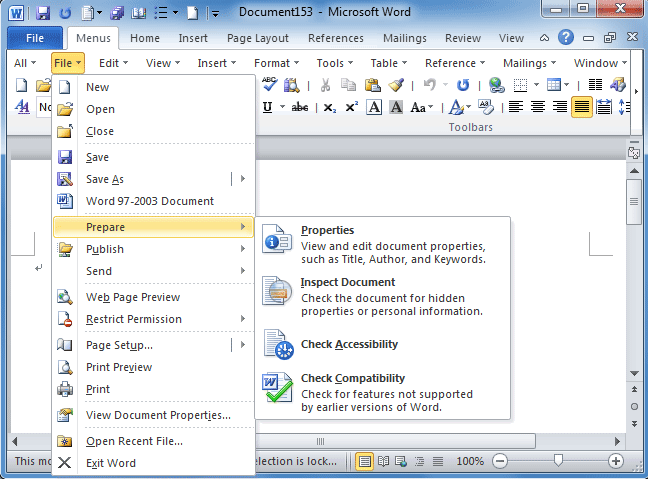
Once the application is open, go to the settings by clicking on the File tab in the top left corner of the window.
Step 2: Change the Default Font in Microsoft Word
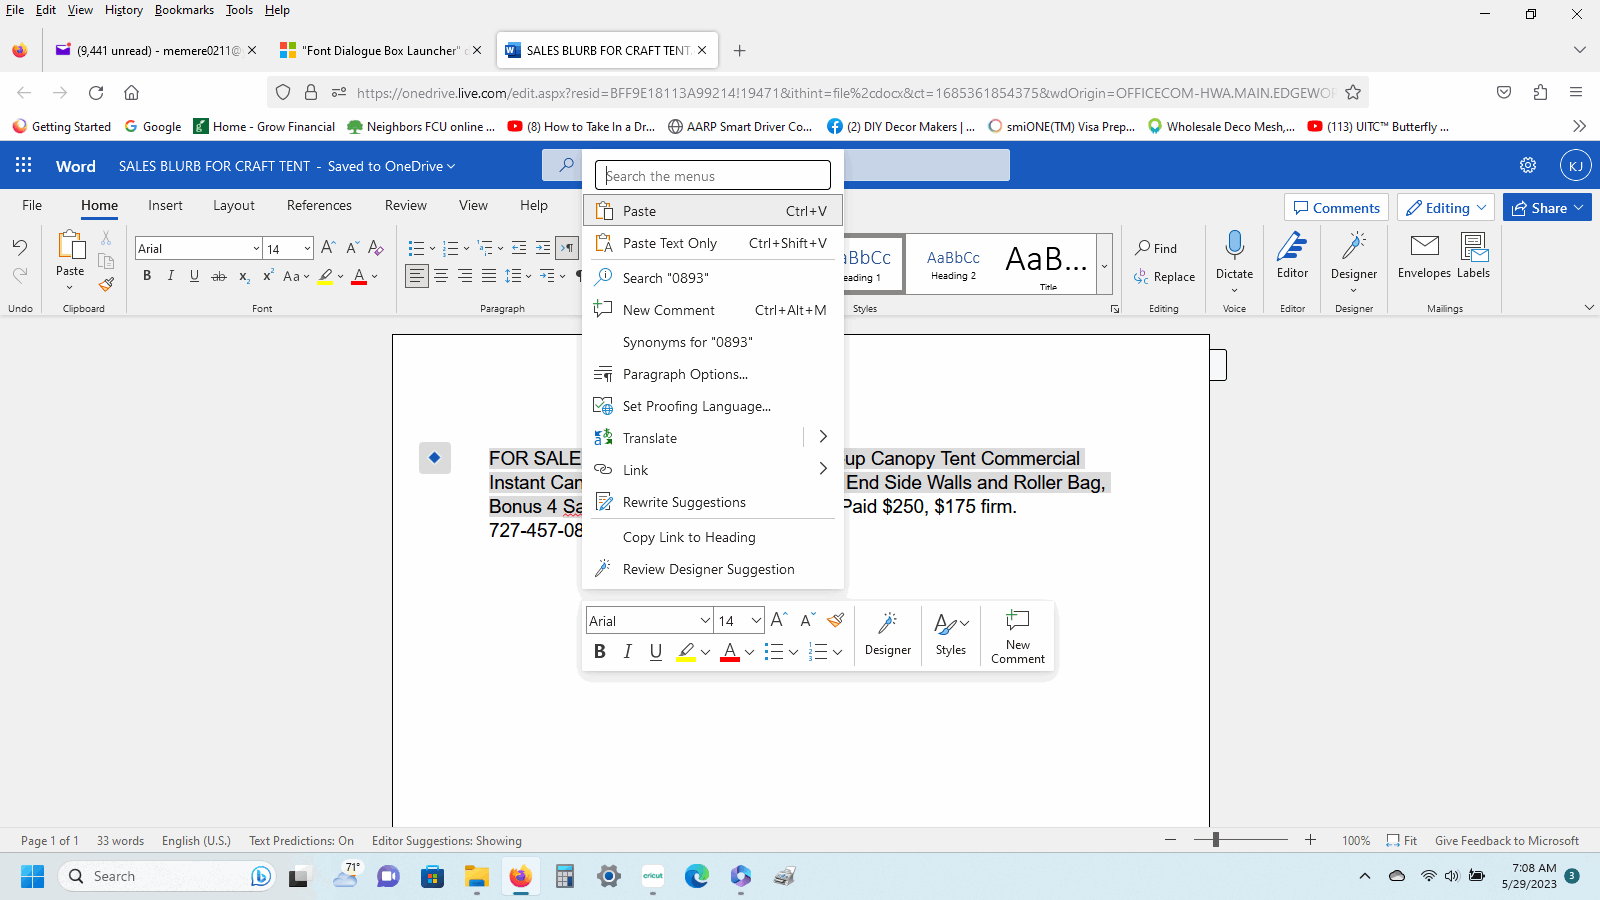
Microsoft Word is one of the most commonly used Office applications. Here’s how you can change its default font:
- Go to the “Home” Tab
Open Word and navigate to the Home tab in the ribbon at the top of the screen. - Click on the “Font” Dialog Box Launcher
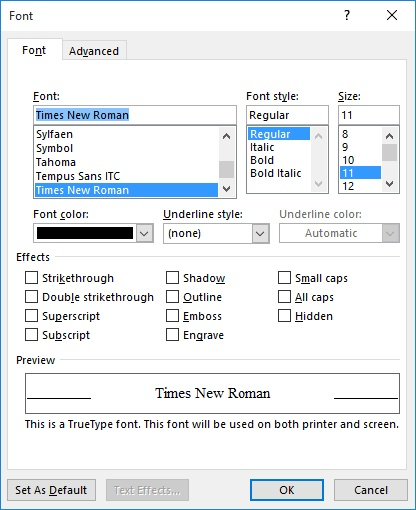
In the Font group, click the small arrow icon in the lower right corner of the group to open the Font settings. - Select Your Preferred Font
In the Font window, choose your preferred font style, size, and any other attributes (such as bold, italics, etc.).
- Set as Default
Once you’ve chosen your desired font settings, click the Set As Default button at the bottom of the window. This will open a pop-up that asks whether you want to apply the new font settings to the current document or all documents based on the Normal template. Select All documents based on the Normal template to apply the change universally. - Click OK
After making your selection, click OK to confirm and save your changes. The new font will now be the default for all future documents.
Step 3: Change the Default Font in Microsoft PowerPoint
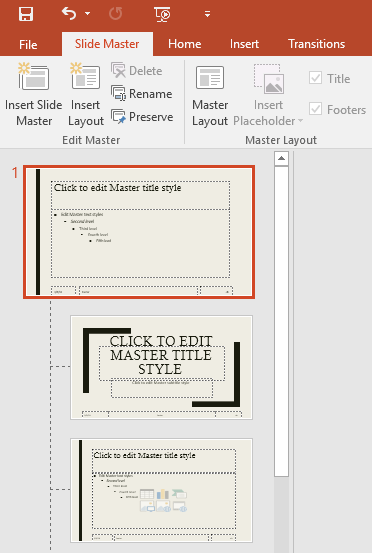
To change the default font in PowerPoint:
- Open PowerPoint
Launch Microsoft PowerPoint and open a new presentation or an existing one. - Go to the “View” Tab
Navigate to the View tab at the top of the PowerPoint window. - Open the “Slide Master” View
Click on Slide Master to open the slide layout options. - Select the Master Slide
In the Slide Master view, select the Master Slide (the first slide in the thumbnail list). - Change the Font
Highlight the text on the slide, then go to the Home tab and choose the desired font, size, and other formatting options. - Set the Font as Default for All Slides
After changing the font, click Close Master View to return to the normal slide view. The new font will be applied to all slides.
Step 4: Change the Default Font in Microsoft Excel
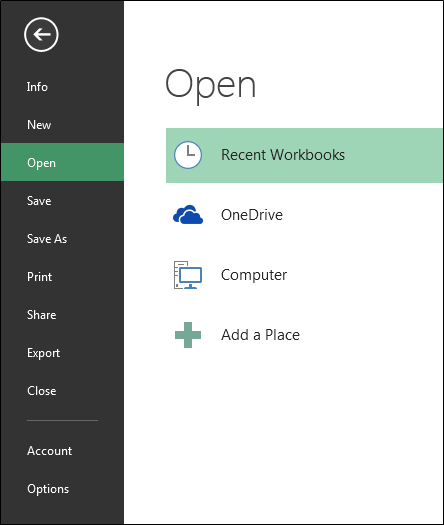
- Open Excel
Open Microsoft Excel and create a new workbook or open an existing one. - Access Excel Options
Click on the File tab in the top left corner and select Options from the menu. - Go to the “General” Tab
In the Excel Options window, click General under the Personalize your copy of Microsoft Office section. - Select the Default Font
Under the When creating new workbooks section, select your preferred default font from the Use this as the default font drop-down menu. You can also adjust the font size here. - Click OK
Once you have made your selection, click OK to save your changes. The default font will now be used in all new Excel workbooks.
Step 5: Modify the Default Font in Office Programs with Templates
If you want to set a custom default font for your Office applications, another option is to modify the templates used by these programs:
- Locate and Edit Templates
- For Word, you can edit the Normal.dotm template.
- For PowerPoint, edit the Blank Presentation template.
- For Excel, modify the Book.xltx template.
- Save the Template
After customizing the font, save the template and set it as the default for new documents, presentations, or workbooks.
Tips for Customizing Fonts in Office
- Use Styles
In Word and PowerPoint, you can create custom styles for headings, body text, and more. These styles will help ensure consistency in your documents and presentations. - Consider Accessibility
When changing the default font, choose one that is legible and accessible, such as Arial or Calibri. Avoid overly stylized fonts that may be hard to read. - Check Compatibility
If you plan to share your documents with others, make sure the font you select is compatible with older versions of Office or that others have the same font installed.
Conclusion
Changing the default font in Microsoft Office applications is an easy way to improve your workflow and ensure consistency across your documents, presentations, and spreadsheets. Whether you’re working in Word, PowerPoint, or Excel, setting a default font can save you time and effort by eliminating the need to adjust font settings each time you create a new document. By following these simple steps, you can customize the font to suit your preferences and improve the overall look of your work.
